How To scp, ssh and rsync without prompting for password using OpenSSH

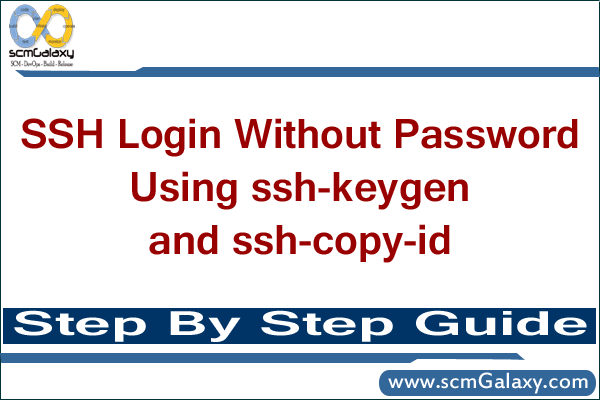
Verify that local-host and remote-host is running openSSH
ssh -V
OpenSSH_4.3p2, OpenSSL 0.9.8b 04 May 2006

Lets say you want to copy between two hosts host_src and host_dest. host_src is the host where you would run the scp, ssh or rsyn command, irrespective of the direction of the file copy!
1. On host_src, run this command as the user that runs scp/ssh/rsync
$ ssh-keygen -t rsa
This will prompt for a passphrase. Just press the enter key. It’ll then generate an identification (private key) and a public key. Do not ever share the private key with anyone! ssh-keygen shows where it saved the public key. This is by default ~/.ssh/id_rsa.pub:
Your public key has been saved in <your_home_dir>/.ssh/id_rsa.pub

2. Transfer the id_rsa.pub file to host_dest by either ftp, scp, rsync or any other method.

3. On host_dest, login as the remote user which you plan to use when you run scp, ssh or rsync on host_src.

4. Copy the contents of id_rsa.pub to ~/.ssh/authorized_keys
$ cat id_rsa.pub >>~/.ssh/authorized_keys
$ chmod 700 ~/.ssh/authorized_keys
If this file does not exists, then the above command will create it. Make sure you remove permission for others to read this file. If its a public key, why prevent others from reading this file? Probably, the owner of the key has distributed it to a few trusted users and has not placed any additional security measures to check if its really a trusted user.

5. Note that ssh by default does not allow root to log in. This has to be explicitly enabled on host_dest. This can be done by editing /etc/ssh/sshd_config and changing the option of PermitRootLogin from no to yes. Don’t forget to restart sshd so that it reads the modified config file. Do this only if you want to use the root login.

Putty using Windows:

If you are trying using windows, you can use puttygen to generate public/private keys and do the configuration in putty as in image below to connect to other server…


PIC TO BE UPLOADED>


Reference.
http://www.thegeekstuff.com/2008/10/perform-ssh-and-scp-without-password-from-ssh2-to-openssh/
http://blogs.oracle.com/jkini/entry/how_to_scp_scp_and
http://www.thegeekstuff.com/2008/06/perform-ssh-and-scp-without-entering-password-on-openssh/
http://www.csua.berkeley.edu/~ranga/notes/ssh_nopass.html

Tagged : / / / /

Ways to Pass Password in Triggers file or Script file in Perforce

Option 1
If your Perforce server is set to security level 2 or lower you can have your trigger script run as the same user every time (typically a “background” user). Then, either have the server’s P4PASSWD environment variable set to the background user’s password,

Option 2
You can also use the -P flag to specify the password with the P4 commands issued by the script.

Option 3
You can echo the password and pipe it to the login command. Note that there is no space between the password and the pipe symbol.

echo <password>| p4 login

Option 4
If you do not want to place a password in the script, you can use a text file containing the password. Make sure this password file has appropriate read and write privileges.

p4 login < password.txt

Option 5
A more secure method is to use ticket based authentication and a group to keep a background user “logged in” at the Perforce server:

1. Create a group:

p4 group always_on

2. Add your background user to the “Users” field.

3. Change the timeout from the default setting (12 hours), which is set in seconds. The new value depends on the server version:

# 2008.1 and later: Set this value to “unlimited”. A timeout value of zero is no longer accepted.

# 2005.1 to 2007.3: Set this value to zero.

# 2004.2 and earlier: Set this to a very large value — but not too large, as some server versions do not handle situations where the timeout is set to exceed the “Unix Epoch”, which is approximately in the year 2038. A safe value is 315532800 seconds, which is about 10 years.

# Save the group.

# In your trigger script, log the background user in and run the trigger once.

echo password| p4 -p server:port -u username login

# If the trigger runs properly, you can remove the password line.

The user now remains logged in. Since this is ticket based authentication, they remain logged in even if the server is shut down or the hardware is rebooted.

Tagged : / / /

Access gitlab Password Less in Windows

gitlab-password-less-in-windows

Step 1- Generate a public/private key using puttygen

  • Download a puttygen from  and generate a public key and private key by following below image.
  • Click on Conversions à Export OpenSSH Key à  and save it to % USERPROFILE %\.ssh with file name “id_rsa”
  • Copy the public key from puttygen window and save into gitlab.


Step 2-  Add .ssh folder to your command line path
By following command..

     set HOME=%USERPROFILE%

or
add into user system variable.
HOME=%USERPROFILE%

And you are good to go. Comment if you face any issues?

Tagged : / / / / / / / / / / /