Script timeout passed, if you want to finish import, please resubmit the same file and import will resume.

If you are importing a Database using phpMyAdmin localhost then if this error occurred during the time of Import then follow the simple steps:-

  1. Open file explorer.
  2. open your XAMPP folder where XAMPP is installed (generally we install XAMPP in C:\ folder).
  3. In xampp folder find phpMyAdmin folder and open it.
  4. In phpMyAdmin folder find libraries folder and open it.
  5. In libraries folder find config.default file and open it with your notepad.
  6. And press the ctrl+F button to find $cfg[‘ExecTimeLimit’]

Change it to 0.

That’s all

Warning :- Before updating in config.default file please stop your appache and my sql and then make change in file otherwise local server may corrupt.

How to upload image in the database and send mail image

1st step:- Open command prompt in C:\xampp\htdocs.

2nd step:- Write the code given below in the opened command prompt to make laravel project.

   composer create-project --prefer-dist laravel/laravel ImageUpload "5.8.*"

3rd step:- After the project is created, open the folder in any code editor.

4th step:- Now open xampp. And make a database.

5th step:- Open the .env file of the project and change the name of the database same as defined in phpmyadmin.

6th step:- Write the code given below in command prompt to make controller.

php artisan make:controller ImageUpload

7th step:- Write the code given below in command prompt to make model.

  php artisan make:model ImageUpload –m

8th step:- write the name of the column of the databse in

database\migrations\2020_10_23_070450_create_ images _ upload _table.php

9th step:- Write the code given below in command prompt to migrate the table to the database.

                  php artisan migrate

10th step:-Then make view page in resource\views

Code of imageupload.blade.php

11th step:- Make one blade file resources/view/dynamic_email_template.blade.php

And paste the code given below:-

<p style=”margin-left:10%;”>First Name – <b>{{ $data[‘name’] }} </b></p>

<p style=”margin-left:10%;”>last Name – <b>{{ $data[’email’] }}  </b></p>

<p>It would be appriciative, if you gone through this feedback.</p>

12th step:- Go to web.php and make routes.

The code is given below:-

Route::get(‘sendemail’,’SendEmailController@index’);

Route::post(‘sendemail.store’,’SendEmailController@store’)->name(‘sendemail.store’);

13th step:- Go to controller and call model class

Paste the code given below below

14th step:- Now make the mail. Write the code given below in command prompt:-

php artisan make:mail SendMail

15th step:- Paste the code given below in the file made by the above command:-

16th step:- Make an account in mailtrap. 17th step.

17th step:- copy host, port, Username and password.

18th step:-configure .env file with the details copied by the mailtrap id.

19th step:- Now run the command given below in the terminal.

php artisan c:cache

php artisan serve

Tagged : / /

FULL CRUD OPERATION IN LARAVEL

Frist of all, we have to know and understand meaning of crud. We going to understand about crud.

The function and , the full-form of Crud:-
 C - create 
 R - read
 U - update
 D - delete 


Because these four functions are so universal to programming , each of the elements of CRUD is represented in virtually every single programming language that deals with databases

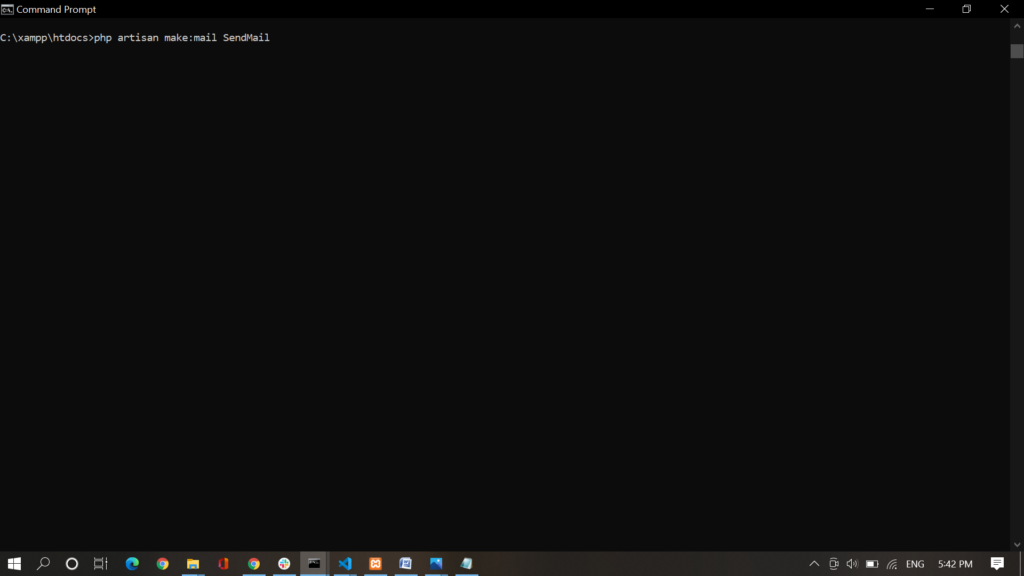
At first we have to write = create-project–prefer-dist laravel/laravel blog “5.8.” in comand promt
to reate project.

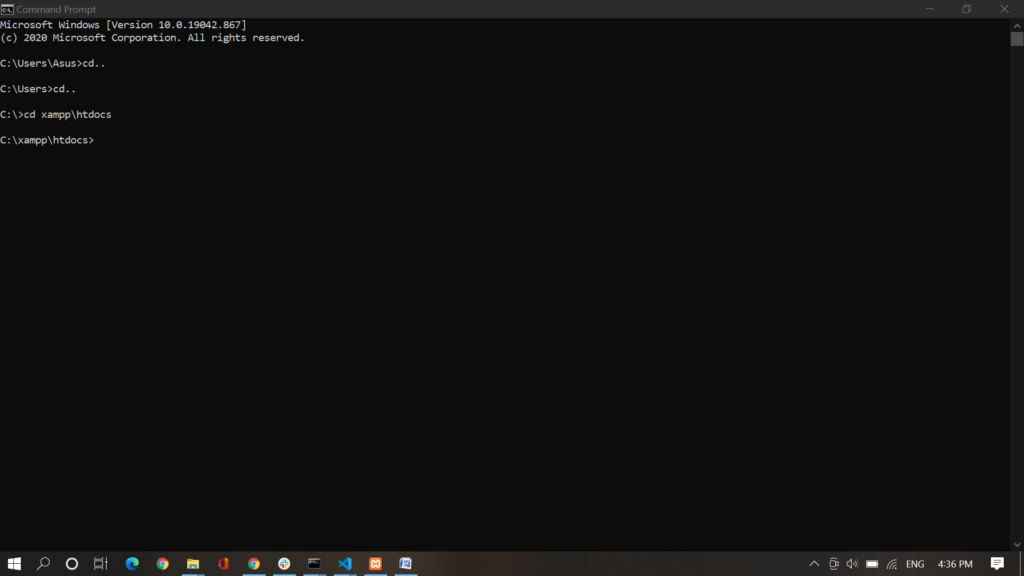
1- then we have to open vs code and select zampp/ htdocs/file_name and open project in vs code

2 – after thar open terminal in vs code and write -php artisan make:MODELname-a , and press enter
after this all three things model, controller and resource .

 NOTE: the fristletter of model name shuld be in capital letter and shuld start with alphabet ony

3 – then we have to set database with app and migrate the table by code – php artisan migrate .on
vs code terminal.

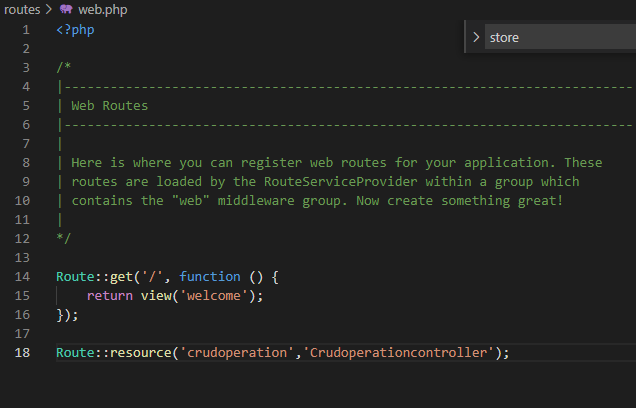
4 – then we have to set route for that we use by code
e.g Route::(‘wiz’,WizContreller)

5 – after that we go to wizcontroller and derive all the function one by one

6 – after create all the blade view

index.blade.php   
create.blade.php
parent.blade.php   
edit.blade.php 
view.blade.php

7 – and after that define all thbe blade file one by one

8 – Thats’s all for us for creating a project in laravel . Enter code – php artisan serve in terminal of
vs code and enjoy your project

CRUD operation with the help of Laravel Framework.

Basic requirements:-

  • Steps for installing Laravel Framework
  1. Open Command Prompt and type
composer create-project --prefer-dist laravel/laravel project_name "5.8.*"

in place of project_name you can choose any name.

2. once Installed finished type

composer create -project laravel/laravel project_name “version_name.*”

3. Mysql Database connection

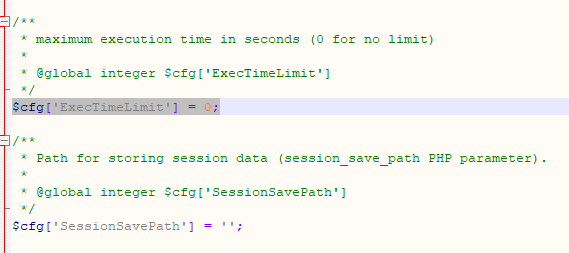
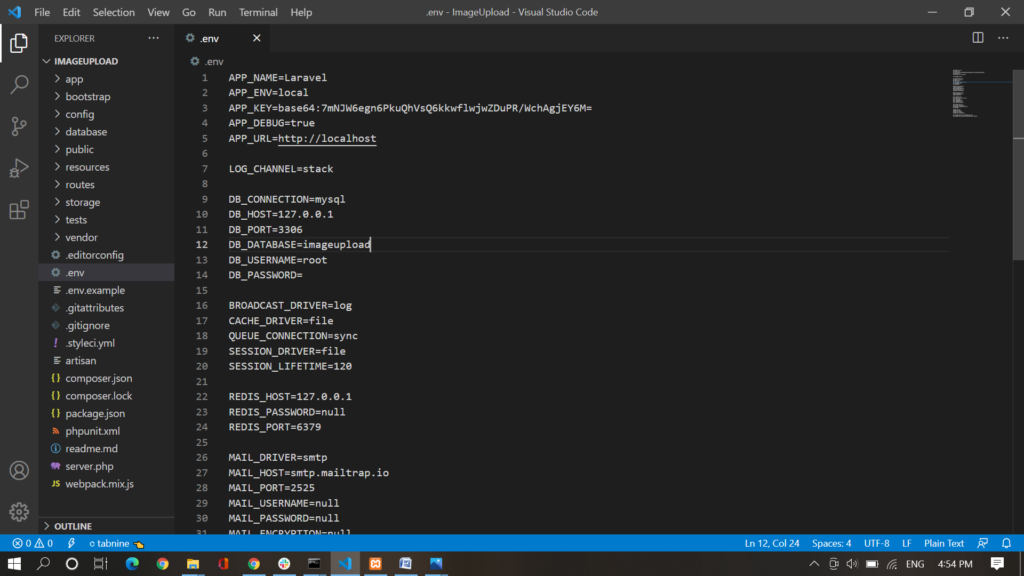
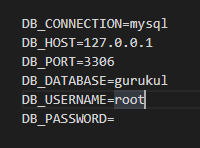
4. In first way you have to find .env file in your project folder. Open that file and under you have to define your mysql database configuration like below.

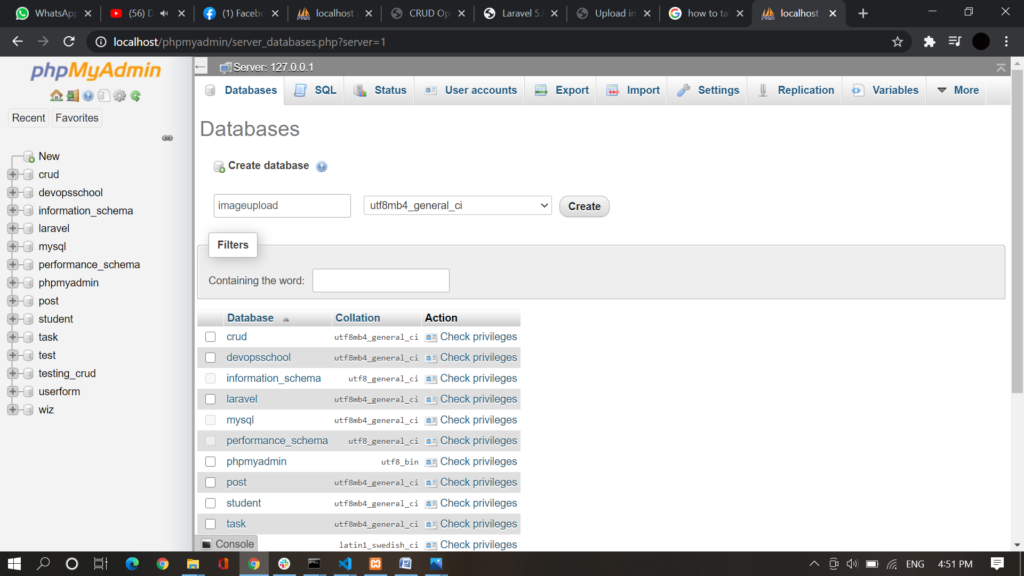
you can define your own database which you have created in PHP my Admin page.

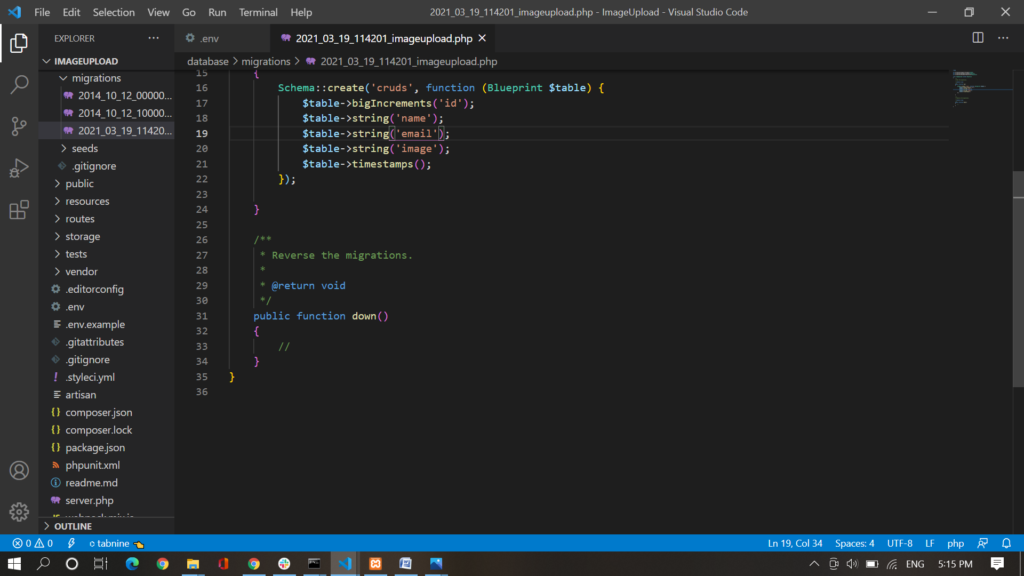
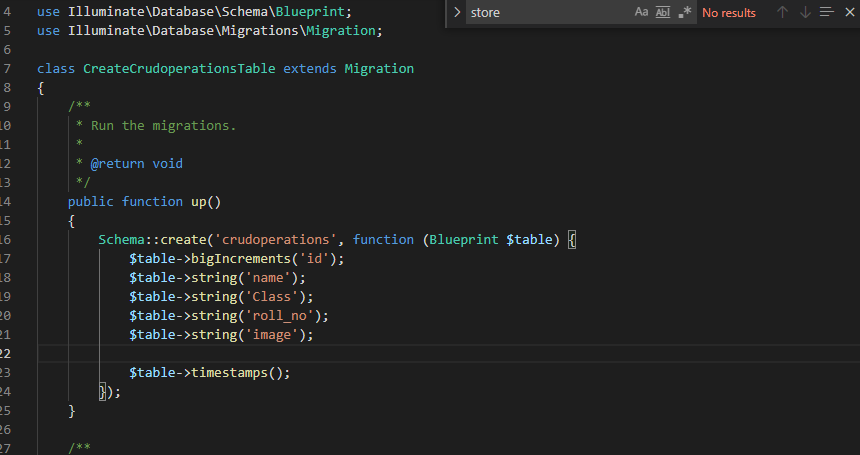
5. Migrate Table from Laravel to Mysql Database through terminal

php artisan make:migration create_crud_table –create=crud

This command will create migration file in database/migrations folder. In this file we have to define table column which we want to create in table. Below you can find migration file in which we have define table column.

In Database / migration folder we make our schema.

6. Once schema is made we have to migrate our schema through terminal

php artisan migrate

7. Now we have to make our model, view and controller for that we run this command,

php artisan make:model Project_name -mcr

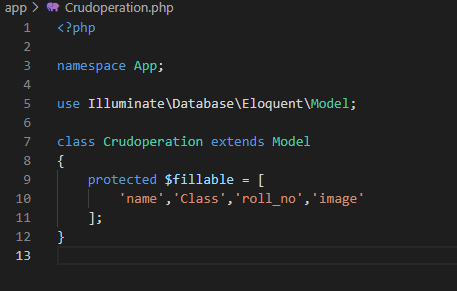
8. In app folder we find our model

Here we put our database table.
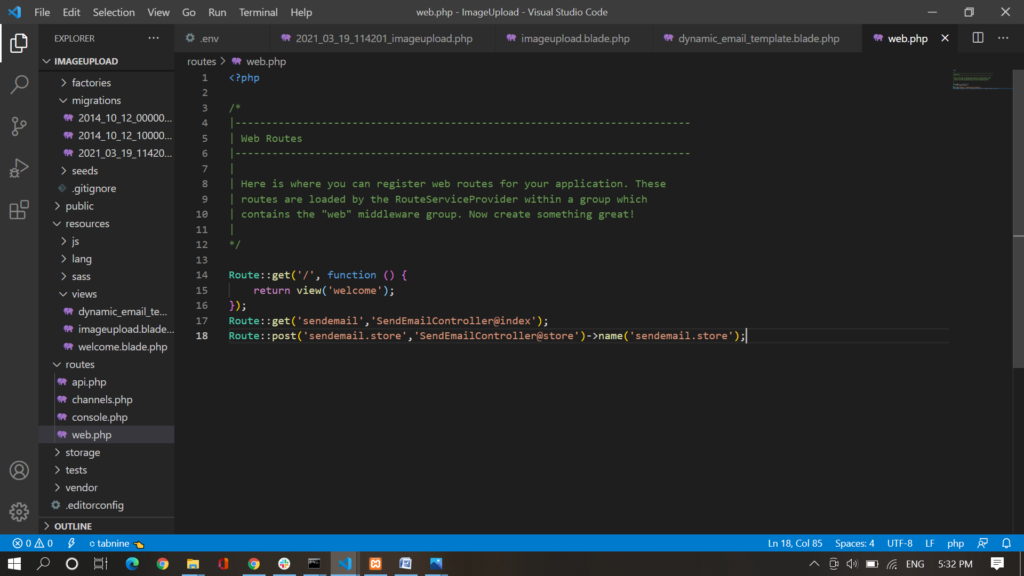
9. Setting Route

10. Set Data in View File in Laravel

In resource/view we make a new folder name parent.blade.php

11. In App/Http/Controller folder we code for function that we call during create, edit, delete operations

11. Now in resource/views we make 4 folder name 1. create.blade.php 2. edit.blade.php 3. view.blade.php 4. index.blade.php

For create.blade.php code

For edit.blade.php code

For view.blade.php code

For index.blade.php code

12. Now we run our local server for this we type

php artisan serve

now we run our project on browser.

Tagged :

LARAVEL CRUD

Step 1: make project.

composer create -project laravel/laravel project_name “version_name.*”

Step 2 :Create datbase to php

Goto web browser and type url localhost/phpmyadmin and make database

Step 3: Update Database Configuration

We will make database configuration for example database name, username, password etc for our crud application of laravel 5.8.
So let’s open .env file and fill all details like as bellow

DB_CONNECTION=mysql

DB_HOST=127.0.0.1

DB_PORT=3306

DB_DATABASE=here your database name(blog)

DB_USERNAME=here database username(root)

DB_PASSWORD=

Step 4: Link with database

php artisan migrate

Step 5: Create Table in database
we are going to create crud application for product. so we have to create migration for “products” table using Laravel 5.8 php artisan command

php artisan make:migration create_products_table –create=products

👍👍👍

Step 6: migration

Step 7 : View and make blade file

first go resources than view and make blade file.

i . parent.blade.php

ii. create.blade.php

iii. view.blade.php

iv. edit.blade.php

v. index.blade.php

Step 9 : Route

goto routes and open web.php an make routes

i. universal route

Route::resource ('model_name' , 'Controller_name');

ii. indivisual route