

In this turoial im going to learn how to upload multiple image in laravel and store in database. Image upload is necessary of every project. In this project i’m going to learn how to upload with validation like images, mimes, max file upload and etc.
So let’s go to download project and configure with database. so copy below code and paste in your terminal.
First let’s go to install laravel project
composer create-project laravel/laravel admin-dashboard "5.8.*"
After Installation setup database So go to the .env file and add the database credentials. lets go to .env folder and put database name and connect to database.
DB_CONNECTION=mysql
DB_HOST=127.0.0.1
DB_PORT=3306
DB_DATABASE=admin-dashboard
DB_USERNAME=root
DB_PASSWORD=

Now migrate the table
php artisan migrate
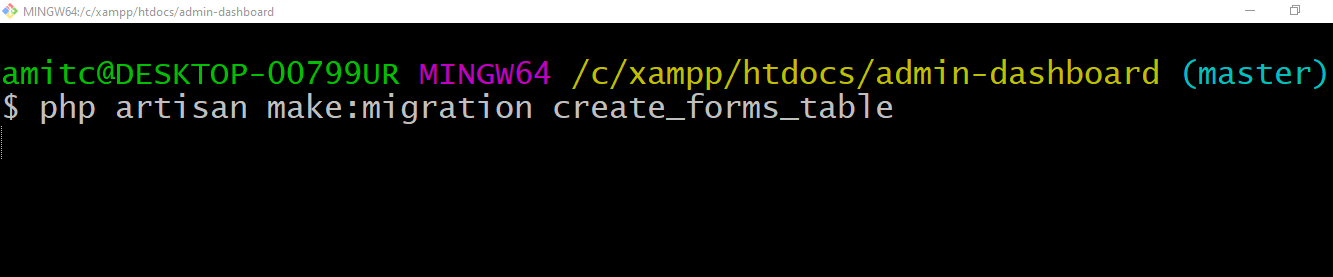
Lets go to create migration file to store the image name go to your terminal and paste below code.
php artisan make:migration create_forms_table
Let’ go to migration table and add file name.
<?php

use Illuminate\Support\Facades\Schema;
use Illuminate\Database\Schema\Blueprint;
use Illuminate\Database\Migrations\Migration;

class CreateFormsTable extends Migration
{
    /**
     * Run the migrations.
     *
     * @return void
     */
    public function up()
    {
        Schema::create('forms', function (Blueprint $table) {
            $table->bigIncrements('id');
            $table->string('filename');
            $table->timestamps();
        });
    }

    /**
     * Reverse the migrations.
     *
     * @return void
     */
    public function down()
    {
        Schema::dropIfExists('forms');
    }
}
The next step will be to migrate this schema and make a table in the database.
php artisan migrate
Next go to create the controller and model file for this project copy below code and paste in your command. 👇👇
php artisan make:model Form

php artisan make:controller FormController

lets got to setup the model and controller file for our project.
Step 2: Define routes in the web.php file.
copy below code and paste in your route/web.php file 👇
<?php

/*
|--------------------------------------------------------------------------
| Web Routes
|--------------------------------------------------------------------------
|
| Here is where you can register web routes for your application. These
| routes are loaded by the RouteServiceProvider within a group which
| contains the "web" middleware group. Now create something great!
|
*/

Route::get('/', function () {
    return view('welcome');
});

Auth::routes();

Route::get('/home', 'HomeController@index')->name('home');

Route::get('form','FormController@create');
Route::post('form','FormController@store');

Go to your controller and paste below code in your controller 👇
<?php

namespace App\Http\Controllers;

use Illuminate\Http\Request;
use App\Form;

class FormController extends Controller
{
    public function create()
    {
        return view('create');
    }

    public function store(Request $request)
    {
        $this->validate($request, [
            'filename' => 'required',
            'filename.*' => 'image | mimes:jpeg,png,jpg,gif,svg|max:2048'
        ]);

        if($request->hasfile('filename'))
        {
            foreach($request->file('filename') as $image)
            {
                $name=$image->getClientOriginalName();
                $image->move(public_path().'/images',$name);
                $data[] =$name;
            }
        }

        $form= new Form();
        $form->filename=json_encode($data);

        $form->save();

        return back()->with('success', 'image has been successfully updated');
    }


}
Now, let us make a create.blade.php file inside the Resources/views folder.
@extends('layouts.app')
@section('content')
<div class="container">
@if (count($errors) > 0)
<div class="alert alert-danger">
<strong>Whoops!</strong> There were some problems with your input.<br><br>
<ul>
@foreach ($errors->all() as $error)
<li>{{ $error }}</li>
@endforeach
</ul>
</div>
@endif
@if(session('success'))
<div class="alert alert-success">
{{ session('success') }}
</div>
@endif
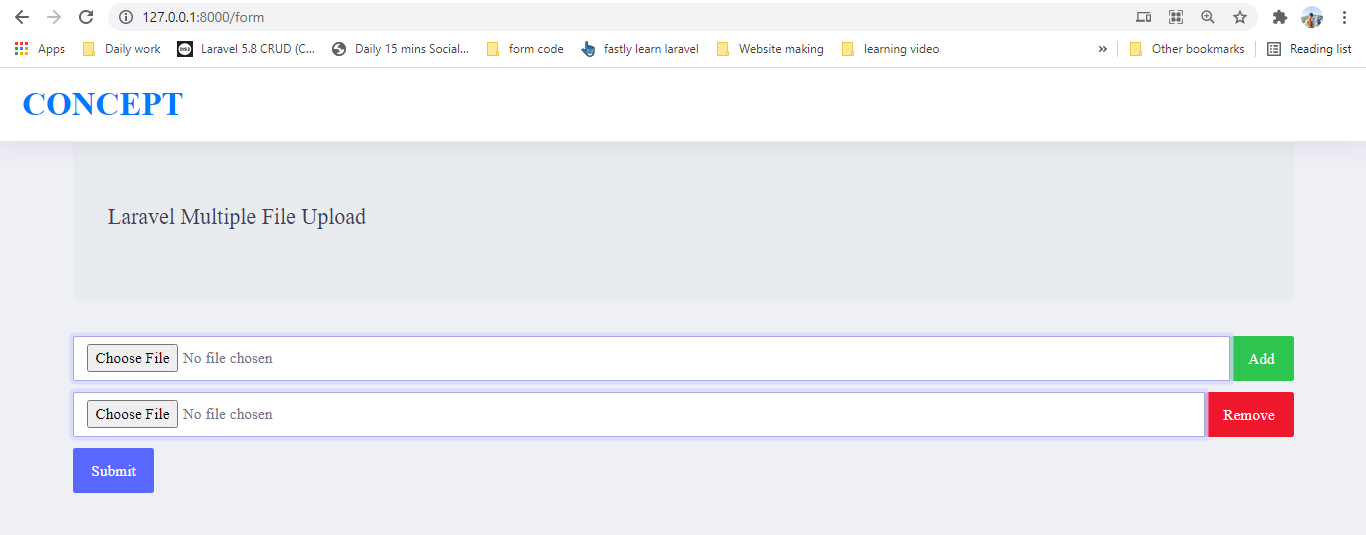
<h3 class="jumbotron">Laravel Multiple File Upload</h3>
<form method="post" action="{{url('form')}}" enctype="multipart/form-data">
{{csrf_field()}}
<div class="input-group control-group increment" >
<input type="file" name="filename[]" class="form-control">
<div class="input-group-btn">
<button class="btn btn-success" type="button"><i class="glyphicon glyphicon-plus"></i>Add</button>
</div>
</div>
<div class="clone hide">
<div class="control-group input-group" style="margin-top:10px">
<input type="file" name="filename[]" class="form-control">
<div class="input-group-btn">
<button class="btn btn-danger" type="button"><i class="glyphicon glyphicon-remove"></i> Remove</button>
</div>
</div>
</div>
<button type="submit" class="btn btn-primary" style="margin-top:10px">Submit</button>
</form>
</div>
<script type="text/javascript">
$(document).ready(function() {
$(".btn-success").click(function(){
var html = $(".clone").html();
$(".increment").after(html);
});
$("body").on("click",".btn-danger",function(){
$(this).parents(".control-group").remove();
});
});
</script>
@endsection
Now let’s go to your browser and paste below code 👇
http://127.0.0.1:8000/form

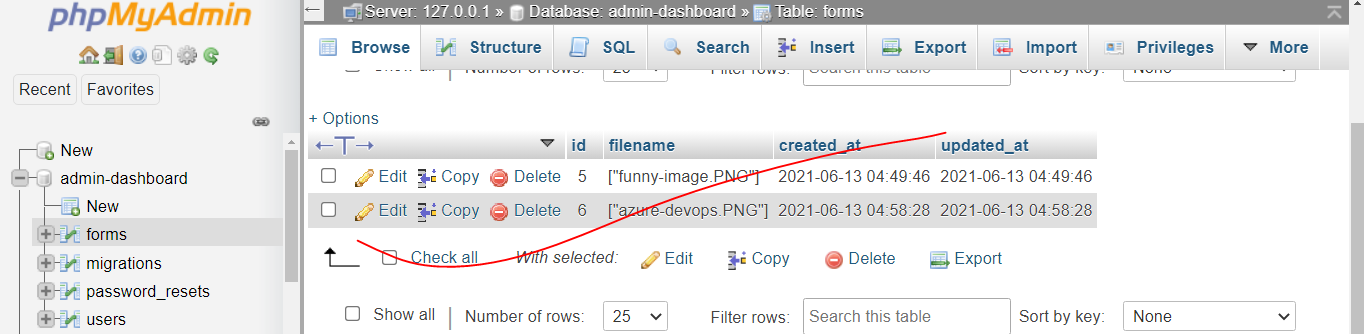
Now image has been successfully added in database as well. 👇
Thanks i hope its helpfull for you. 🙏🙏🙏Amit Kumar
Hi I am Amit Experienced Web Developer with a demonstrated history of working in the information technology and services industry.