Multi-dimensional arrays are arrays that instead of storing a single element, store another array at each index. To put it another way, multi-dimensional arrays should be defined as an array of arrays. Every element in this array can be an array, and they can also have additional sub-arrays within them, as the name implies. Multiple dimensions can be used to access arrays or sub-arrays in multidimensional arrays.
Dimensions:– The number of indices required to pick an element is indicated by the dimensions of a multidimensional array. To pick an element from a two-dimensional array, use two indices.
Two dimensional array:– It’s the most basic type of multidimensional array. It may be made with the help of a nested array. The index of these arrays is always a number, and they can store any sort of element. The index starts at zero by default.
Syntax:-
array (
    array (elements...),
    array (elements...),
    ...
)Example:–
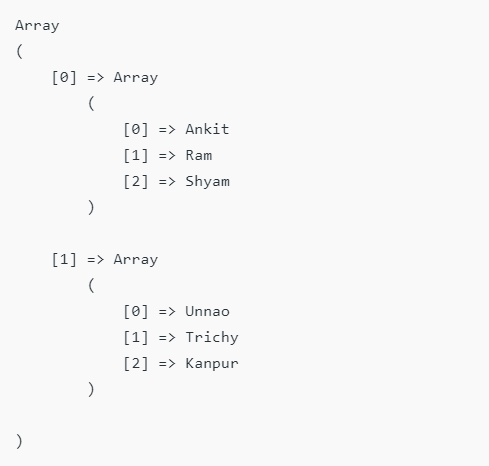
Output:-
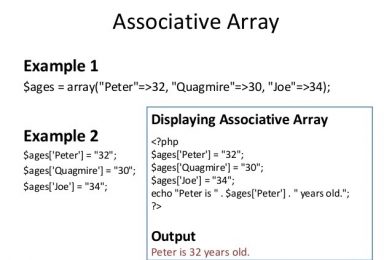
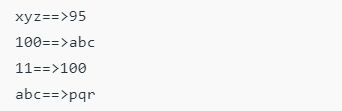
Two dimensional associative array:– Al associative arrays are similar to indexed arrays, except that instead of linear storage (indexed storage), each value can be associated with a user-defined string key.

Example:–
Output:–
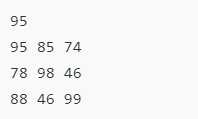
Display Marks:
Array
(
    [Ankit] => Array
        (
            [C] => 95
            [DCO] => 85
            [FOL] => 74
        )

    [Ram] => Array
        (
            [C] => 78
            [DCO] => 98
            [FOL] => 46
        )

    [Anoop] => Array
        (
            [C] => 88
            [DCO] => 46
            [FOL] => 99
        )

)
Three Dimensional Array: It is a multidimensional array in its most basic form. Three-dimensional arrays have the same initialization as two-dimensional arrays. The distinction is that as the number of dimensions grows, so does the number of nested braces.
Syntax:
array (
    array (
        array (elements...),
        array (elements...),
        ...
    ),
    array (
        array (elements...),
        array (elements...),
        ...
    ),
    ...
)
Example:
Output:
Array
(
    [0] => Array
        (
            [0] => Array
                (
                    [0] => 1
                    [1] => 2
                )

            [1] => Array
                (
                    [0] => 3
                    [1] => 4
                )

        )

    [1] => Array
        (
            [0] => Array
                (
                    [0] => 5
                    [1] => 6
                )

            [1] => Array
                (
                    [0] => 7
                    [1] => 8
                )

        )

)
Accessing multidimensional array elements: In PHP, there are primarily two methods for accessing multidimensional array items.
- Dimensions such as array name[‘first dimension’][‘second dimension’] can be used to retrieve elements.
- The for loop can be used to access elements.
- The for each loop may be used to access elements.
Example:
Output: