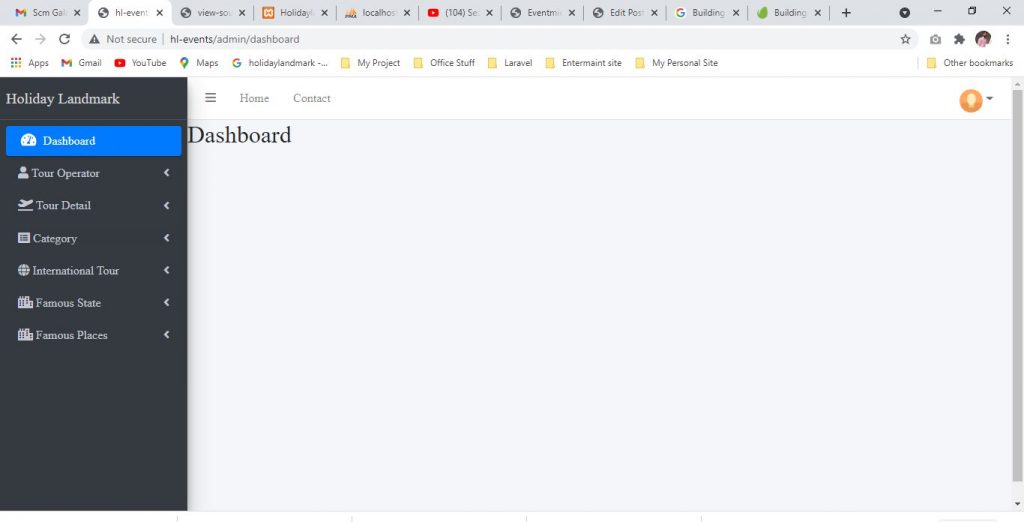
In this updated tutorial, we’ll create a responsive admin dashboard layout with CSS and a touch of JavaScript. To build it, we’ll borrow some ideas from the WordPress dashboard, such as its collapsible sidebar menu.
Throughout the tutorial, we’ll face plenty of challenges, but ones that will give us good practice for enhancing our front-end skills.

Header
Moving on with our admin dashboard layout, let’s look at the page header.
Within it, we’ll define a nav element that will serve as the wrapper for the following elements:
- The logo.
- The Collapse button that will toggle the menu on mobile screens.
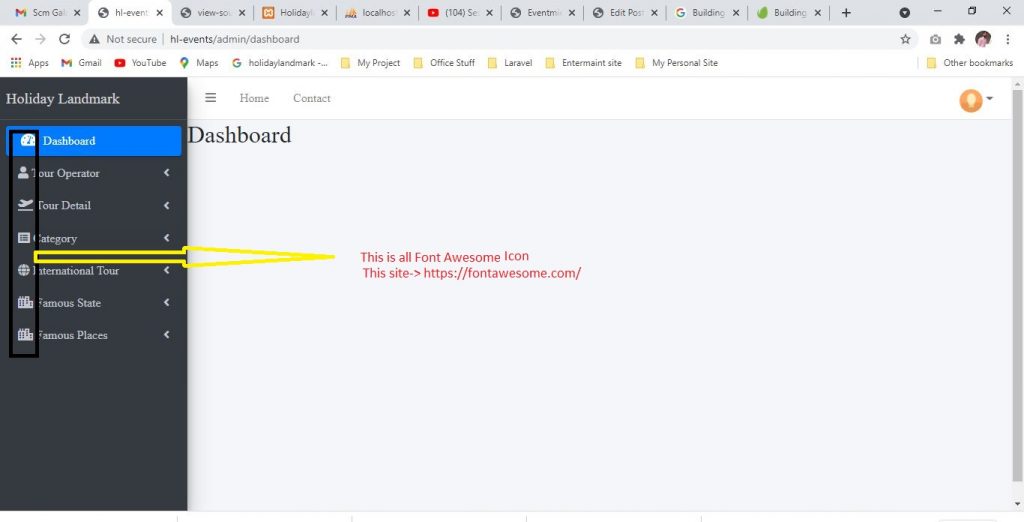
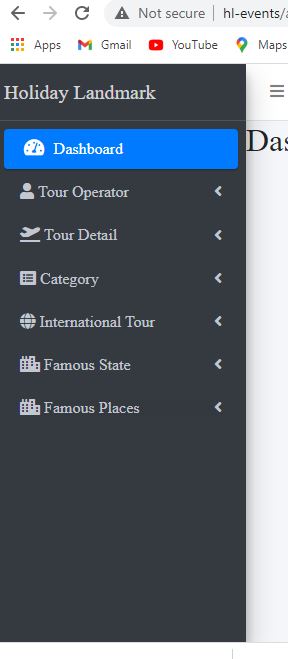
- The menu itself. This will contain the menu links, two headings, a light/dark mode switch, and the collapse/expand button. It might be more semantically correct to have two individual menus and place the headings outside them, but you can approach things differently if you prefer.

The header structure With Code:
Define the Main Dashboard Styles
holidaylandmark\assets\dist\css\adminlte.min.css this file call
holidaylandmark\assets\dist\css\adminlte.js this file call
holidaylandmark\assets\dist\css\adminlte.min.css this file call
holidaylandmark\assets\dist\css\adminlte.min.css this file call
holidaylandmark\assets\dist\css\adminlte.min.css this file call
holidaylandmark\assets\dist\css\adminlte.min.css this file call