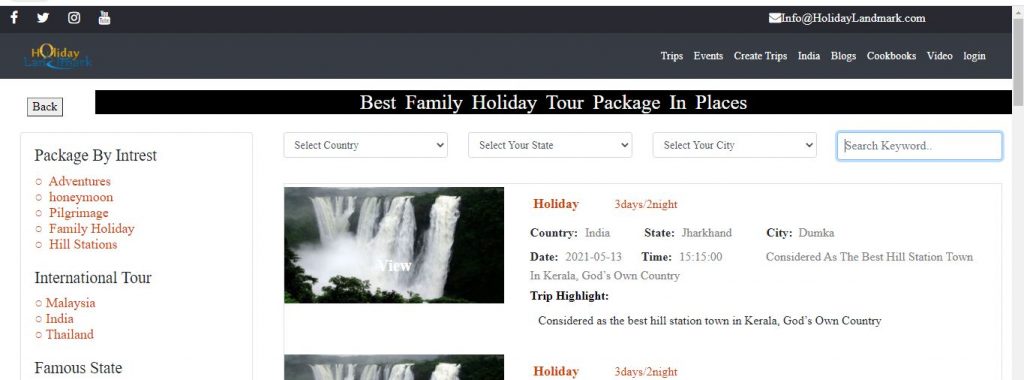
A software engineer is a person who applies the principles of software engineering to the design, development, maintenance, testing, and evaluation of computer software.
In this updated tutorial, we’ll create a responsive admin dashboard layout with CSS and a touch of JavaScript. To build it, we’ll borrow some ideas from the WordPress dashboard, such as its collapsible sidebar menu.
Throughout the tutorial, we’ll face plenty of challenges, but ones that will give us good practice for enhancing our front-end skills.
Header
Moving on with our admin dashboard layout, let’s look at the page header.
Within it, we’ll define a nav element that will serve as the wrapper for the following elements:
The logo.
The Collapse button that will toggle the menu on mobile screens.
The menu itself. This will contain the menu links, two headings, a light/dark mode switch, and the collapse/expand button. It might be more semantically correct to have two individual menus and place the headings outside them, but you can approach things differently if you prefer.
The header structure With Code:
Define the Main Dashboard Styles
holidaylandmark\assets\dist\css\adminlte.min.css this file call
holidaylandmark\assets\dist\css\adminlte.js this file call
holidaylandmark\assets\dist\css\adminlte.min.css this file call
holidaylandmark\assets\dist\css\adminlte.min.css this file call
holidaylandmark\assets\dist\css\adminlte.min.css this file call
holidaylandmark\assets\dist\css\adminlte.min.css this file call
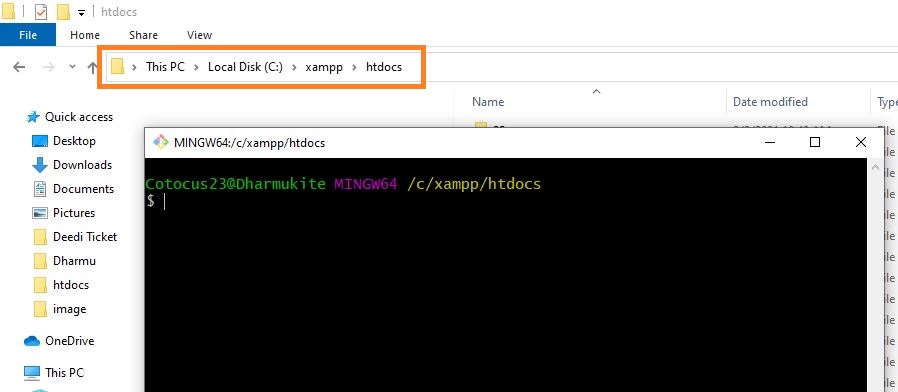
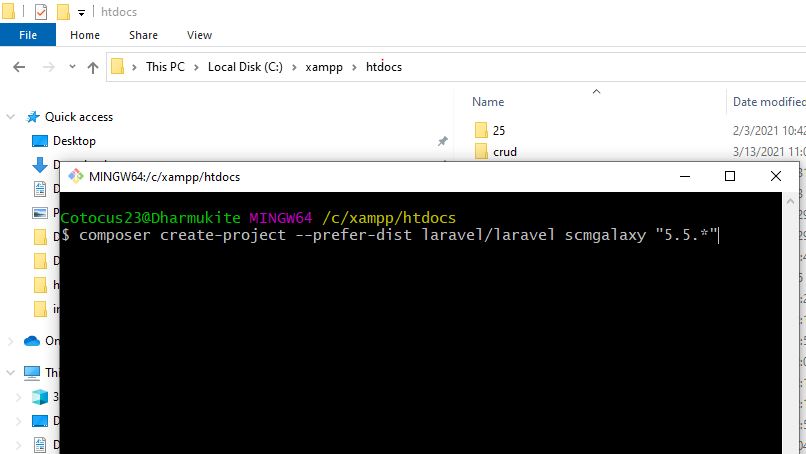
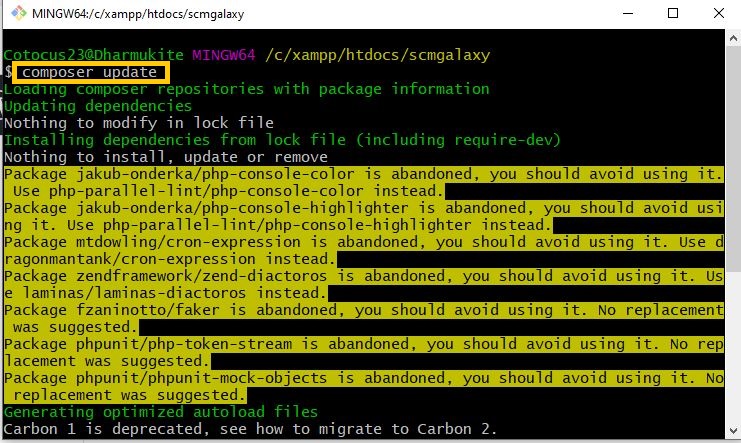
First we want to Download Laravel 5.8 version for developing Crud application using Ajax. For this you have to open your terminal or command prompt and write below command. It will download Laravel 5.8 in your define directory.
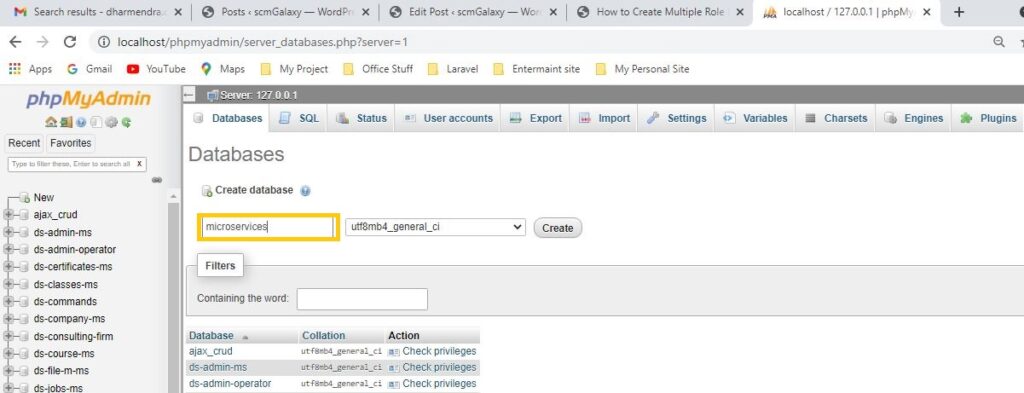
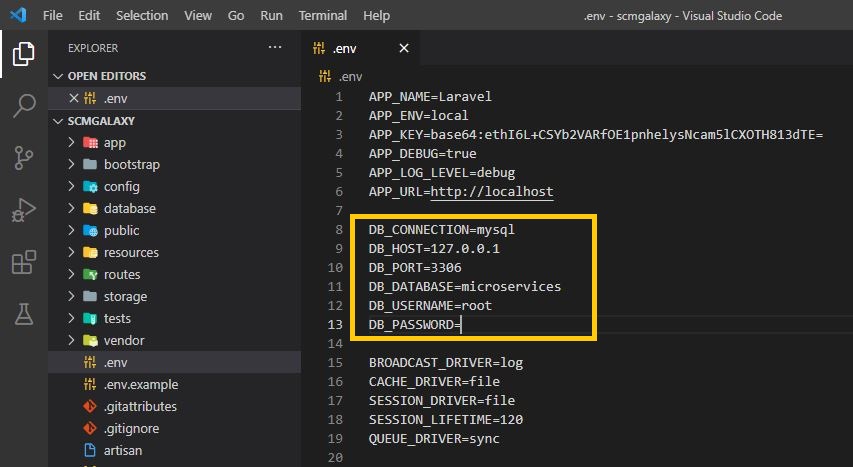
Once Laravel 5.8 has been downloaded then after we have to make Database connection. For this first you have to open config/database.php and define Mysql Database configuration.
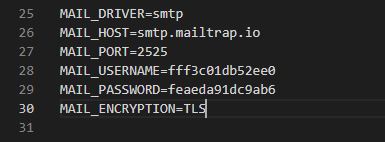
After this you have to open .env file and in that file also you have to define Mysql Database configuration, which you can find below.
Step 3 – Create Table
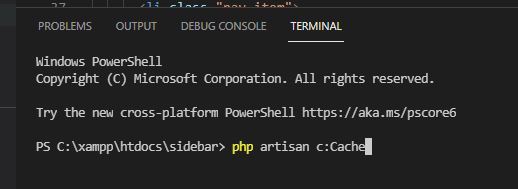
For Create Crud Application, first we have to create Mysql table. For create Mysql table from Laravel 5.8 application we have to write following artisan command in your command prompt.
Above command will command create migration file in database/migrations folder. In that file we have to define table column which you want to define in Mysql table. Below you can find source code of migration file.
Lastly for create Mysql table in your Database, you have to write following command in your terminal or command prompt. It will create ajax_cruds table in your define Database.
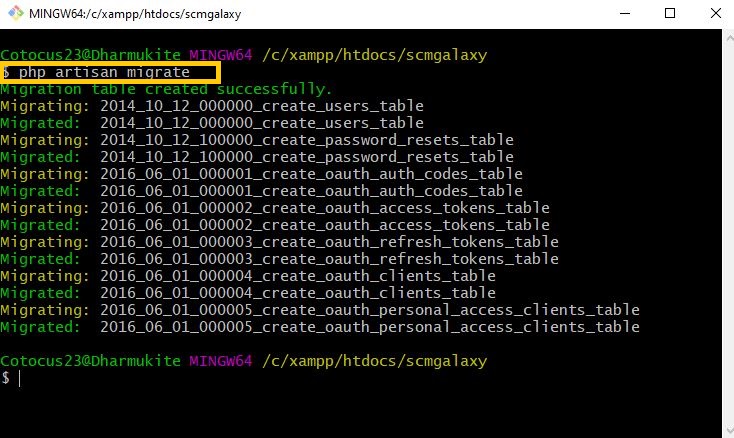
php artisan migrate
Step 4 – Create Model in Laravel 5.8
Now we want to make Model in Laravel 5.8, For this you have to write following command in your terminal or command prompt. It will create model file here app/AjaxCrud.php.
php artisan make:model AjaxCrud -m
Under this app/AjaxCrud.php file, you have to define table column for database operation which source code you can find below.
Step 5 – Create Blades Files
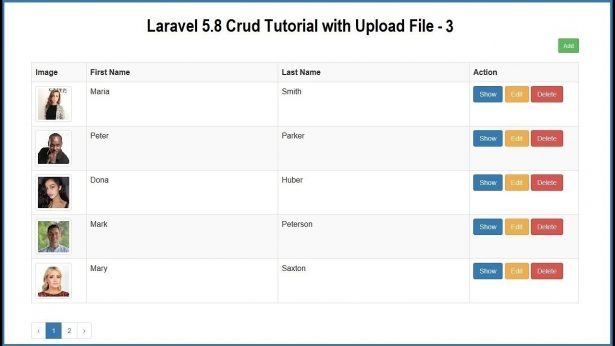
For display output data in browser, in Laravel 5.8 we have to create blade file in resources/views folder. Under this folder we have create ajax_index.blade.php file. In this file you can find HTML code and jQuery code for display data in jQuery Datatable.
Step 6 – Set Resource Route
Step 7 – Create Controller in Laravel 5.8
Lastly, We need to set resource route for ajax crud application. For this we have to open routes/web.php file.
Controller mostly used for handle HTTP request. Create new controller in Laravel 5.8 framework, we have to write following command.
This command will create AjaxCrudController.php file in app/Http/Controllers folder. In this controller file you can find all in build required method for do Crud operation. Under this controller for use AjaxCrud model, first we have to define use App\AjaxCrud; this statement at the header of the AjaxCrudController.php file.
index() – This is the root method of this controller. This method will received Ajax request for load data in jQuery DataTables plugin. If this method received ajax request then it will load data in jQuery DataTables plugin. In this ajax block you can find yajra datatables package code.
store() – For Insert Data into Mysql table using ajax in Laravel 5.8, here we have use store() method of AjaxCrudController.php. This method will received Ajax request for insert or add data. Under this method first it has validate for data. If there is any validation fails then it will send response to ajax request in JSON format. But there is no any validation fails then it will continue execution of code and first it will upload profile image of user and then after it will insert data into mysql table. And lastly it will send json response to ajax request.
edit() – This method is used for fetch single row of data from mysql table, and send data to ajax request in json formate which will be display under Bootstrap modal form.
update() – This method has received ajax request for update existing mysql table data. In this method first it check user has select profile image or not. If User is select image then in this method it will validate form data with selected file is image or not. But Suppose user has not select image then it will only validate textbox data only. If there is any validation error occur then it will send data to ajax request in json formate. After successfully validate form data then it will update data.
destroy() – For delete or remove mysql data, ajax request will be send to destroy() method. It will delete or remove mysql data in Laravel 5.8 by using ajax.
For run Laravel 5.8 application, you can write following command.
php artisan serve
For see Laravel 5.8 application in your browser, you have to write following url.
For download fresh copy of Laravel framework, so first we have to into command prompt and run following command. This command will make join_table directory and under that directory it will download Laravel framework latest version.
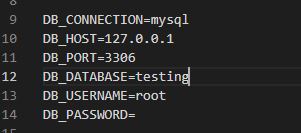
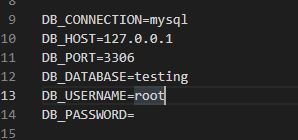
After download and install Laravel framework and after this we want to make first database connection. So for make database connection, we have to open .env file and under this file, we have to define mysql database configuration. So it will create database connection in Laravel framework.
DB_DATABASE=testing
DB_USERNAME=root
Step3:Sql file import
Once you have make database connection, then after we have to make table in mysql database. So for this you have to run following sql script in your local database, so it will create table in your define mysql database.
Step3:Create Model Class
In Laravel framework, we have to create model class for database related operation. So for create model classe using compost, we have go to command prompt and run following command, this command will make model class file with name Country.php under app/Models folder.
php artisan make:model Country
After create model class, we have to open that file and under that file we have to define mysql table name details and column details.
Step4:Create Controller Class
Under this Laravel framework, for handle HTTP request we have to create controller class. So for create controller using compost, we have go to command prompt and run following command.
php artisan make:controller JointableController
Once your controller class has been create then for open that file, we have go to app/Http/Controllers/JointableController.php file and under this file you have write following code for join multiple table using eloquent model and fetch data from multiple table in single query execution.
Step4:Create View Blade file
For display HTML output in browser, so we have to create view blade file in Laravel framework. In Laravel framework view blade file has been store under resources/views folder. Under this file, we have create join_table.blade.php file. Under this file, it will received data from controller class file. You can find source code of this view blade file in below.
Step 5: Set Route
Under this Laravel framework, we have to set route of the controller method. For set route in Laravel 8 framework, we have to open routes/web.php file. In Laravel 8 framework for set route, we have to first import our controller class under this web.php file. And for set route you can find source code below.
Step 6:Run Laravel Server
After follow all above steps now all are set now we want to run Laravel application in browser. So for this, we have to go command prompt and run following command.
php artisan serve
Once you have run above command so after run this command it will provide us base url of our Laravel application. So for check above script output, we have to hit following url in browser.