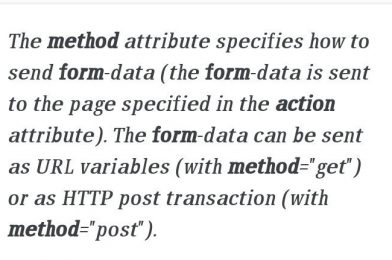
The HTTP method used to transfer data while submitting the form is specified using the HTML form> method Attribute. The HTTP methods GET and POST are the two types of HTTP methods. With the form> element, the method attribute can be used.
Attribute Values:
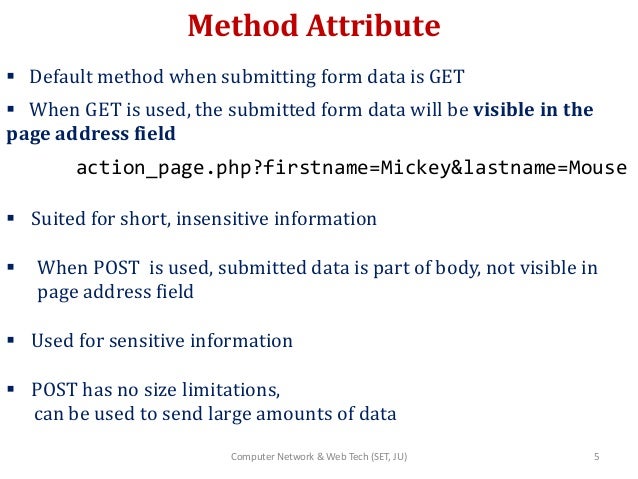
GET:- When using the GET method, the form data are shown in the address bar of the new browser tab once the form is submitted. It is restricted to around 3000 characters in length. It’s just good for non-sensitive data, not for sensitive data.
POST:– After submitting a form with the post method, the form values will not appear in the address bar of the new browser tab, as they did with the GET method. The form data is appended to the body of the HTTP request. It is unrestricted in terms of size. The outcome of this technique is not bookmarkable.
Which are the Supported Tags:–
<form>
Syntax:–
<form method="get|post">
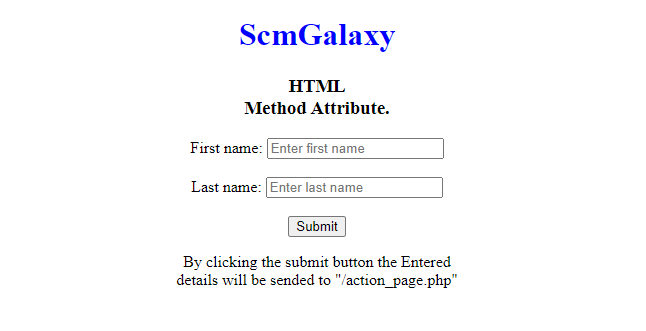
Example 1:– This example illustrates the use of GET method attribute.
Output:-
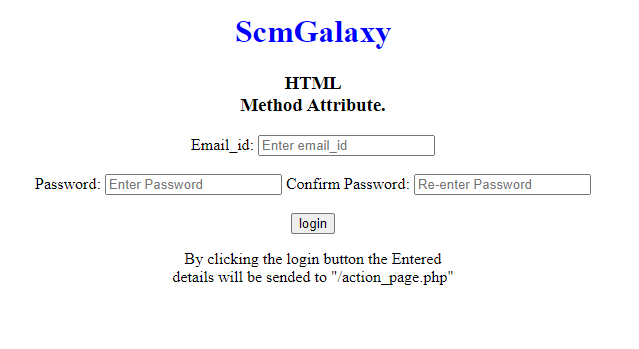
Example 2: This example illustrates the use of the POST method attribute. This method sends the form-data as an HTTP post-transaction.
Specifies the charset used in the submitted form (default: the page charset).
action
URL
Contains a URL that defines where to send the data after submitting the form
autocomplete
On (default) Off
Determines that the browser retains the history of previous values.
enctype
(default: is url-encoded)
specifies how the browser encodes the data before it sends it to the server.
method
GET (default) POST
Specifies how to send the form data to a web server. The data can be sent as URL variables, by using the get method or as HTTP post, by using the post method
name
name
Specifies a name used to identify the form
novalidate
novalidate
Specifies that the browser should not validate the form.
target
_self (default) _blank _parent _top framename
Specifies the target of the address in the action attribute
Input Tag
<input> tag prompts the user to enter data and also request for the information from the web server after submitting the web form.
<form>
	<input>
</form>
No input end tag in HTML5
Attribute
Value
Description
accept
file_extension audio/* video/* image/* media_type
Specifies the types of files that the server accepts
alt
text
Specifies an alternate text for an image. only used with type=“image”
autocomplete
on off
It enables or disable autocomplete in <input> tag
autofocus
autofocus
Specifies that an <input> element should automatically get focus when the page loads
checked
checked
Input element should be checked/selected when a web page loads. It is used only with type=”checkbox” and type=”radio”
dirname
inputname.dir
Specifies that the text direction will be submitted
disabled
disabled
Disables the input element when it loads on the client side’s web page, so that user cannot write text in it or select it. This attribute cannot be used with type=“hidden”
form
form_id
Specifies form’s id to which the input field belongs.
formaction
URL
Specifies the URL of the file that will process the input control when the form is submitted
Specifies how the form-data should be encoded when submitting it to the server
formmethod
GET POST
Defines the HTTP method for sending data to the action URL
formnovalidate
formnovalidate
Defines that form elements should not be validated when submitted
formtarget
_blank _self _parent _top framename
Specifies where to display the response that is received after submitting the form
height
pixels
Indicates the height of an input field
list
Id of a datalist
Contains the id of the <datalist> tag where a datalist element contains various options for an input field
max
number date
Specifies the maximum value for an <input> element number, range, date, datetime-local, month, time and week.
maxlength minlength
number
Specifies the maximum/minimum number of characters allowed in a text field.
min
number date
Specifies a minimum value for an <input> element number, range, date, datetime-local, month, time and week.
multiple
multiple
Indicates whether the user is allowed to enter more than one value
name
text
Defines a unique name for the input element.
pattern
regexp
Specifies a regular expression that an <input> element’s value is checked against
placeholder
text
Specifies a short hint that describes the expected value text, search, url, tel, email, and password
readonly
readonly
Indicates that the value of this field cannot be modified.
required
required
Specifies that an input field must be filled out before submitting the form
size
number
Specifies the width of the control. If type=”text” or type=”password” this refers to the width in characters. Otherwise it’s in pixels.
src
URL
Defines the URL of the image to display. It can be used only with type=“image”
step
number
Specifies the legal number intervals for an input field
type
button checkbox color date datetime datetime-local email file hidden image month number password radio range reset search submit tel text time url week
Indicates the type of the input element. The default value is text.
value
text
Specifies the value of an <input> element
width
pixels
Indicates the width of an input field
Type Attribute
It indicates the type of input element. It’s an empty tag. The default value is text.
Ex: –
<input>
<input type=“text”>
Text – It defines a single-line text field. <input type=“text”>
Password – A password field is like text field, the difference being that this control hides each typed character by displaying an asterisk(*) or bullets(●) instead of the character itself. <input type=“password”>
Button – This is used to add a button on a web form to activate a script when an user click the button. <input type=“button”>
Email – This field is used to add an email address or a list of email address to a form, where type=“email” is a value for the input type. The input format should be an email like example@gmail.com else it will prompt an error. <input type=“email”>
Check Box – A check box is a small box, which when selected includes a checkmark. It is used to allow the user to select one or more than one of the options available on a web page. An User can select or clear the check box by clicking it. <input type=“checkbox”>
Radio Button – A radio button is used to create a series of options of which only one can be selected. It is displayed as a circle which when selected, displays a dot in the middle. <input type=“radio”>
•URL – The URL field is used to enter only the web addresses, in their correct format. If the URL is not entered in the correct format then the URL field validates the text field to enter web address. <input type=“url”> Autofocus – helps in keeping the focus of mouse pointer on the input field. Pattern – defines the regular expression of the text that should be entered in the text field.
Search Box – This is used to add a search box to a form. <input type=“search”>
Tel – The tel type represents a one-line plain-text edit for entering a telephone number. <input type=“tel”>
Range – Range input represents the input of limited range numerical values. <input type=“range”>
Number – Number is used to validate the textbox only if the value within the field is a numerical value. <input type=“number”>
File – This is used to upload a file on a web page. You also need to set the enctype=“multipart/form-data”. <input type=“file”>
Image – It represents either an image from which the UA enables a user to interactively select a pair of coordinates and submit the form, or alternatively a button from which the user can submit the form. <input type=“image”>
Hidden – A hidden control stores the data that is not visible to the user on a web page. This control is used to submit some information, which can not be edited by user. <input type=“hidden”>
Submit – A submit button is used to transfer form data to the URL specified in the <form action> tag.<input type=“submit”>
Reset Button – A reset button helps user to clear all the data that they have entered in the text fields.<input type=“reset”>
Date – This is used for input fields that should contain a date. <input type=“date”>
Time – It allows the user to select a time. <input type=“time”>
DateTime – It allows the user to select date and time. <input type=“datetime”>
Datetime-local – It allows the user to select a date and time. <input type=“datetime-local”>
Month – It allows the user to select a month and year. <input type=“month”>
Week – It allows the user to select a week and year. <input type=“week”>
Color – It is used for input fields that should contain a color. <input type=“color”>
accept-charset Attribute
It specifies the character encodings that are to be used for the form submission.
ISO-8859-1 Character encoding for the Latin alphabet
UTF-8 Character encoding for Unicode
<form accept-charset=“UTF-8”>
Action Attribute
It contains a URL that defines where to send the data after submitting the form. It specifies the physical address of the server to which the user data should be redirected at the click of the submit button. action=http://www.something.com/something.html action=“page.html” action=“gotform.php” action=“example.asp”
If the action attribute is omitted, the action is set to the current page.
Autocomplete
On – The browser will automatically complete values based on values that the user has entered before. Off – User need to write all values each time they fill the form <form autocomplete=“on”>
enctype Attribute
It specifies how the browser encodes the data before it sends it to the server.
Value
Description
application/x-www-form-urlencoded
All characters are encoded before sent (spaces are converted to “+” symbols, and special characters are converted to ASCII HEX values)
multipart/form-data
No characters are encoded. This value is required when you are using forms that have a file upload control
text/plain
Spaces are converted to “+” symbols, but no special characters are encoded
<form enctype=“multipart/form-data”>
Method Attribute
It Specifies how to send the form data to a web server. The data can be sent as URL variables, by using the get method or as HTTP post, by using the post method.
GET(default)
POST
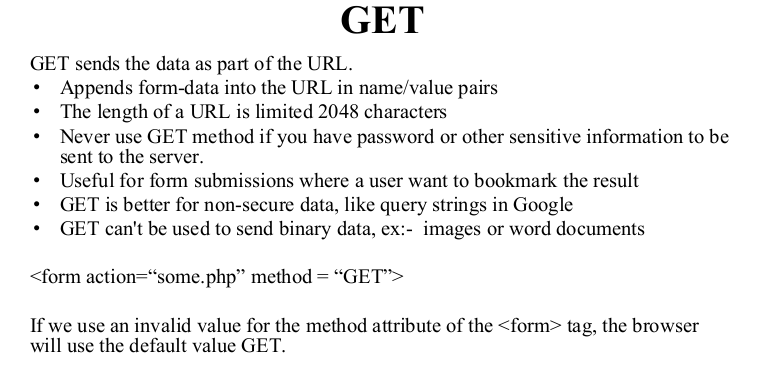
GET
GET sends the data as part of the URL.
Appends form-data into the URL in name/value pairs.
The length of a URL is limited 2048 characters.
Never use GET method if you have password or other sensitive information to be sent to the server.
Useful for form submissions where a user want to bookmark the result.
GET is better for non-secure data, like query strings in Google.
GET can’t be used to send binary data, ex:- images or word documents.
<form action=“some.php” method = “GET”>
If we use an invalid value for the method attribute of the <form> tag, the browser will use the default value GET.
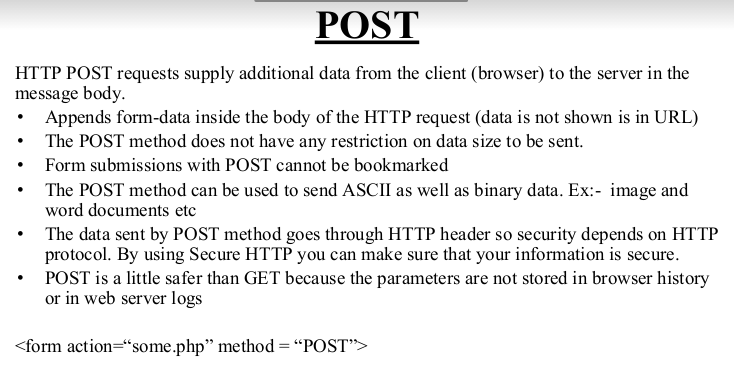
POST
HTTP POST requests supply additional data from the client (browser) to the server in the message body.
Appends form-data inside the body of the HTTP request (data is not shown is in URL).
The POST method does not have any restriction on data size to be sent.
Form submissions with POST cannot be bookmarked.
The POST method can be used to send ASCII as well as binary data. Ex:- image and word documents etc.
The data sent by POST method goes through HTTP header so security depends on HTTP protocol. By using Secure HTTP you can make sure that your information is secure.
POST is a little safer than GET because the parameters are not stored in browser history or in web server logs.
<form action=“some.php” method = “POST”>
GET
POST
BACK button/Reload
Harmless
Data will be re-submitted (the browser should alert the user that the data are about to be re-submitted)
Bookmarked
Can be bookmarked
Cannot be bookmarked
Cached
Can be cached
Not cached
Encoding type
application/x-www-form-urlencoded
application/x-www-form-urlencoded or multipart/form-data. Use multipart encoding for binary data
History
Parameters remain in browser history
Parameters are not saved in browser history
Restrictions on data type
Only ASCII characters allowed
No restrictions. Binary data is also allowed
Visibility
Data is visible to everyone in the URL
Data is not displayed in the URL
Name Attribute
Specifies a name used to identify the form. It is Used to give a name to the control which is sent to the server to be recognized and get the value. name=“lastname”
novalidate
If we use novalidate attribute in form tag then the validation will not take place, even if there is a required filed.