This property is used to define how an element should display. Every HTML element has a default display value depending on what type of element it is. The default display value for most elements is block or inline.
display properties use below –
- inline
- block
- flex
- inline-block
- inline-flex
- inline-table
- list-item
- run-in
- table
- table-row-group
- table-caption
- table-column-group
- table-header-group
- table-footer-group
- table-cell
- table-column
- table-row none
Display–
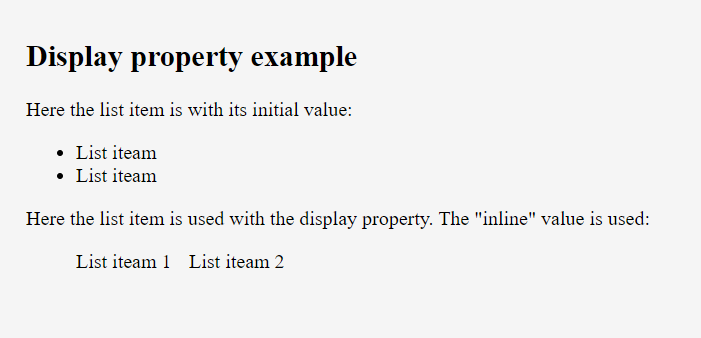
- inline – When we set this value, the element does not start on a new line and only takes up as much width as necessary (we can’t set width/height it won’t work)
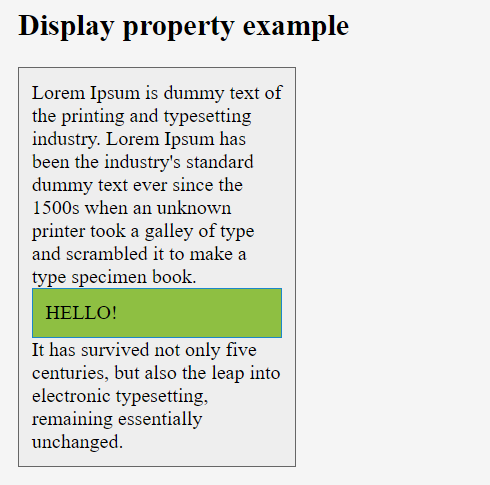
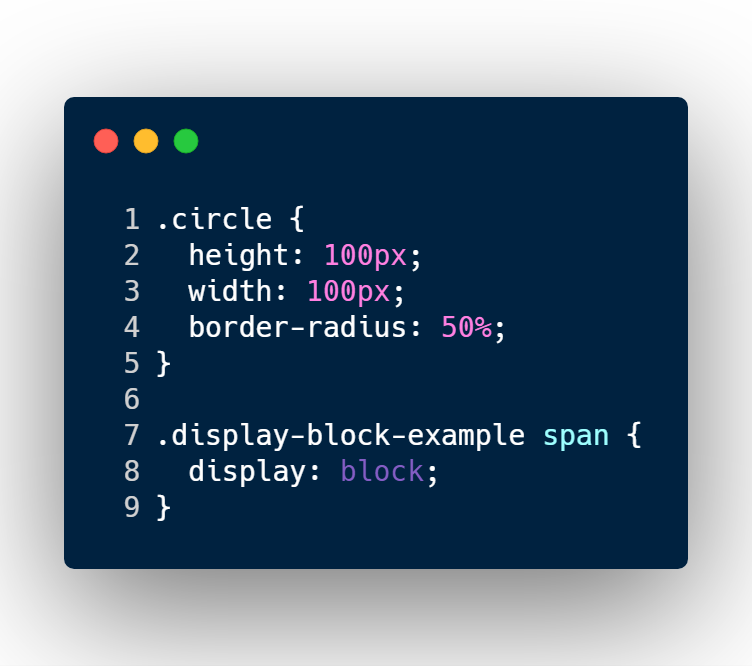
- block – When we set this value, element always starts on a new line and takes up the full width available (we can set width/height)
- inline-block – It is combination of inline and block value. It doesn’t start on new line but we can set width and height.
- none – The element will not be displayed at all (has no effect on layout)
- flex – Displays an element as a block-level flex container.
- inline-flex – Displays an element as an inline-level flex container.
- inline-table – The element is displayed as an inline-level table
- run-in – Displays an element as either block or inline, depending on context
- table – It works like a element
- table-caption – It works like a element
- table-header-group – It works like a element
- table-footer-group – It works like a element
- table-row-group – It works like a element
- table-cell – It works like a element
- table-row – It works like a element
- list-item – It works like a element
justify-content–
This property is used to align the flexible container’s items when the items do not use all available space on the main-axis (horizontally). We can set this property to flex-start (default), flex-end, center, space-between, space-around.
Ex: –
div { justify-content: center; }
- flex-start – This is used to position the item at the beginning of the container
- flex-end – This is used to position the item at the end of the container
- center – This is used to position the item at the center of the container
- space-between – This is used to position the item with space between the lines
- space-around – This is used to position the item with space before, between, and after the lines
align-items–
This property is used to specify the default alignment for items inside the container. This property can be override using align-self property for each item. We can set this property to stretch (default), center, flex-start, flex-end, baseline.
Ex: –
div { align-items: center; }
- stretch – This is used to stretch the item to fit the container
- center – This is used to position the item at the center of the container
- flex-start – This is used to position the item at the beginning of the container
- flex-end – This is used to position the item at the end of the container
- baseline – This is used to position the item at the baseline of the container
align-content–
This property is used to modify the behavior of the flex-wrap property. It is similar to align-items, but instead of aligning flex items, it aligns flex lines. There must be multiple lines of items for this property to have any effect. We can set this property to stretch (default), center, flex-start, flex-end, space-between, space-around.
Ex: –
- div { align-content: center; }
- stretch – Lines stretch to take up the remaining space
- center – Lines are packed toward the center of the flex container
- flex-start – Lines are packed toward the start of the flex container
- flex-end – Lines are packed toward the end of the flex container
- space-between – Lines are evenly distributed in the flex container
- space-around – Lines are evenly distributed in the flex container, with half-size spaces on either end
order–
This property is used to specify the order of a flexible item relative to the rest of the flexible items inside the same container. If the element is not a flexible item, the order property has no effect. We can set this property to number (default 0).
Ex: –
div {order: 1}
align-self–
This property is used to specify the alignment for the selected item inside the flexible container. The align-self property overrides the flexible container’s align-items property. We can set this property to auto (default), stretch, center, flex-start, flex-end, baseline.
Ex: –
- div {align-self: center;}
- auto – The element inherits its parent container’s align-items property, or “stretch” if it has no parent container
- stretch – This is used to position the element to fit the container
- center – This is used to position the element at the center of the container
- flex-start – This is used to position the element at the beginning of the container
- flex-end – This is used to position the element at the end of the container
- baseline – This is used to position the element at the baseline of the container