What are the next gen. projects in the Jira cloud?

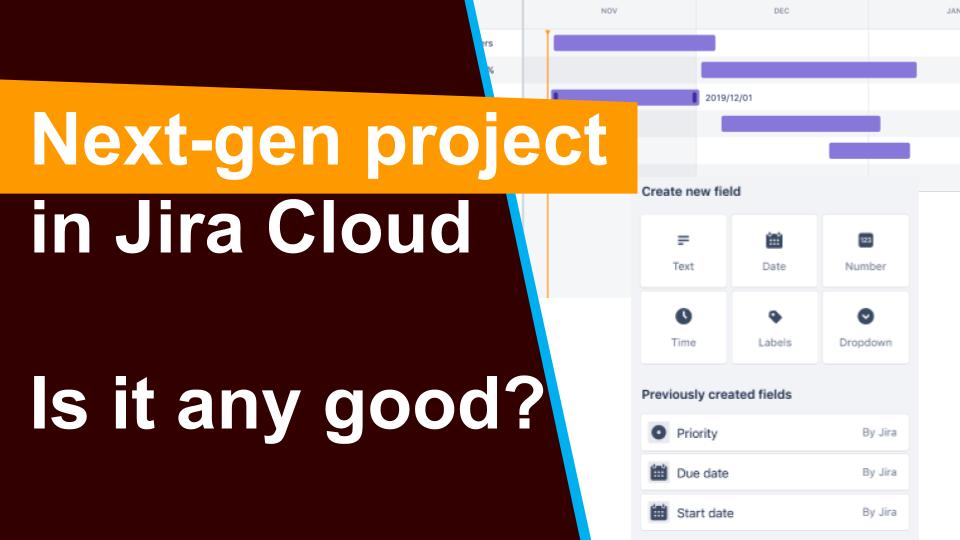
Hi, my loving friends. Welcome to this course. In this article, I will explain to you about the next-gen project. This is the new feature of Jira and atlas Sian introduced it in the year 2018 so, let’s have a look at the agenda of this content. In this, we will learn what are the next-gen projects, how to create next-gen projects? How can we create issues and add issue types in next-gen projects and how to configure the board? So. Let’ start.

What are the next-gen projects?

Next-gen projects are the newest projects in Jira software and it is only available on the cloud platform to the server one. If you are using a server the server platform and you wouldn’t be able to sit. The third one is configured by project team members. Any team member with the project’s admin role can modify the setting of their next-gen projects. There is no need to take the help of the Jira administrator to add the issue types and to add some fields to your screen. The Fourth one is it is easier and faster to configure than classic projects. You can easily configure setting like issue types and fields with drag-and-drop editing and reordering all in a single place because the best part of next-gen projects is the ability to enable and disable the features and it allows you to scale your projects as your team grows and tailor your projects to your team changing needs so, this is the best thing in the next-gen projects. And before going forward, I would like to tell you one more thing like atlas Sian is building the next-gen Jira software from the ground up.

How to create next-gen projects?

So, it doesn’t yet have all the features that classic projects have. And they are a lot of differences between the next-gen and the classic projects like if I’m talking about the configurations then in the classic projects. We are able to share the configurations from one project to another. But in the next gen, you can’t share it. If you did some configurations for the particular projects in the next-gen, you wouldn’t be able to share that configuration with another project. And there are many more like estimations in the classic projects, you have the options, you can give the estimations in story point in your basis but in the next-gen, there is only one option is available and that is a story point. If you will go to the next-gen cloud instance and see how can you create the next-gen projects and configure them? There will be your cloud instance and you will create the next-gen projects from there. You will see that there will be two options are available one is classic and the other is next-gen. if that particular option is created out for you then this is the permission issue so, before creating the next-gen project. I would like to tell you about the permission so, once you will click on the Jira setting and go to the global permissions, there will be your global permission schema, and create next-gen project option will be there. At the time, you will have permission to create the next-gen project. You will click on the next-gen project and you will see the interface is similar to the classic.

You can simply change the template from there but you will see only two templates are available one is scrum and another one is Kanban. If you will go with Kanban and name the project, you will see the access option (open, limited, private) and project key as a classic one. If you want to change the project key then you can do it there. You will go forward to clicking the create button then the next-gen project board will appear which would be similar to the classic one but what is the difference and how can you identify that this is the next-gen project but what will happen? If you will haven’t created it yet you didn’t create it. Maybe, you are using the project which is created by another one. You will see in the bottom line that you are in the next-gen project. You can find out and identify that you are using the next-gen project. You will see there are the options which are roadmap, board, pages, add an item, and project setting. A Roadmap is a good option which is given by the next-gen project. I will discuss this later in the course. I hope this will give you exact direction in the way of your Jira learning and about its next-gen project. So, you will stay tuned with this course for further next information regarding Jira next-gen project.
Related Video:

Tagged : / / / / / / / / /

Merging Functionality in TFSC

The merging functionality in TFSC is centered on the following typical development scenarios:

  • Scenario 1: The catch-up merge— The user wants to merge all changes from a source branch that have not yet been migrated to the target branch. The source and target can be a subtree or an individual file/folder.
  • Scenario 2: The catch-up no-merge— The user wants to discard nonmerged changes in the source branch from the set of candidate changes for future merges between the specified source and target.
  • Scenario 3: The cherry-pick merge— The user wants to merge individual change sets from the source branch to the target branch. Changes introduced to those files prior to the specified change set should not be migrated.
    • The user can specify the change sets to merge with a change set number.
    • The user can specify individual file revisions to merge between the source and target.
  • Scenario 4: The cherry-pick no-merge— The user wants to discard a single change set from the list of all possible changes to merge between the source and target so that this change set never appears in the list of candidates for a cherry pick merge.
  • Scenario 5: Merge history query— The user wants to know whether the specified change set has been merged into the target branch. If it has, the user wants to know what change set the merge was committed in. The user also wants to know if part of the change set has been merged, but not all.
  • Scenario 6: Merge candidate query— The user wants to obtain a list of change sets that have been committed to a source branch but have not yet been migrated to the target branch. From this list, the user selects change sets to migrate with a cherry pick merge.

How TFSC Addresses the Scenarios

TFSC merging is designed to provide users with an extremely powerful and flexible tool for managing the contents of branches. Merges can be made into a single file or into a tree of related files. Merges can also migrate the entire change history of the specified source files or an individual change set or revision that might contain a specific fix or feature that should be migrated without moving other changes from the source in the process. Merging the entire change history prior to a given point in time is known as a catch-up merge (Scenarios 1 and 2), whereas selecting individual change sets or revisions to merge is known as a cherry-pick merge (Scenarios 3 and 4). The merge command also allows users to query for merge history and merge candidates and perform the actual merge operation.

TFSC presents merge history and candidate merges as a list of change sets that have or can be migrated between a source and a target branch. Merges can be made to a subset of files in a change set, creating a situation in which a partial change set has been merged. In this case, TFSC represents the partial state of the merge and allows the user to finish merging the change set later.

Merges are pending changes in TFSC. The user can choose to perform several merge operations within a workspace without committing changes following each merge. All these merges can be staged in the user’s workspace and committed with a single check-in as a single change set. In addition, the pending merge operation can be combined with the checkout and rename commands to interject additional changes to the files that will be committed with the merge.

Hopefully you followed this summary and are still with me. Now let’s go into how branching works in TFSC.

Reference: The Build Master: Microsoft’s Software Configuration Management Best Practices

Tagged : / / / / /

Sonar team released Sonar Maven Plugin 1.0-beta-2

sonar-maven-plugin

The Sonar team is pleased to announce the release of Sonar Maven Plugin, version 1.0-beta-2.

It makes configuration easier when using a repository manager like Archiva or Nexus. Indeed no additional settings are required anymore ! Let’s remind that the version 1.0-beta-1 needs to declare a mirror in maven settings or to add a new repository to the manager.
This improvement requires Sonar 2.2+. It is automatically disabled when using sonar 2.1 or less. Upgrading to this version should be automatic if the shortcut “mvn sonar:sonar” or the hudson plugin are used.


Tagged : / / / / / / / / / / / / / /

Sonar mojo 1.0-beta-2 Released by Mojo team – Configure now

sonar-mojo-10

The Mojo team is pleased to announce the release of Sonar Maven Plugin, version 1.0-beta-2. It makes configuration easier when using a repository manager like Archivaor Nexus. Indeed no additional settings are required anymore ! Let’s remind that the version 1.0-beta-1 needs to declare a mirror in maven settings.

This improvement requires Sonar 2.2+. It is automatically disabled when using sonar 2.1 or less. Upgrading to this version should be automatic if the shortcut “mvn sonar:sonar” is used.

Tagged : / / / / / / / / / / / / / / /

Powerful New Amazon EC2 Boot Features – Introduction

amazon-ec2-boot-features

Today a powerful new feature is available for our Amazon EC2 customers: the ability to boot their instances from Amazon EBS (Elastic Block Store).

Customers like the simplicity of the AMI (Amazon Machine Image) model where they either choose a preconfigured AMI or upload their own AMI into Amazon S3. A wide variety of operating systems and software configurations is available for use. But customers have also asked us for more flexibility and control in the way that Amazon EC2 instances are booted such that they have finer grained control over for example what software configurations and data sets are available to the instance at boot time.

serverfolders-small.jpg

The ability to boot from Amazon EBS gives customers very powerful control over the boot configuration of the Amazon EC2 instances. In the traditional boot process, the root partition of the image will be the local disk, which is created and populated at boot time. In the new Amazon EBS boot process, the root partition is an Amazon EBS volume, which is created at boot time from an Amazon EBS snapshot. Other Amazon EBS volumes beyond the root disk can also made part of the instance before it is booted. This allows for a very fine-grain control of software and data configuration. An additional advantage of using the Amazon EBS boot process is that root partitions are no longer constrained by the size of the local disk and can be up to 1TB in size. And the new boot process is significantly faster because a local disk no longer needs to be populated.

With this new boot process another powerful feature is available to our Amazon EC2 customers: the ability to stop an instance and restart it at a later time with the disk configuration intact. When an instance is restarted, the customer can choose to use a different instance type (e.g., with more memory or CPU), a different operating system (e.g., with new security patches installed), or add new user data. While the instance is stopped it does not accrue any usage hours and customers are only charged for the storage associated with the Amazon EBS volume. The ability to stop and restart an instance is a very powerful mechanism that makes management of instances much easier; many scenarios related to adaptive instance sizing and software management have now become much simpler.

The new boot from Amazon EBS feature is an important step in our continuing quest to remove more and more of the heavy lifting that comes with today’s computer environments.

Tagged : / / / / / / / / / / / / / / / /