In PHP, we can also define a string by wrapping it in a double quote. However, double quote PHP strings will be used to evaluate escape sequences and variables.
How to Create Strings Using Double Quoted with Example.
When compared to single quotes, double quotes are utilised to build more complicated strings.
Variable names can be enclosed in double quotations, and the values of those variables will be displayed.
Consider the following scenario.
Example 1:-
Output:–
Hello text within double quote
Example 2:-
Output:–
Parse error: syntax error, unexpected 'quote' (T_STRING) in C:\wamp\www\string1.php on line 2
Example 3:-
Output:–
Hello text multiple line text within double quoted string
Using double "quote" with backslash inside double quoted string
Using escape sequences in double quoted string
The method querySelector() returns the first Element match of the specified selector or group of selectors. If no matches are found, null is returned.
querySelectorAll(“CSS Selector”)
The method querySelectorAll() returns a static (not live) NodeList representing a list of the document’s elements that match the specified group of selectors.
The NodeList object represents a collection of nodes. The nodes can be accessed by index numbers. The index starts at 0.
You can use the length property of the NodeList object to determine the number of elements that matches the specified selector, then you can loop through all elements and extract the info you want.
If the specified selectors include a CSS pseudo-element, the returned list is always empty.
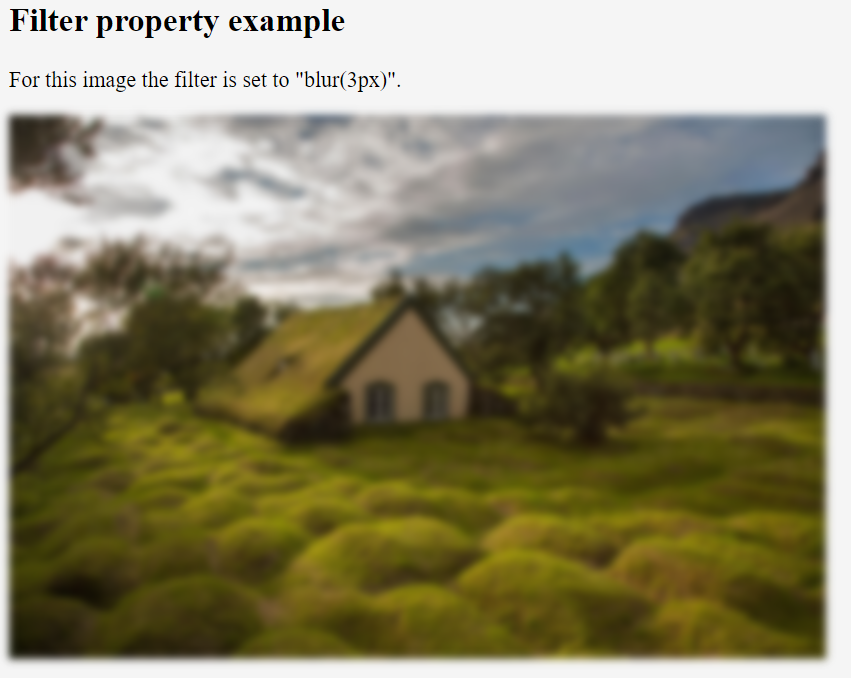
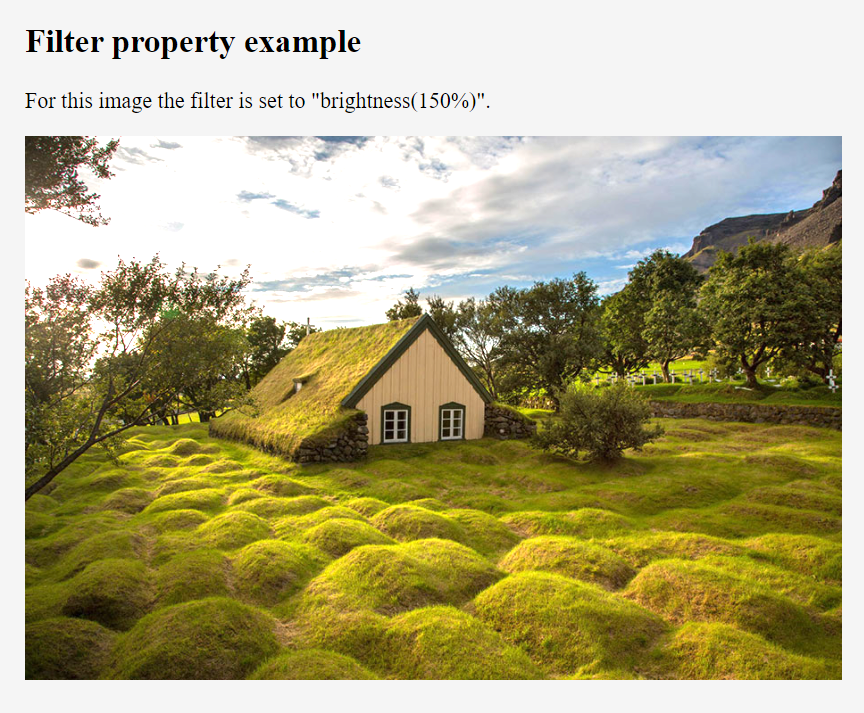
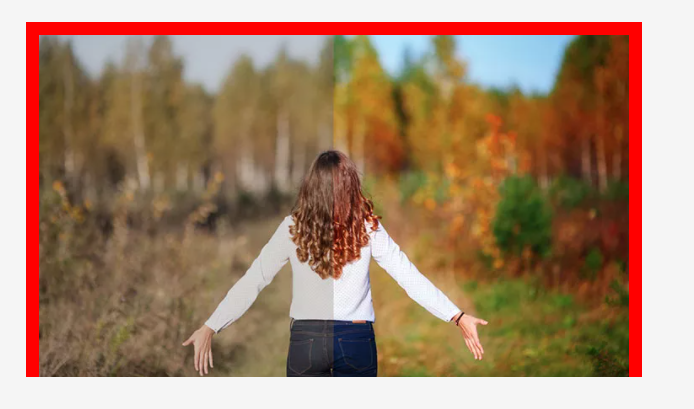
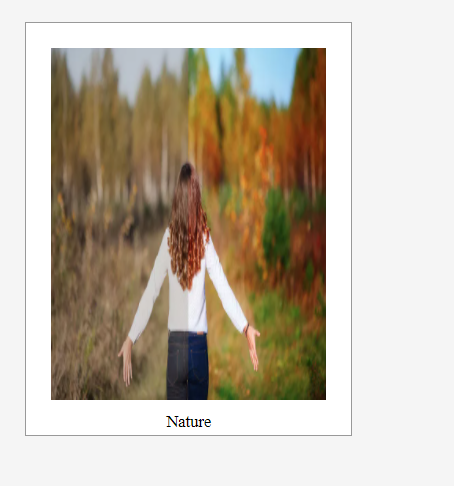
This property is used to define visual effects like blur and brightness to an element.
Ex:-
img { filter: blur(10px);}
Syntax-
none – Default value. Specifies no effects
blur(px) – This is used to apply blur effect to the image. A larger value will create more blur.
brightness(%) – This is used to adjust the brightness of the image. 0% will make the image completely black. 100% is default and represents the original image. Values over 100% will provide brighter results.
contrast(%) – This is used to adjust the contrast of the image. 0% will make the image completely black. 100% is default and represents the original image. Values over 100% will provide results with less contrast.
grayscale(%) – This is used to convert the image to grayscale. 0% is default and represents the original image. 100% will make the image completely gray. Negative values are not allowed.
hue-rotate(deg) – This is used to specify a hue rotation on the image. 0deg is default, and represents the original image. Maximum value is 360deg.
invert(%) – This is used to invert the samples in the image. 0% is default and represents the original image. 100% will make the image completely inverted. Negative values are not allowed.
opacity(%) – This is used to set the opacity level for the image. This is similar to the opacity property. 0% is completely transparent. 100% is default and represents the original image. Negative values are not allowed.
saturate(%) – This is used to saturate the image. 0% will make the image completely un-saturated. 100% is default and represents the original image. Values over 100% provides higher-saturated results. Negative values are not allowed.
sepia(%) – This is used to convert the image to sepia. 0% is default and represents the original image. 100% will make the image completely sepia. Negative values are not allowed.
url() – The url() function takes the location of an XML file that specifies an SVG filter, and may include an anchor to a specific filter element. filter: url(svg-url#element-id)
In PHP, we can make a string by surrounding the content in a single quotation mark. In PHP, it is the simplest way to specify a string.
Escape a literal single quote with a backslash (), and use double backslash to specify a literal backslash (). (\). All other backslash characters, such as r and n, will be output as they are instead of having any special meaning.
How to Create Strings Using Single quotes with Example.
Let’s have a look at the four alternative approaches to writing PHP string functions and manipulating strings in PHP.
Using Single Quotes to Build PHP Strings: The simplest approach to create a string is to use single quotes.
Let’s have a look at a PHP example that generates a simple string.
Example 1:-
Output:–
Hello text within single quote
Example 2:-
Output:–
Hello text multiple line text within single quoted string
Using double "quote" directly inside single quoted string
Using escape sequences \n in single quoted string
Example 3:-
Output:–
trying variable $num1
trying backslash n and backslash t inside single quoted string \n \t
Using single quote 'my quote' and \backslash
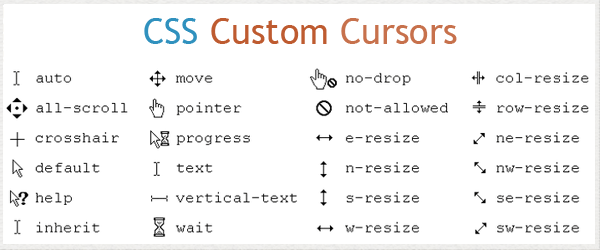
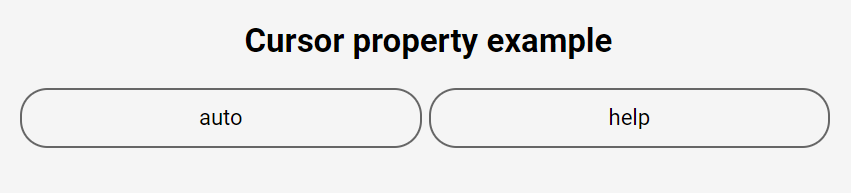
When You create a WebPage using HTML & CSS then you can change the cursor property using CSS as you wish. So, Some below Cursor Property for using-
Cursor–
default – The default cursor
auto – Default. The browser sets a cursor
all-scroll – The cursor indicates that something can be scrolled in any direction
none – No cursor is rendered for the element
not-allowed – The cursor indicates that the requested action will not be executed
text – The cursor indicates text that may be selected
URL – A comma separated list of URLs to custom cursors. Always specify a generic cursor at the end of the list, in case none of the URL-defined cursors can be used
row-resize – The cursor indicates that the row can be resized vertically
s-resize – The cursor indicates that an edge of a box is to be moved down (south)
se-resize – The cursor indicates that an edge of a box is to be moved down and right (south/east)
sw-resize – The cursor indicates that an edge of a box is to be moved down and left (south/west)
n-resize – The cursor indicates that an edge of a box is to be moved up (north)
ne-resize – The cursor indicates that an edge of a box is to be moved up and right (north/east)
nesw-resize – Indicates a bidirectional resize cursor
ns-resize – Indicates a bidirectional resize cursor
nw-resize – The cursor indicates that an edge of a box is to be moved up and left (north/west)
nwse-resize – Indicates a bidirectional resize cursor
copy – The cursor indicates something is to be copied
alias – The cursor indicates an alias of something is to be created
e-resize – The cursor indicates that an edge of a box is to be moved right (east)
ew-resize – Indicates a bidirectional resize cursor
pointer – The cursor is a pointer and indicates a link
progress – The cursor indicates that the program is busy (in progress)
zoom-out – The cursor indicates that something can be zoomed out
zoom-in – The cursor indicates that something can be zoomed in
vertical-text – The cursor indicates vertical-text that may be selected
w-resize – The cursor indicates that an edge of a box is to be moved left (west)
wait – The cursor indicates that the program is busy
context-menu – The cursor indicates that a context-menu is available
col-resize – The cursor indicates that the column can be resized horizontally
cell – The cursor indicates that a cell (or set of cells) may be selected
no-drop – The cursor indicates that the dragged item cannot be dropped here
crosshair – The cursor render as a crosshair
grab – The cursor indicates that something can be grabbed
grabbing – The cursor indicates that something can be grabbed
help – The cursor indicates that help is available
move – The cursor indicates something is to be moved
Output for above code but when you using cursor then shown result. as below image-
A PHP string is a collection of characters that can be used to save and manipulate text. PHP only supports a 256-character set, hence it doesn’t support Unicode natively.
The term “string” refers to a group of characters. PHP supports a number of data types, including strings.
Alphanumeric characters are allowed in string variables. When these conditions are met, strings are generated.
You create a variable and assign it to string characters.
With the echo statement, you can use PHP Strings directly.
String functions in PHP are language constructs that aid in the capturing of words.
Understanding how PHP strings work and manipulating them can help you become a more successful and productive developer.
In PHP, there are four different ways to specify a string literal.
If the value is “none” or if the specified image can not be found, the border styles will be used.
border-image-slice-
This property is used to specify how to slice the image specified by border-image-source property. The image is always sliced into nine sections: four corners, four edges and the middle. The “middle” part is treated as fully transparent, unless the fill keyword is set. We can set this property to number, % and fill.
Ex:-
#borderis { border-image-slice: 10; }
#borderis { border-image-slice: fill); }
border-image-width-
This property is used to specify width of the border image. We can set this property to number, length and auto.
Ex:-
#borderis { border-image-width: 10; }
#borderis { border-image-width: 10px; }
#borderis { border-image-width: 10%; }
#borderis { border-image-width: auto; }
border-image-outset-
This property is used to specify the amount by which the border image area extends beyond the border box. We can set this property to number and length.