1st step:- Open command prompt in C:\xampp\htdocs.
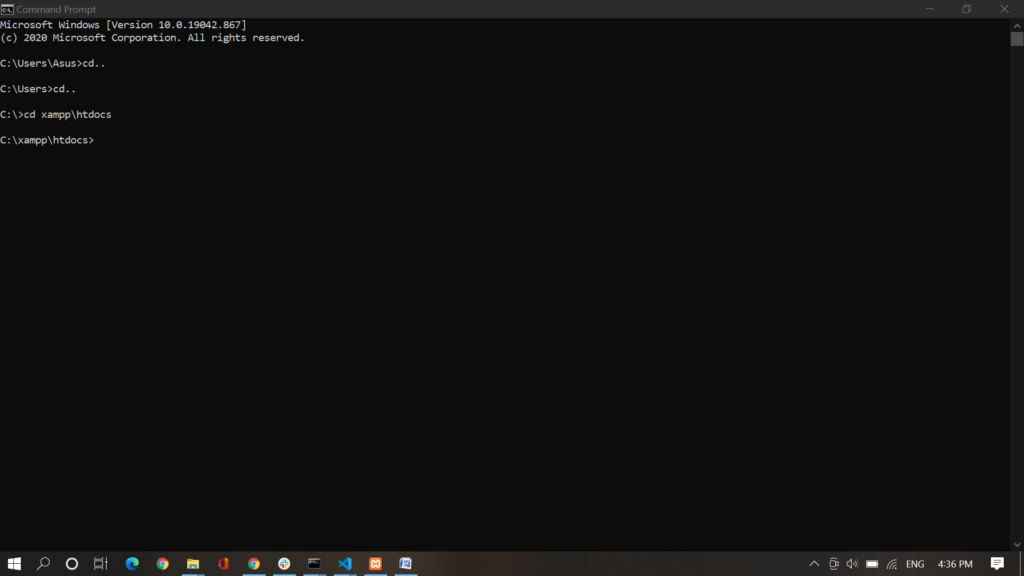
2nd step:- Write the code given below in the opened command prompt to make laravel project.
composer create-project --prefer-dist laravel/laravel ImageUpload "5.8.*"
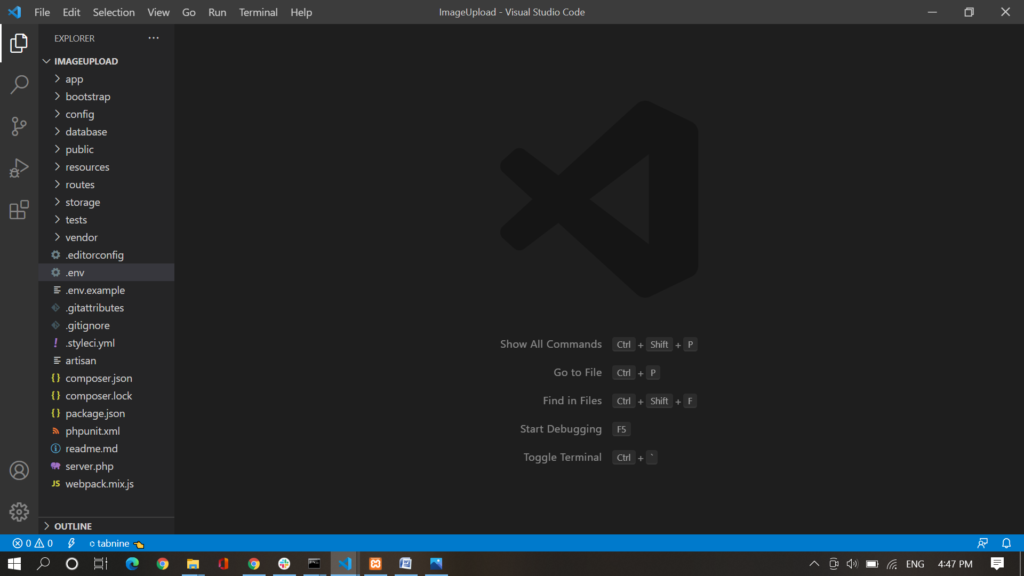
3rd step:- After the project is created, open the folder in any code editor.
4th step:- Now open xampp. And make a database.
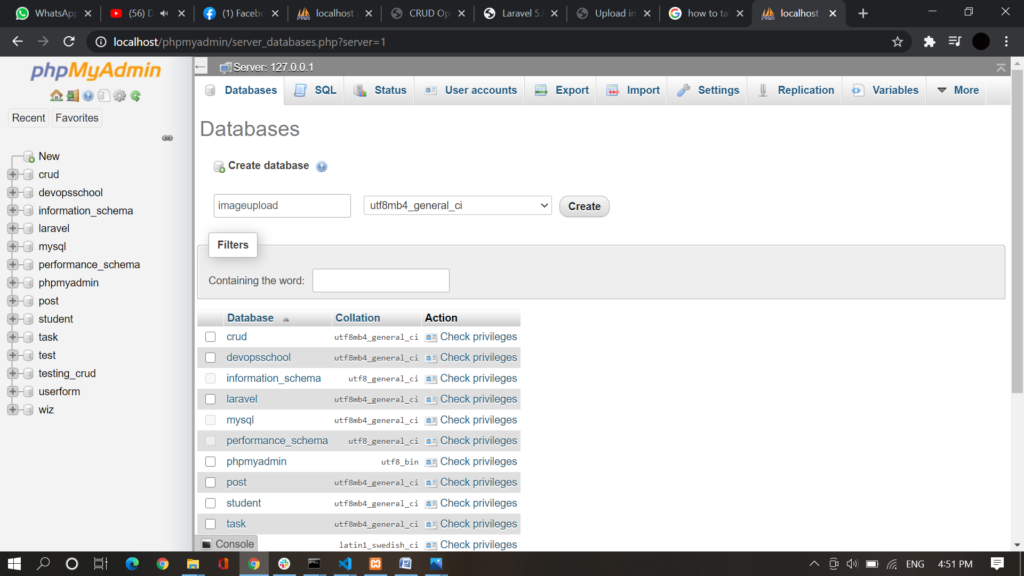
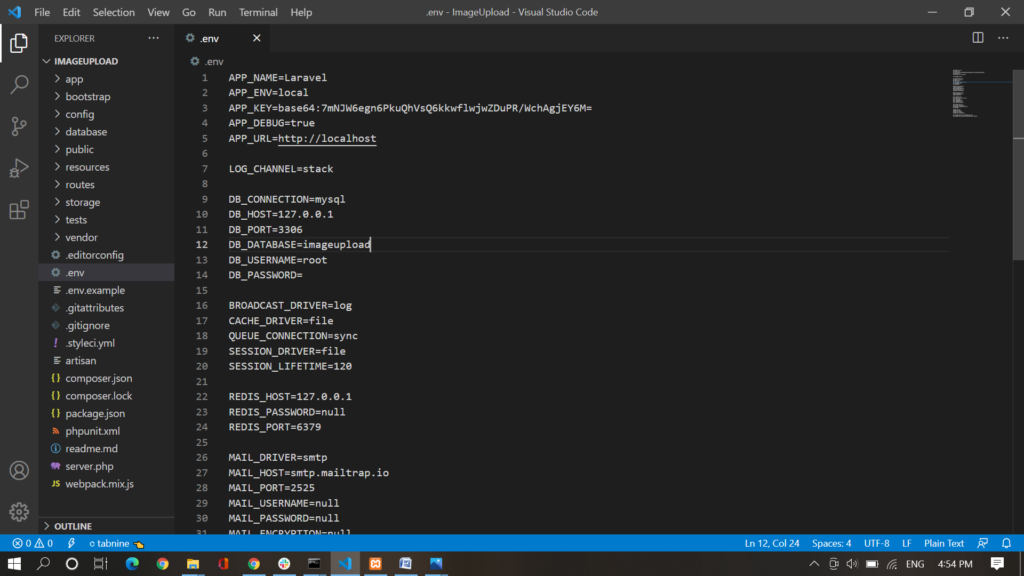
5th step:- Open the .env file of the project and change the name of the database same as defined in phpmyadmin.
6th step:- Write the code given below in command prompt to make controller.
php artisan make:controller ImageUpload
7th step:- Write the code given below in command prompt to make model.
php artisan make:model ImageUpload –m
8th step:- write the name of the column of the databse in
database\migrations\2020_10_23_070450_create_ images _ upload _table.php
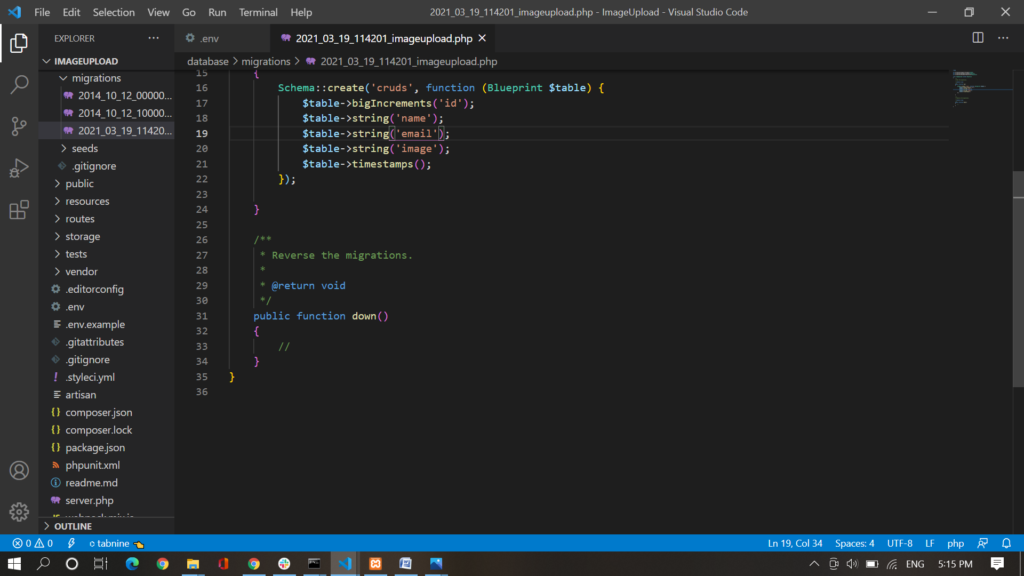
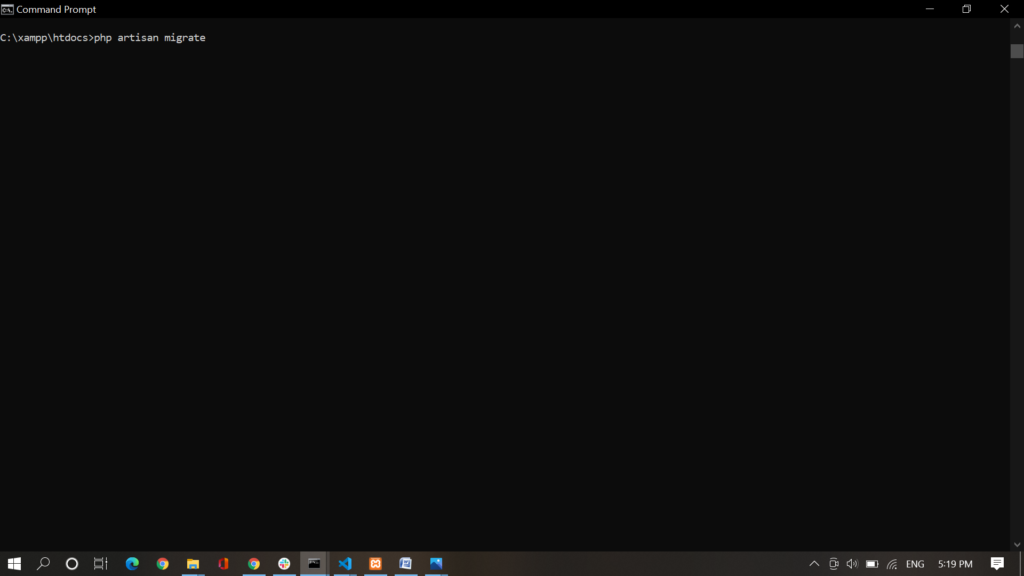
9th step:- Write the code given below in command prompt to migrate the table to the database.
php artisan migrate
10th step:-Then make view page in resource\views
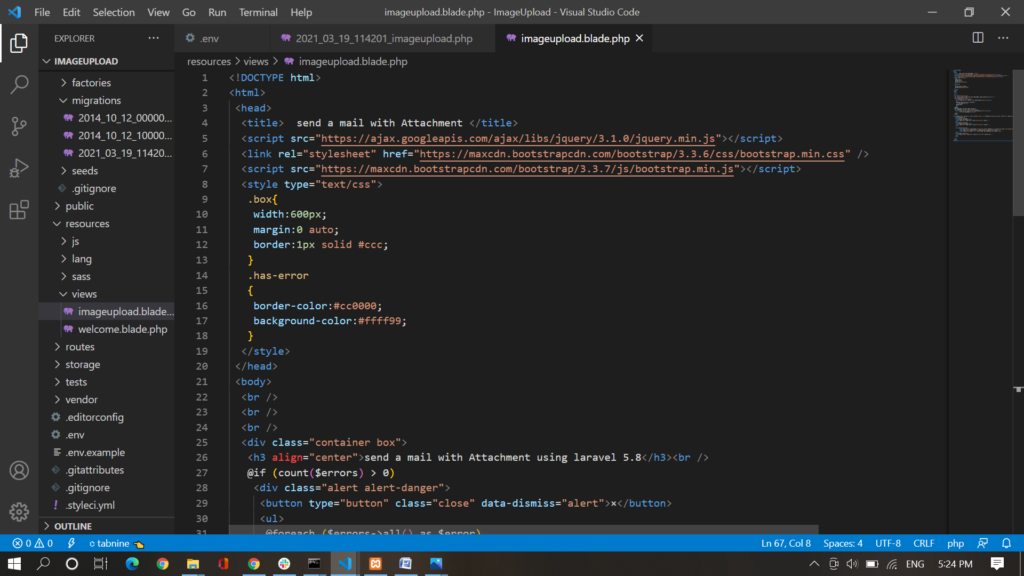
Code of imageupload.blade.php
11th step:- Make one blade file resources/view/dynamic_email_template.blade.php
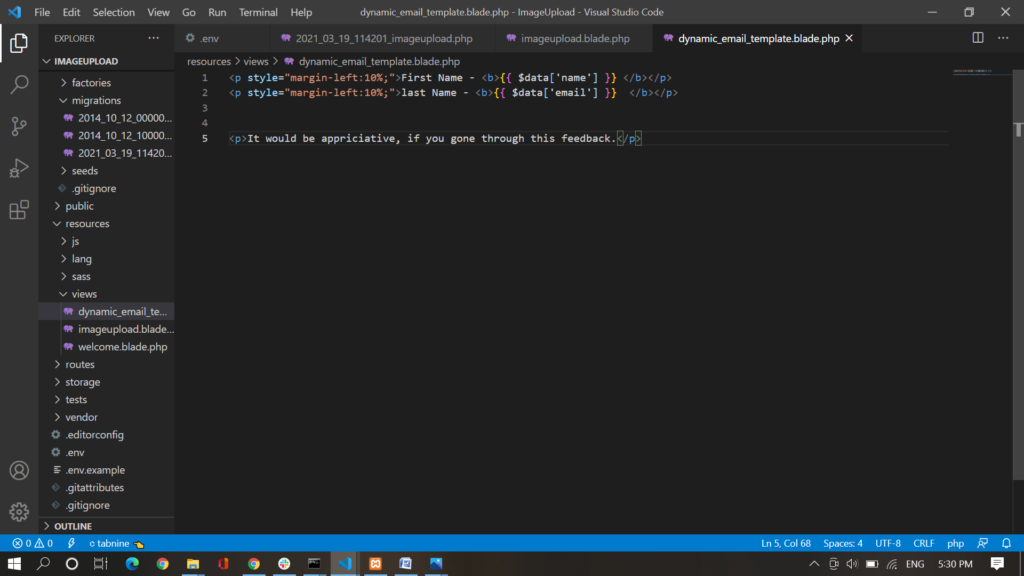
And paste the code given below:-
<p style=”margin-left:10%;”>First Name – <b>{{ $data[‘name’] }} </b></p>
<p style=”margin-left:10%;”>last Name – <b>{{ $data[’email’] }} </b></p>
<p>It would be appriciative, if you gone through this feedback.</p>
12th step:- Go to web.php and make routes.
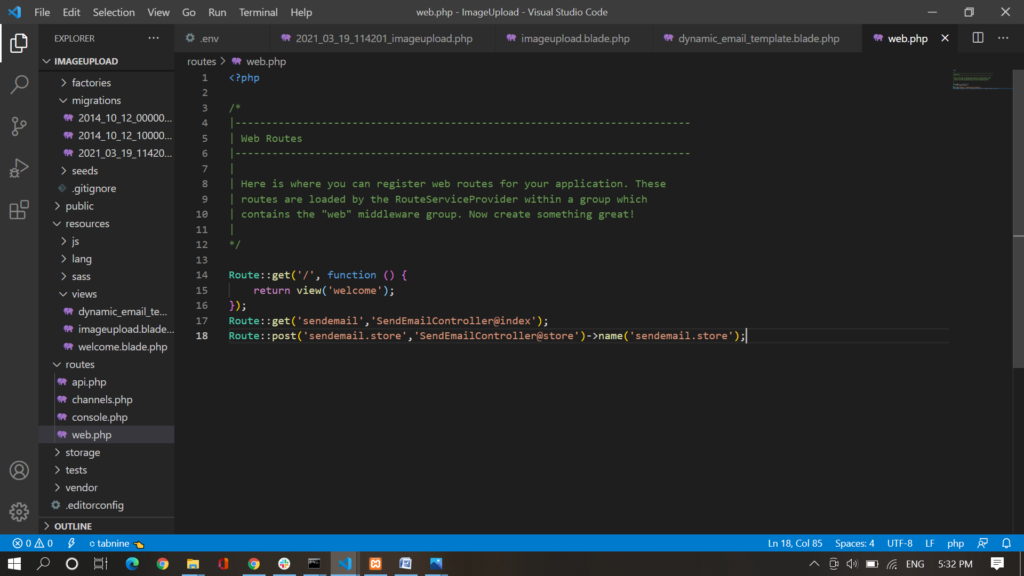
The code is given below:-
Route::get(‘sendemail’,’SendEmailController@index’);
Route::post(‘sendemail.store’,’SendEmailController@store’)->name(‘sendemail.store’);
13th step:- Go to controller and call model class
Paste the code given below below
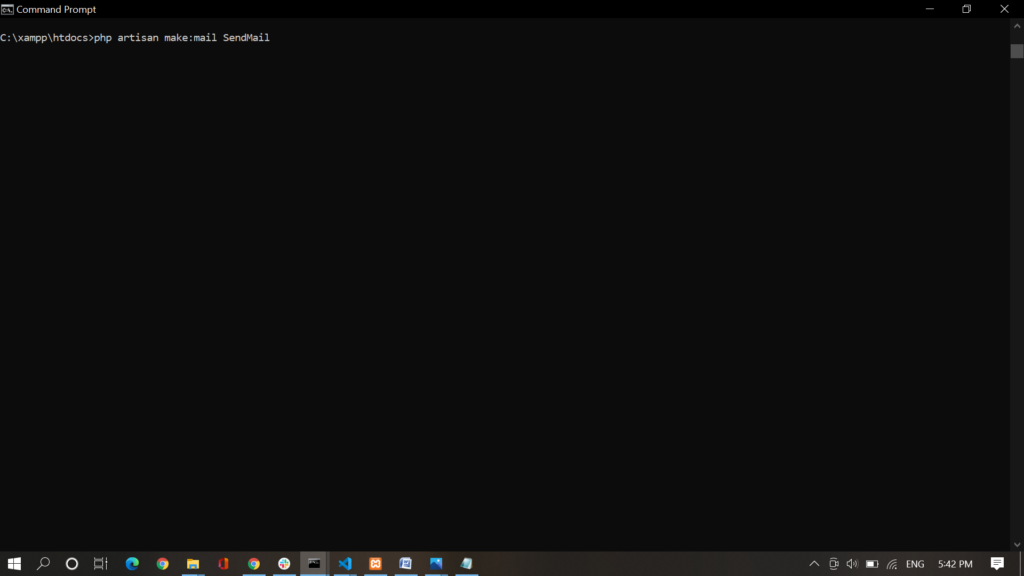
14th step:- Now make the mail. Write the code given below in command prompt:-
php artisan make:mail SendMail
15th step:- Paste the code given below in the file made by the above command:-
16th step:- Make an account in mailtrap. 17th step.
17th step:- copy host, port, Username and password.
18th step:-configure .env file with the details copied by the mailtrap id.
19th step:- Now run the command given below in the terminal.
php artisan c:cache
php artisan serve

- CSS border-spacing property - July 26, 2021
- CSS border- collapse property - July 26, 2021
- CSS tutorial (CSS Border-radius) - July 22, 2021