First we want to Download Laravel 5.8 version for developing Crud application using Ajax. For this you have to open your terminal or command prompt and write below command. It will download Laravel 5.8 in your define directory.
Once Laravel 5.8 has been downloaded then after we have to make Database connection. For this first you have to open config/database.php and define Mysql Database configuration.
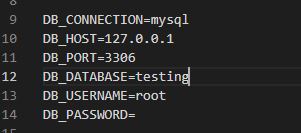
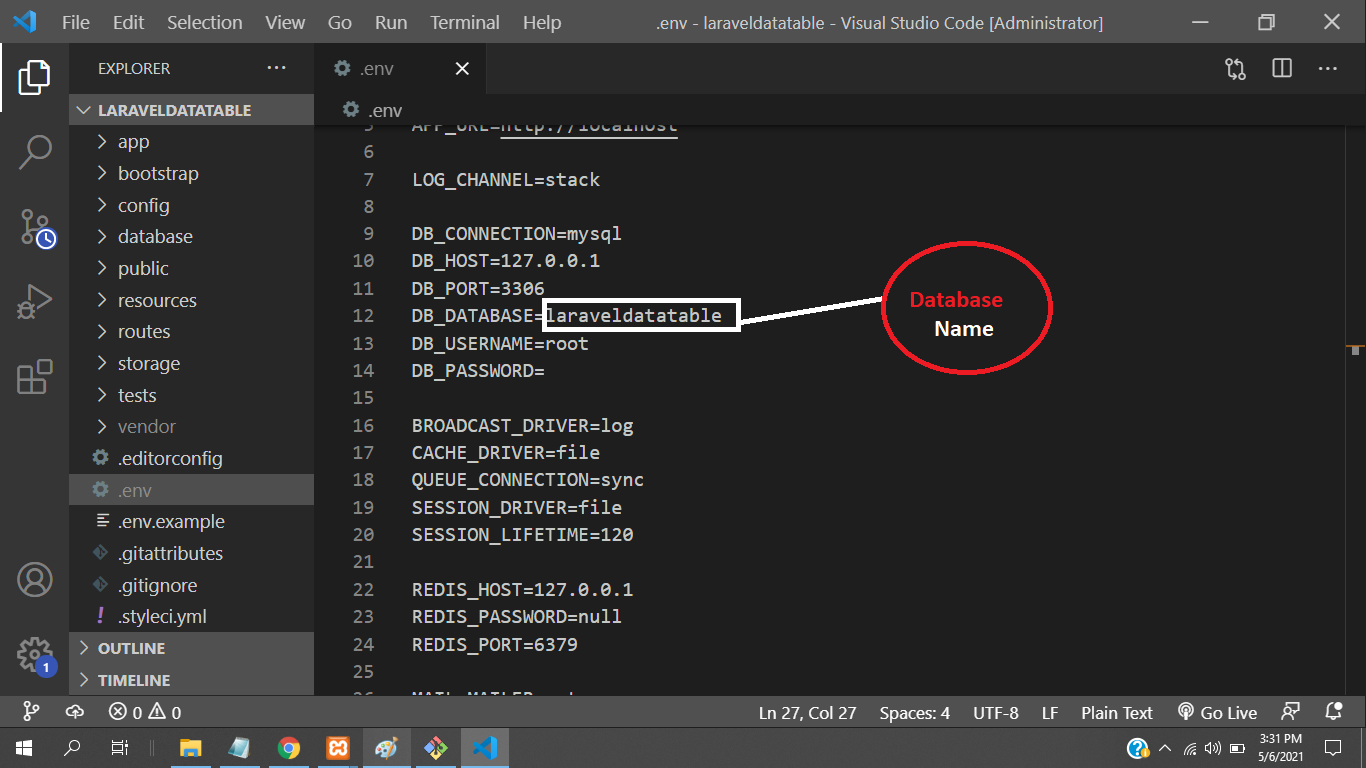
After this you have to open .env file and in that file also you have to define Mysql Database configuration, which you can find below.
Step 3 – Create Table
For Create Crud Application, first we have to create Mysql table. For create Mysql table from Laravel 5.8 application we have to write following artisan command in your command prompt.
Above command will command create migration file in database/migrations folder. In that file we have to define table column which you want to define in Mysql table. Below you can find source code of migration file.
Lastly for create Mysql table in your Database, you have to write following command in your terminal or command prompt. It will create ajax_cruds table in your define Database.
php artisan migrate
Step 4 – Create Model in Laravel 5.8
Now we want to make Model in Laravel 5.8, For this you have to write following command in your terminal or command prompt. It will create model file here app/AjaxCrud.php.
php artisan make:model AjaxCrud -m
Under this app/AjaxCrud.php file, you have to define table column for database operation which source code you can find below.
Step 5 – Create Blades Files
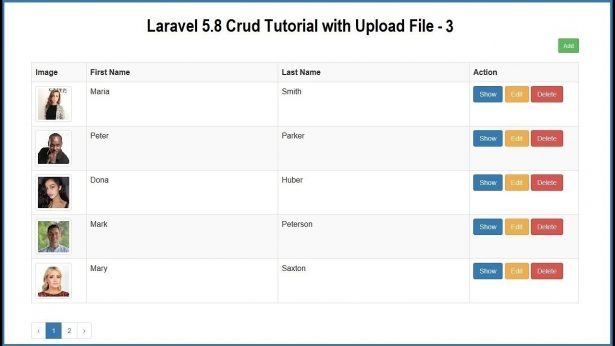
For display output data in browser, in Laravel 5.8 we have to create blade file in resources/views folder. Under this folder we have create ajax_index.blade.php file. In this file you can find HTML code and jQuery code for display data in jQuery Datatable.
Step 6 – Set Resource Route
Step 7 – Create Controller in Laravel 5.8
Lastly, We need to set resource route for ajax crud application. For this we have to open routes/web.php file.
Controller mostly used for handle HTTP request. Create new controller in Laravel 5.8 framework, we have to write following command.
This command will create AjaxCrudController.php file in app/Http/Controllers folder. In this controller file you can find all in build required method for do Crud operation. Under this controller for use AjaxCrud model, first we have to define use App\AjaxCrud; this statement at the header of the AjaxCrudController.php file.
index() – This is the root method of this controller. This method will received Ajax request for load data in jQuery DataTables plugin. If this method received ajax request then it will load data in jQuery DataTables plugin. In this ajax block you can find yajra datatables package code.
store() – For Insert Data into Mysql table using ajax in Laravel 5.8, here we have use store() method of AjaxCrudController.php. This method will received Ajax request for insert or add data. Under this method first it has validate for data. If there is any validation fails then it will send response to ajax request in JSON format. But there is no any validation fails then it will continue execution of code and first it will upload profile image of user and then after it will insert data into mysql table. And lastly it will send json response to ajax request.
edit() – This method is used for fetch single row of data from mysql table, and send data to ajax request in json formate which will be display under Bootstrap modal form.
update() – This method has received ajax request for update existing mysql table data. In this method first it check user has select profile image or not. If User is select image then in this method it will validate form data with selected file is image or not. But Suppose user has not select image then it will only validate textbox data only. If there is any validation error occur then it will send data to ajax request in json formate. After successfully validate form data then it will update data.
destroy() – For delete or remove mysql data, ajax request will be send to destroy() method. It will delete or remove mysql data in Laravel 5.8 by using ajax.
For run Laravel 5.8 application, you can write following command.
php artisan serve
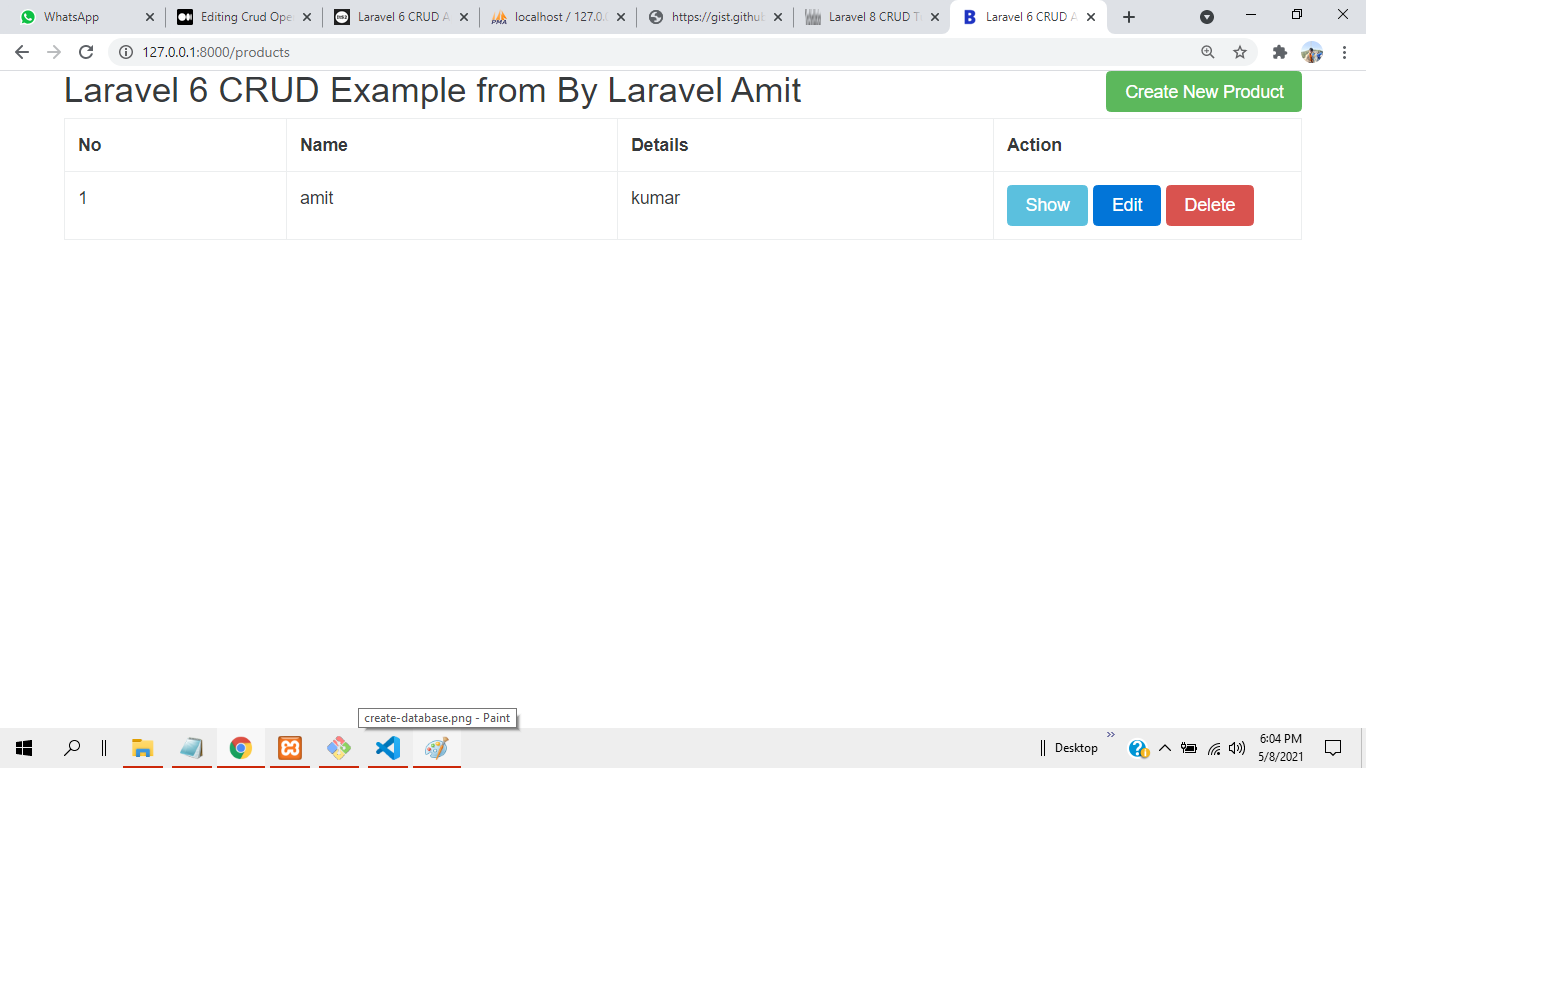
For see Laravel 5.8 application in your browser, you have to write following url.
Copy below code and simply paste in your products table
<?php

use Illuminate\Support\Facades\Schema;
use Illuminate\Database\Schema\Blueprint;
use Illuminate\Database\Migrations\Migration;

class CreateProductsTable extends Migration
{
    /**
     * Run the migrations.
     *
     * @return void
     */
    public function up()
    {
        Schema::create('products', function (Blueprint $table) {
            $table->increments('id');
            $table->string('name');
            $table->text('detail');
            $table->timestamps();
        });
    }

    /**
     * Reverse the migrations.
     *
     * @return void
     */
    public function down()
    {
        Schema::dropIfExists('products');
    }
}
Step 4 — Adding a Resource Route
<?php
use Illuminate\Support\Facades\Route;
/* |-------------------------------------------------------------------------- | Web Routes |-------------------------------------------------------------------------- | | Here is where you can register web routes for your application. These | routes are loaded by the RouteServiceProvider within a group which | contains the "web" middleware group. Now create something great! | */
Route::get('/', function () { return view('welcome'); });
Go to your product controller and paste below code
<?php
namespace App\Http\Controllers;
use App\Product; use Illuminate\Http\Request;
class ProductController extends Controller { /** * Display a listing of the resource. * * @return \Illuminate\Http\Response */ public function index() { $products = Product::latest()->paginate(5);
/** * Show the form for creating a new resource. * * @return \Illuminate\Http\Response */ public function create() { return view('products.create'); }
/** * Store a newly created resource in storage. * * @param \Illuminate\Http\Request $request * @return \Illuminate\Http\Response */ public function store(Request $request) { $request->validate([ 'name' => 'required', 'detail' => 'required', ]);
Product::create($request->all());
return redirect()->route('products.index') ->with('success','Product created successfully.'); }
/** * Display the specified resource. * * @param \App\Product $product * @return \Illuminate\Http\Response */ public function show(Product $product) { return view('products.show',compact('product')); }
/** * Show the form for editing the specified resource. * * @param \App\Product $product * @return \Illuminate\Http\Response */ public function edit(Product $product) { return view('products.edit',compact('product')); }
/** * Update the specified resource in storage. * * @param \Illuminate\Http\Request $request * @param \App\Product $product * @return \Illuminate\Http\Response */ public function update(Request $request, Product $product) { $request->validate([ 'name' => 'required', 'detail' => 'required', ]);
@if ($errors->any()) <div class="alert alert-danger"> <strong>Whoops!</strong> There were some problems with your input.<br><br> <ul> @foreach ($errors->all() as $error) <li>{{ $error }}</li> @endforeach </ul> </div> @endif
@if ($errors->any()) <div class="alert alert-danger"> <strong>Whoops!</strong> There were some problems with your input.<br><br> <ul> @foreach ($errors->all() as $error) <li>{{ $error }}</li> @endforeach </ul> </div> @endif
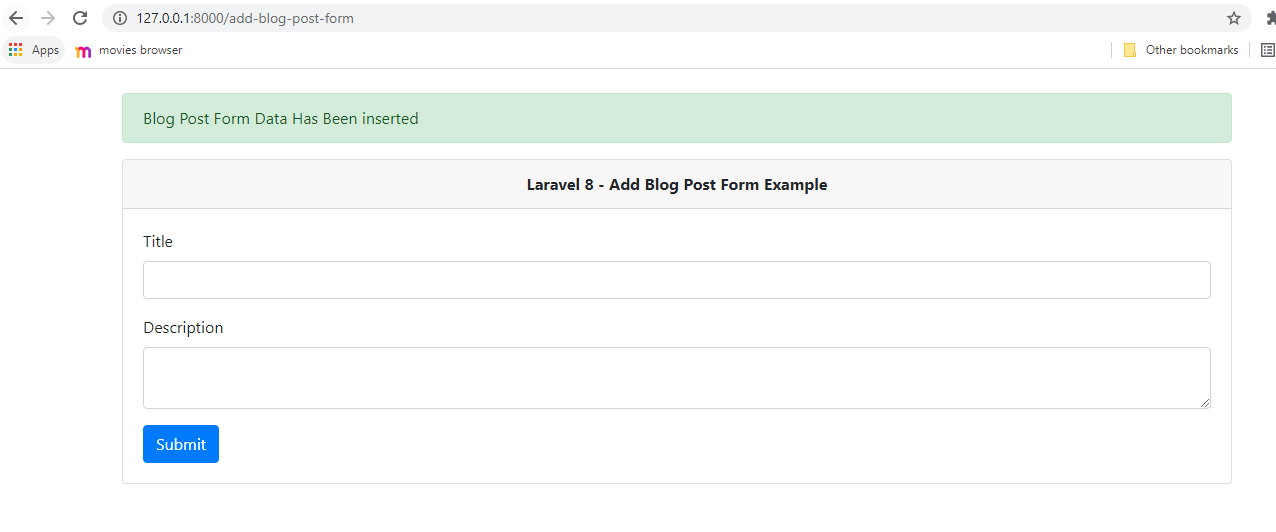
In this tutorial I’m going to describe how to add data in DataTable in laravel 8 we will create single page companies ajax crud application (SPA) using dataTables js, modal and jQuery in laravel 8.
Laravel 8 Ajax CRUD Tutorial using Datatable JS
Step 1 – Download Laravel 8 App
Step 2 – Database Configuration
Step 3 – Installing Yajra Datatables
Step 4 – Make Model & Migration
Step 5 – Make Routes
Step 6 – Create AJAX CRUD Datatables Controller
Step 7 – Create Blade Views File
companies.blade.php
company-action.blade.php
Step 8 – Run Development Server
Step 1 — Download Laravel 8 App
1st step Install laravel project and new setup, lets open the terminal C:\xampp\htdocs and paste below code
/* |-------------------------------------------------------------------------- | Web Routes |-------------------------------------------------------------------------- | | Here is where you can register web routes for your application. These | routes are loaded by the RouteServiceProvider within a group which | contains the "web" middleware group. Now create something great! | */
Route::get('/', function () { return view('welcome'); });
use App\Http\Controllers\DataTableAjaxCRUDController;
Lets go to controller and copy below code and paste there
<?php
namespace App\Http\Controllers;
use Illuminate\Http\Request; use App\Company; class DataTableAjaxCRUDController extends Controller { /** * Display a listing of the resource. * * @return \Illuminate\Http\Response */ public function index() { if(request()->ajax()) { return datatables()->of(Company::select('*')) ->addColumn('action', 'company-action') ->rawColumns(['action']) ->addIndexColumn() ->make(true); } return view('companies'); }
/** * Show the form for creating a new resource. * * @return \Illuminate\Http\Response */ public function create() { // }
/** * Store a newly created resource in storage. * * @param \Illuminate\Http\Request $request * @return \Illuminate\Http\Response */ public function store(Request $request) { $companyId = $request->id;
/** * Display the specified resource. * * @param int $id * @return \Illuminate\Http\Response */ public function show($id) { // }
/** * Show the form for editing the specified resource. * * @param int $id * @return \Illuminate\Http\Response */ public function edit($id) { $where = array('id' => $request->id); $company = Company::where($where)->first();
return Response()->json($company); }
/** * Update the specified resource in storage. * * @param \Illuminate\Http\Request $request * @param int $id * @return \Illuminate\Http\Response */ public function update(Request $request, $id) { // }
/** * Remove the specified resource from storage. * * @param int $id * @return \Illuminate\Http\Response */ public function destroy($id) { $company = Company::where('id','$request->id')->delete(); return Response()->json($company); } }
Step 6 — Create Blade Views File
Create two blade views file, which is following:
companies.blade.php
Next go to companies.blade.php file and paste below code
In this tutorial we will learn how we can create a project in CRUD (Create, Read, Update and Delete) operations through Laravel. We will get to know how to create, update read and delete in Laravel from Scratch.
Initially have to download Laravel 5.8 version. For this you have to go to command prompt, in which first we have go to our folder path in which we want to download Laravel 5.8. After this we have to run “composer” command, because all Laravel depository is handled by composer. After run “composer” command we have to run following command:
After downloading Laravel 5.8, we have to make Mysql database connection from Laravel 5.8.
We have to find .env file in your Laravel 5.8 folder. Open that file and under we have to define our mysql database before that we have to create a database in our mysql named as ‘crud’ and then we have to configure our .env as given below.
This command will create migration file in database/migrations folder. In this file we have to define table column which we want to create in table. Below we can find migration file in which we have define table column.
Now we want to migrate this table definition from this Laravel application to mysql database. For this we have write following command in command prompt. This command will make crud table in mysql database for perform CRUD operation from Laravel 5.8 application.
php artisan migrate
Now we have to create model for our database which is used for operations in controller class. To create a model we will run the command given below.
php artisan make:model Crud -m
This command will make Crud.php model file in app folder. In this file we have to define table column name which we can see below source code of Crud.php file.
Now we have to create Laravel 5.8 crud controller. For this we have to go to command prompt and under this we have write following command.
This command will make CrudsController.php file in app/Http/Controllers folder. Once we open this file, we can find all predefine method for do CRUD operation in this controller file. We have to just add code for doing particular operation. Below we can find CRUD controller file code.
Now we have to set route of all CrudsController class method. For this we have to open to routes/web.php file. In this file we have to write following code for set route of all method.
Route::resource('crud','CrudsController');
Now in this step we have to set data in view file which has been store under resources/views folder, because this view file has received data from controller method, so here we have to set data in view file. Below we can find all view file which has been used in Crud application, and we can also find how data has been set and how to make form in Laravel 5.8 view file.
Now we can run the Laravel 5.8 Crud application, for this we have to go to command prompt, and write following command.
Before performing CRUD operations we need to do some of the basic tasks. These includes:- 1. Installing Laravel 2. Creating Laravel Project 3. Making Model 4. Migrating After that we are good to go for performing the operation.
Laravel the most popular PHP-based framework for creating database-driven apps is based on the MVC (Model-View-Controller) architecture and can be used for easily creating apps for making CRUD (Create, Retrieve, Update, Delete) operations in the database.
1. Installing Laravel The first and foremost thing we need to have Laravel and composer installed in our system. the command for installation is composer global require “laravel/installer=~1.1” if this does not works then we could just write composer global require “laravel/installer” and it would install the file. 2. Creating Laravel Project Then we need to create a project and for this, we need to type composer create-project –prefer-dist laravel/laravel project_name“5.8.*” If this does not works then we could just write composer create-project –prefer-dist laravel/laravel project_name it would create a Laravel project named blog (with the latest version).
3. Making Modeland Migrating After the project is created we need to create the Model. For this we use command.
$ php artisan make:model Model_name -mcr or $ php artisan make:model Model_name -a
(Note:- Model name should begin with a capital letter) Here mcr is (migration controller resources) we can use m/c/r separately but for better convenience, we use “a“ which can equivalently be used in place of “mcr”.
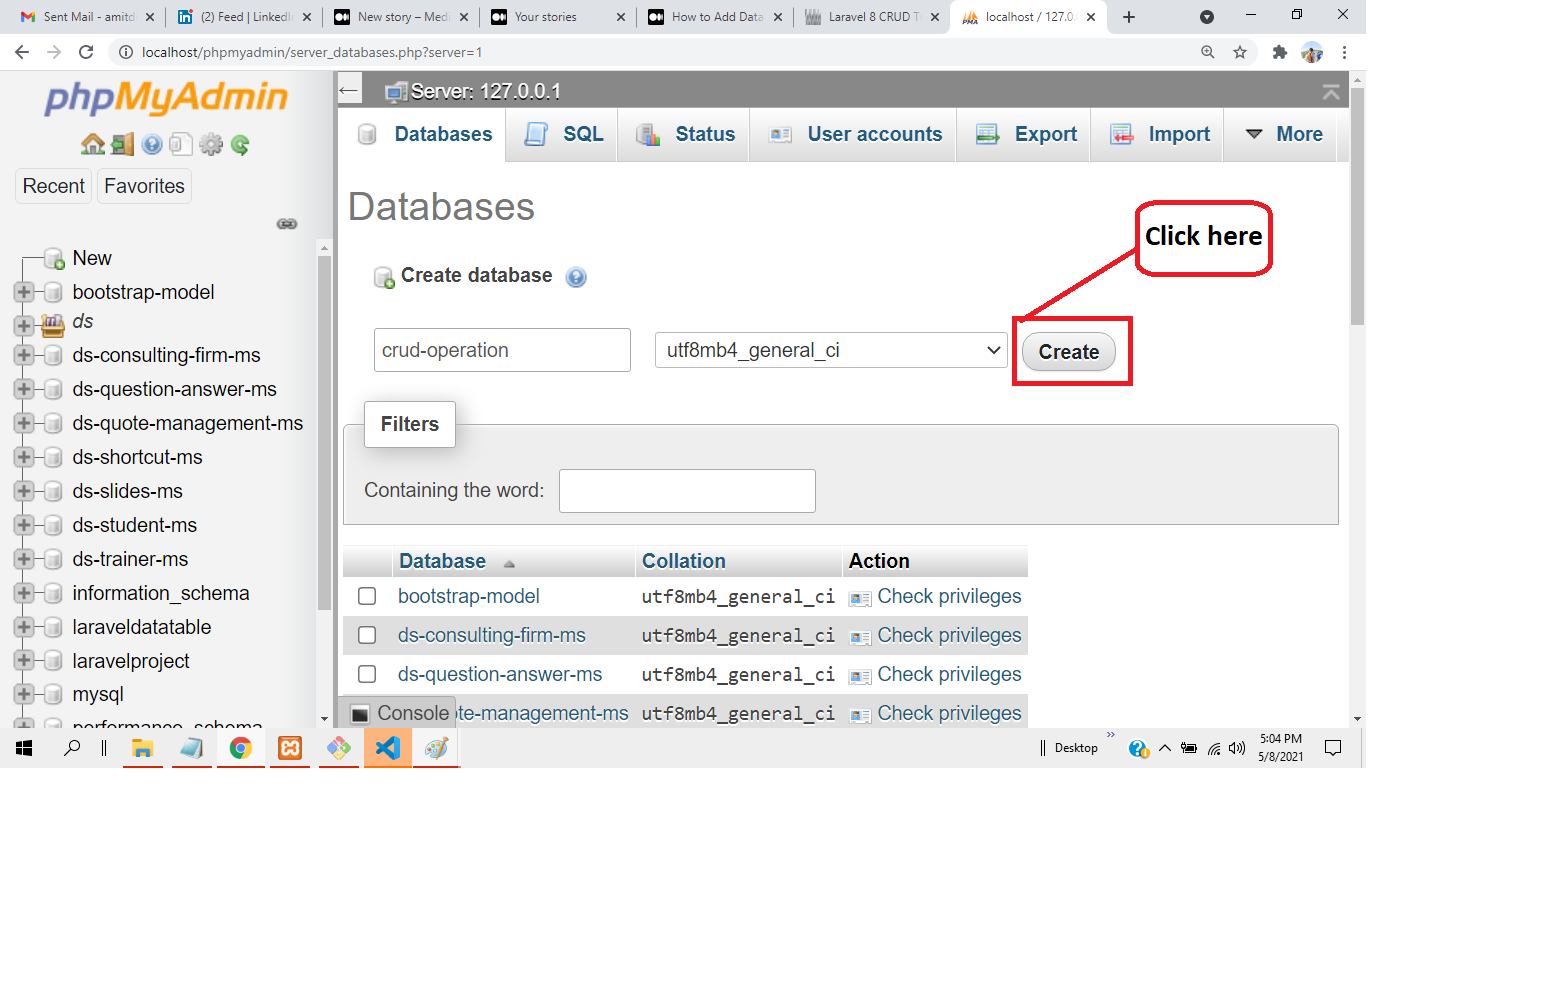
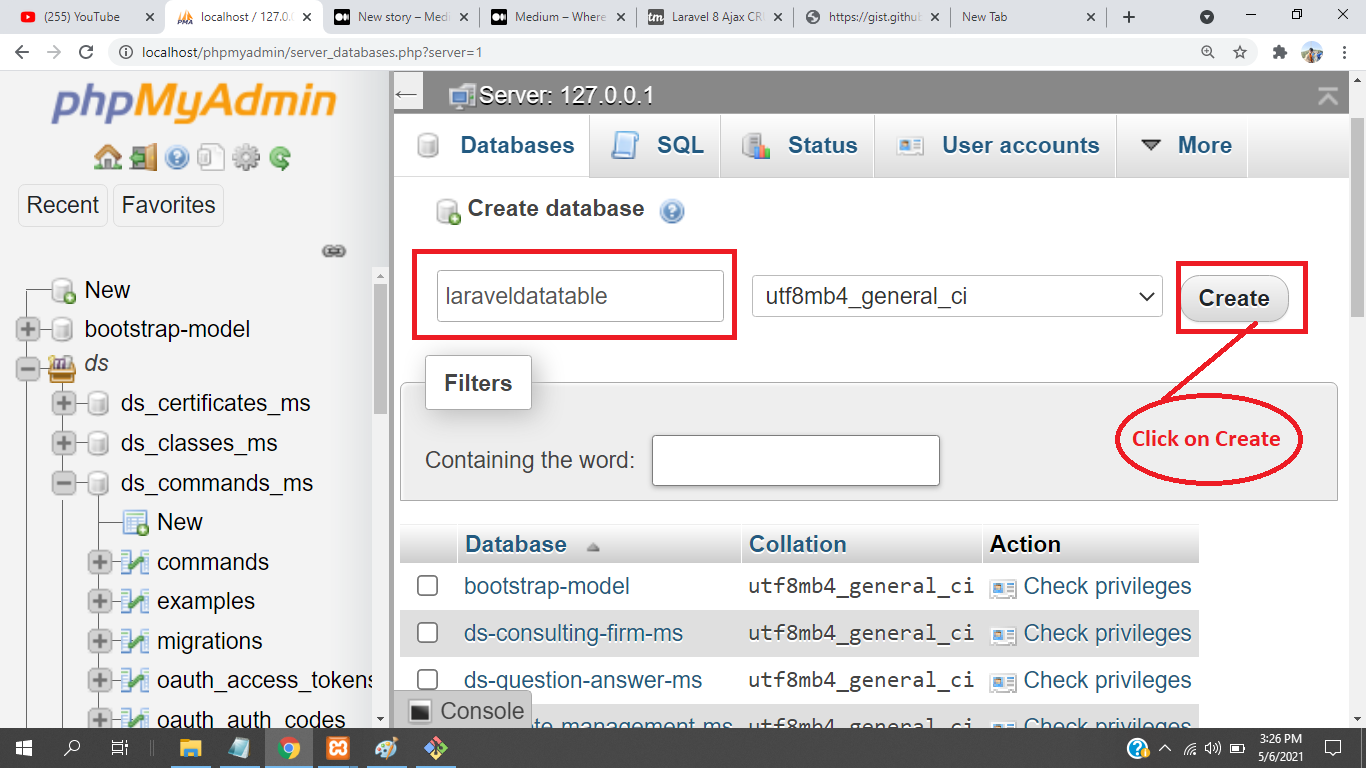
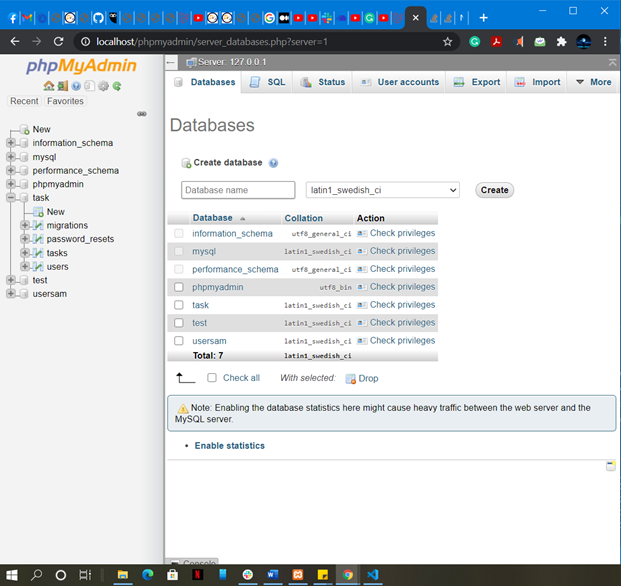
After the model is created we need to create the database and attach it. We can instruct for the database creation through codes or we can go to PHPMyAdmin,and there we can create the database and provide the name of the database in the .env file
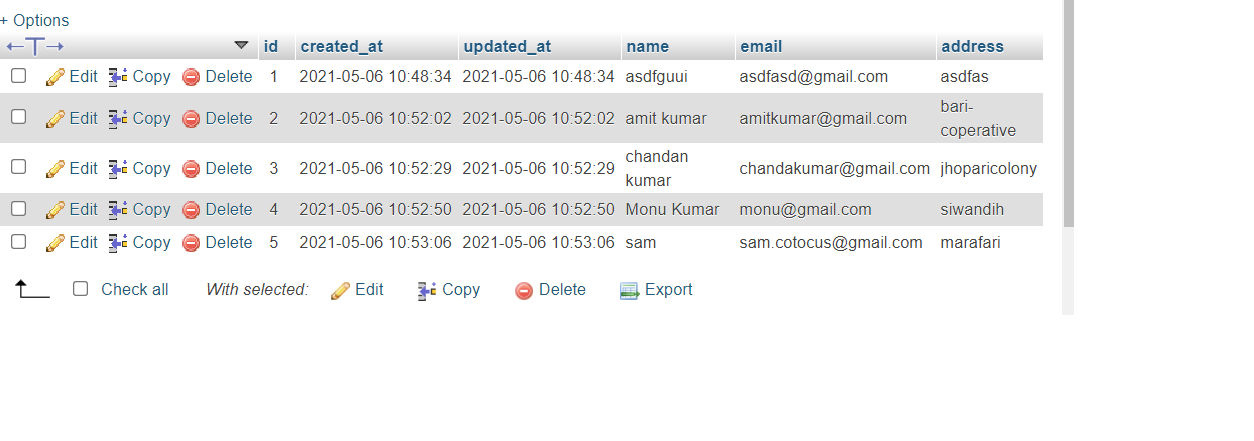
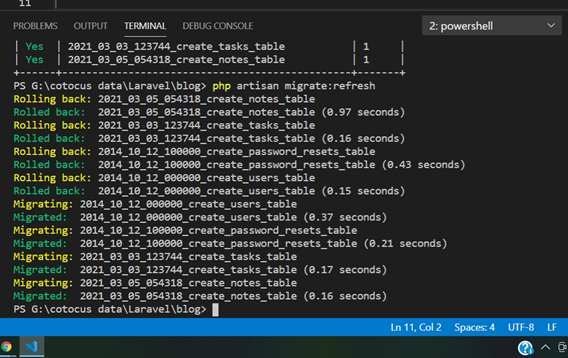
After database creation, we need to migrate. Migrations allow to add or drop fields in the database without deleting the records already present. for this we use $ php artisan migrate We could also refresh migration using $php artisan migrate:refresh
All the prerequisites to perform CRUD operations are completed and are ready to go. Now we can move to views to create the Html page and perform desired CRUD operations.