In this tutorial we will learn about Array data type in PHP, before that you can see all the data types in PHP given below:
String
Integer
Float
Boolean
Array
Object
Null
In PHP we have a special data type where we can assign number of values in single variable using array.
For example: $a = array(10,20,30);
In PHP, there are three types of arrays:
Indexed array
Associative array
Multidimensional array
Indexed array:- PHP indexed array is an array which is represented by an index number by default. All elements of array are represented by an index number which starts from 0. PHP indexed array can store numbers, strings or any object. PHP indexed array is also known as numeric array.
Example:
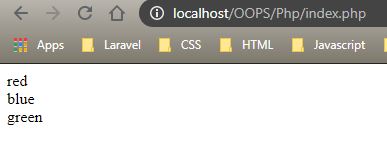
Output:
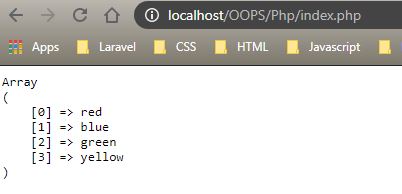
We can also use <pre> tag to print both the key and value in the output.
Output:
Another way to write the array in PHP which shows the same output as above:
In this tutorial we will learn about the difference in single quotes and double quotes. Theoretically if we understand then single quotes doesn’t parse the data and double quotes is said to be interpreted.
In simple words if we understand then if we write anything in double quotes then it passes the value in the variable whereas if we write anything inside single quotes then it passes the value as string. We will see it though example to make it clear.
Output:
It shows that if we write within the single quotes it doesn’t parse the data and shows the value as string.
One more thing we should know that we cannot use Single quotes within single quotes and Double quotes within double quotes.
This is a wrong way of using quotes and we will fetch an error if it is compiled instead of this we can use the below format:
To use double quotes within double quotes and single quotes within single quotes then we have to use skip “\”.
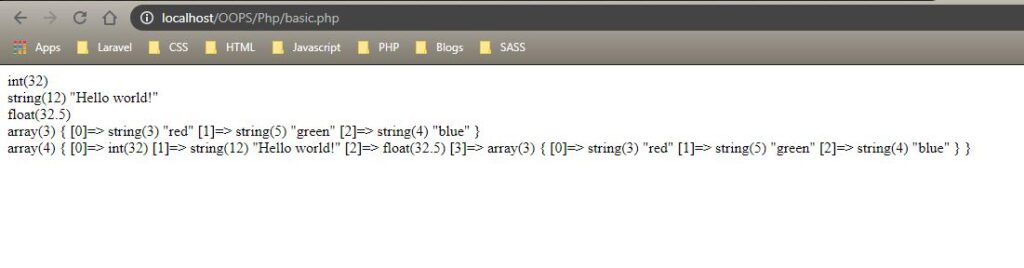
Var_dump function is used to check the data type of a variable. In PHP we do not have to write the data type while declaring the variable so if we want to print the data type we will use “var_dump” function to see type of data of the variable.
For example:
Output:-
Here, we can see in the output that it has printed the data type of all the variables which we have used.
In this tutorial we will learn about declaring global and local variable in PHP.
Initially we will see what is local variable and global variable with examples.
Here if we see the variable is declared inside the function “local” so it will work inside the local function only until we return the value inside the function.
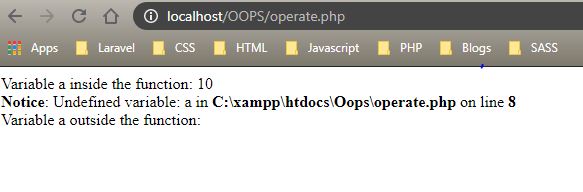
In this we can see that the variable “a” is declared outside the function local, so it won’t work inside the function until we call it.
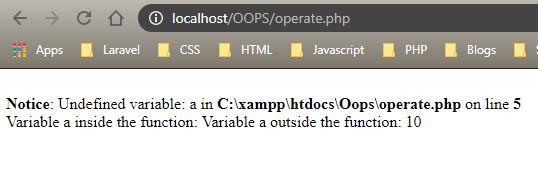
If we see the output for this we will see an error since “a” is a local variable and it will not work beyond the function “test”.
Now in this code if we see, variable “a” is declared globally and we will get an error if we call it inside any function.
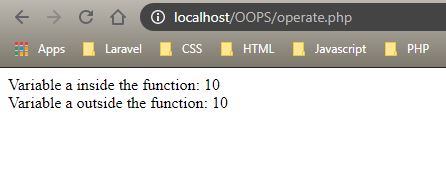
To execute the global variable in the function we need to use predefined variable “global” inside the function.
We will see now that it will return value inside the function as well as outside the function.
OOPs stands for Object Oriented Programming which is all about creating class and objects. Class serves as a template and multiple objects can be created using the class.
Oops concept reduces code repetition. Classes are templates for creating objects.
For an example, if we see a game take it as a Racing game where we will be having multiple cars which will be running there. So in this case either we have to write codes for each car individually or else we can create a class for car and then we can use it multiple times for the other class with that class name.
A class is a self-contained, independent collection of variables and functions which work together to perform one or more specific tasks, while objects are individual instances of a class.
SASS is preprocessor of CSS, we can also refer it as CSS with superpower. SASS stands for Syntactically Awesome Style Sheets.
To save the file in SASS format we need to add .scss extension in the file.
Here we will learn how to use SASS in Visual Studio Code.
Initially in VSC we need to make a basic html file naming index.html and a folder for SASS naming sass.
Inside the sass folder we need to create a file naming main.scss.
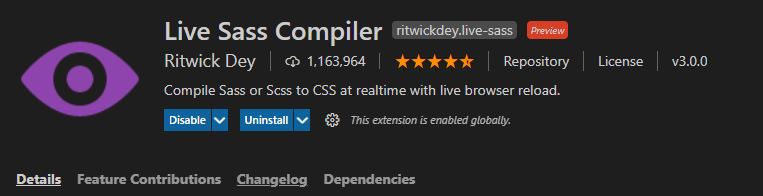
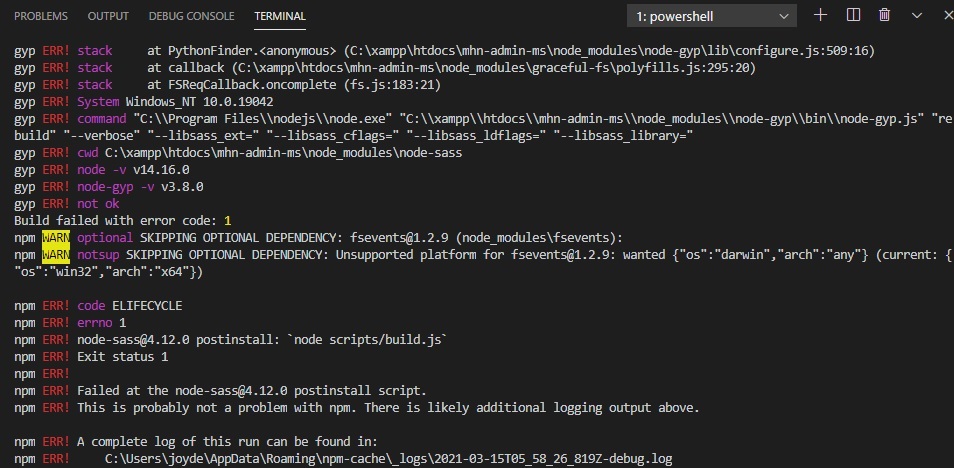
Before executing the file we need to install an extension in our Visual Studio Code named as “Live Sass Compiler” which is shown below:
Once we install the extension we can see an option Live Sass in the status bar of Visual Studio Code, we need to click on that to make the Sass live.
If the status changes to “watching” automatically we can see that in the Scss folder main.css and main.css.map files are created.
Now whatever code we execute in main.scss it will be imported automatically to the main.css file.
Also we have to pay attention in linking the css script with the html file, as we will not link main.scss file in the html rather we will link main.css file in the html file.
Now we can start styling our file in main.scss and automatically all the codes will be imported in main.css and if it requires any conversion for being compatible with browser it will convert the codes automatically and make it compatible.
Key features of Sass which make it better than CSS is we can use :-
– Operators
– Variables
-Nesting
-Mixin
-Parameter
-Partials
It make it convenient for us to execute complicated codes very easily with these features.
Now we will see the features in details:-
Operators – We can use operators in Scss as shown below:
And if we see the same code in main.css we will see the actual values without the operators:
Variables – We can use variables in scss as shown below:
Here we can see that we have declared a variable named as $bg-color and we have assigned a color to it and we can assign the same variable where we want to use that color.
Nesting – We can use nesting in scss as shown below:
Here we can see that inside the class main_header itself we have assigned the values for <h1> and <h2>.
Mixin – We can use mixin in scss as shown below:
With the help of mixin feature we can use a set of codes which is suppose to be used number of times in the project, we can assign that set of codes under @mixin file name{} and we can just use the name with @include in the front wherever we want to add those codes.
Parameter – We can use parameter in scss as shown below:
In this feature we can use parameters under the mixin feature. In the Line 16 we can see that we have created a mixin named as “name2” in which we have assigned a parameter “$rem” which is assigned in “letter-spacing” and we have called that parameter in the line 31 and 38 by giving it a value of “1rem”.
Similarly we can pass number of parameters to make some changes in the codes which are under the “mixin”.
Partials – In partials we can make our scss file less complex by making separate files for variables and mixin and then importing those files in the main scss. By this way we can easily make any changes in the mixin and variable without any complexity.
We need to keep one thing in mind that we have to use “_” while creating the partial files for ‘mixin’ and ‘variables’ so that it does not make any issue with the main scss file.
We can see the example below:
_mixin.scss:
_variable.scss:
main.scss:
Index.html:
main.css:
This is the codes for all the files and we can see the following output:
To know more about SASS you can refer the video given below:
Here we will discuss about the eloquent ORM and insertion of data to database table via Model.
Eloquent model included with Laravel provides a simple, active record implementation for working with database. Each database table has a corresponding “model” which is used to interact with the table.
Model allows us to query for data in our tables and also insert new records into the table.
First of all we need to create a model and to create a model we can run the command given below:
php artisan make:model Product -a
This command will create a model , controller , migration and factory.
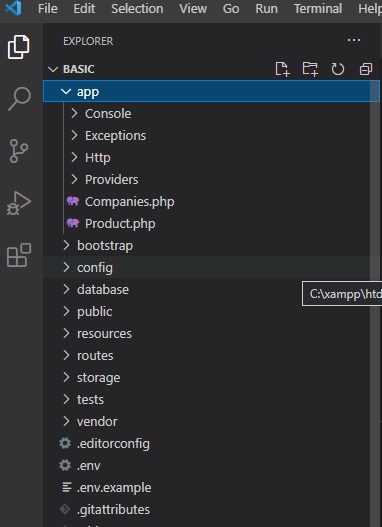
Once the model is created we can find the model under apps as shown in the image below:
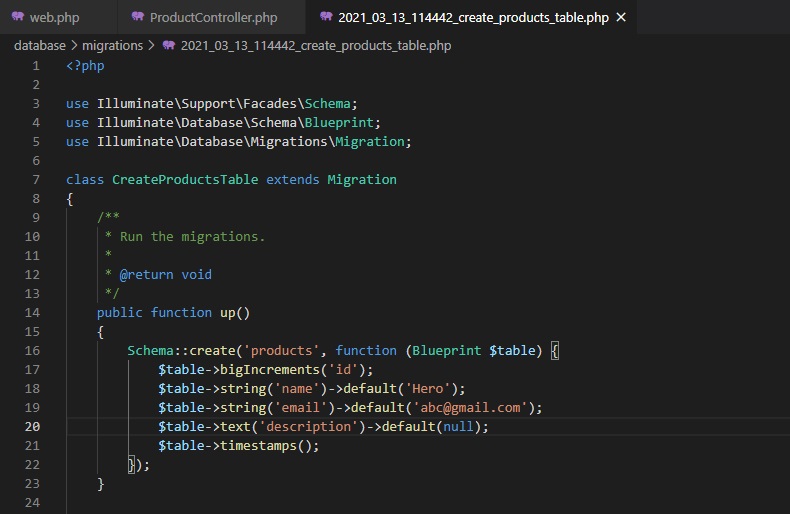
Now moving forward we can insert details under the migration folder and migrate it in the database:
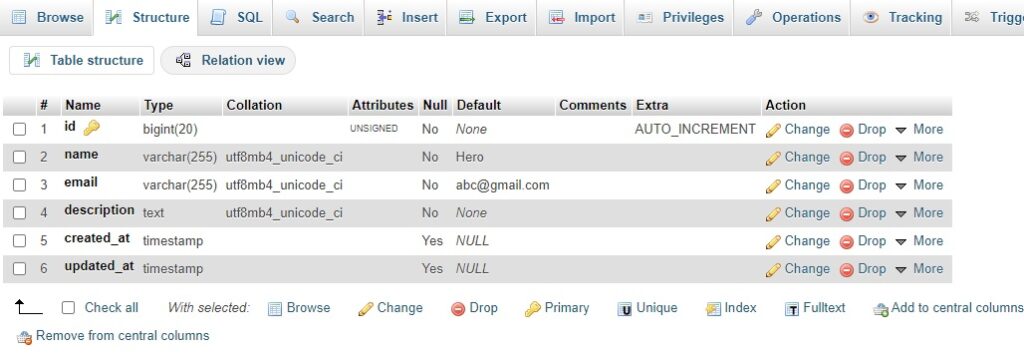
To migrate the data we know we need to execute php artisan migrate command and a table will be created in the database:
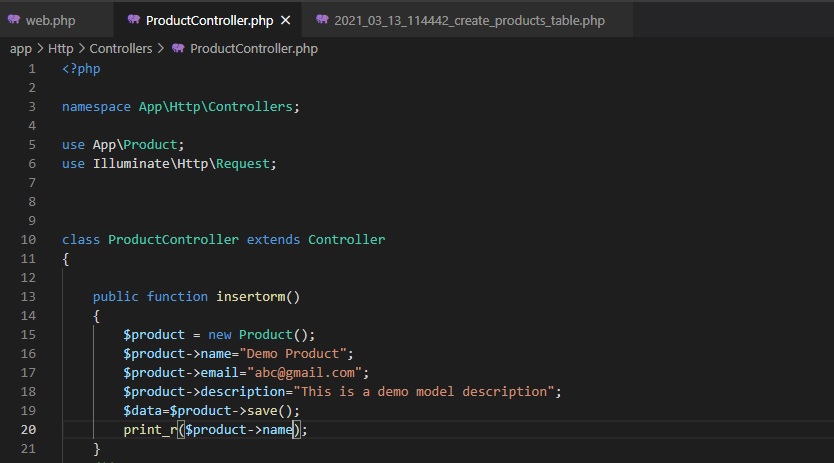
Now to insert data in the database we need to provide it in the controller:
After executing the command we can run the server and see the output in our browser and we can see the name in the page and also the details will be saved in the database.
You can see the video given below for more information: