In this blog, I am creating an Attractive Isometric card in a row using HTML & CSS. So, Let’s create a “index.html” & “style.css” below index.html code-
In this index.html container with card & multiple class which is define style.css page-
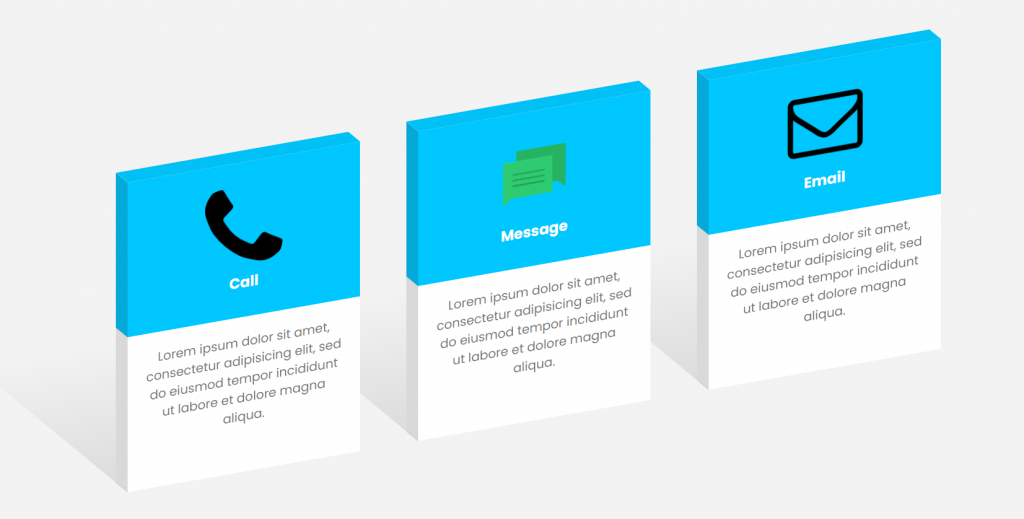
In this blog, I am creating an Attractive Isometric card in a row using HTML & CSS. So, Let’s create a “index.html” & “style.css” below index.html code-
In this index.html container with card & multiple class which is define style.css page-

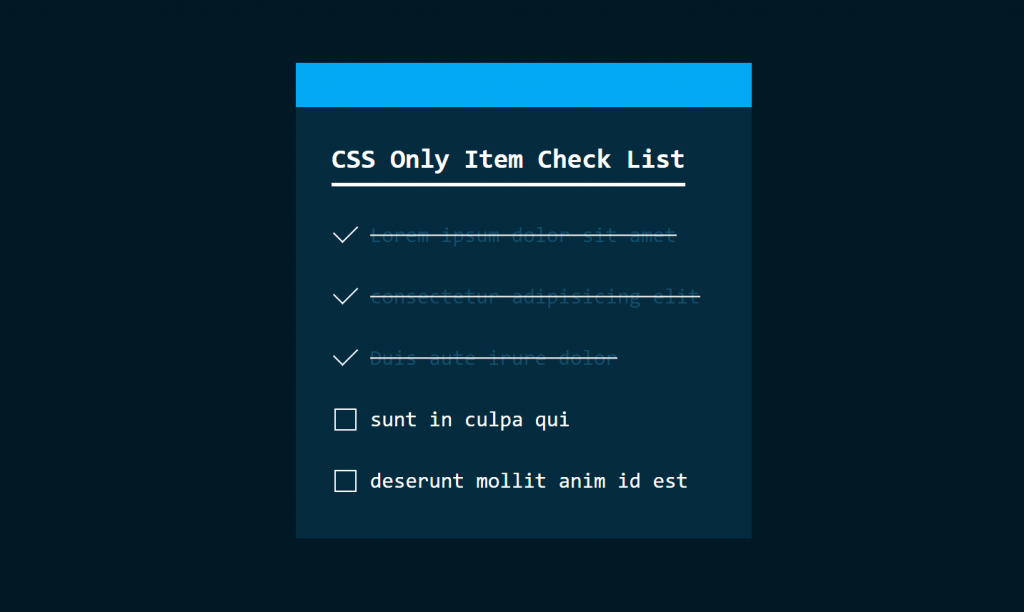
In this blog, I am going to create an item checklist using HTML & CSS. So, first, create an “index.html” and “style.css” page so, below-showing index.html page-
In this index.html mostly used label, & input tag with a class which is defined below style.css page-
In this style.css page used class and multiple tags which is included in index.html. After that with help of style.css page create below Item check list-
In this tutorial, I am going to create creative Cube Hover Effects With Changing Color Animation in CSS. So, Before creates an “index.html” & “style.css”. Below index.html code-
In this index.html I am using cube shape with help of CSS and create multiple classes which is define below style.css code-
In this style.css page define all classes which is used in index.html and after that show below page with hover effects-

msiexpert created the topic: Create log
Hello,
is it possible create log file to installation?
Thanks
applicationPackaging replied the topic: Re: Create log
What kind of the log file do you mean?
 Hosting your own Repository in Nuget
How to create a package in Nuget?
Mehtod 1 – From An Assembly
If you have an assembly, you can easily generate a nuspec file from metadata within the assembly and create a package.
$ nuget spec MyAssembly.dllThis creates a Nuspec file. Edit the NuSpec file as needed and then
$ nuget pack MyAssembly.nuspecMehtod 2 – Commands Lines using convention based working directory
Some packages contain more than just assemblies. They may contain
Content and source code that should be injected into the target project.
PowerShell scripts and executables.
Configuration file and source code transformations.
To create a package in this way, you can layout a directory structure that follows the NuGet conventions.
tools – The tools folder of a package is for powershell scripts and programs accessible from the Package Manager Console. After the folder is copied to the target project, it is added to the `$env:Path (PATH) environment variable.
lib – Assemblies (.dll files) in the lib folder are added as assembly references when the package is installed.
content – Files in the content folder are copied to the root of your application when the package is installed.Think of the Content folder as the root of your target application. For example, if I want a package to add an image in the /images directory of the target application, make sure to place the image in the Content/images folder of the package.
build – The build folder of a package is for MSBuild targets files that are automatically inserted into the .csproj file of the application.
Step 1- Create the manifest
$ nuget spec
This will create an XML file with the .nuspec extension.
<?xml version="1.0"?>
   <package xmlns="http://schemas.microsoft.com/packaging/2010/07/nuspec.xsd">
   <metadata>
   <id>MyPackageId</id>
   <version>1.0</version>
   <authors>philha</authors>
   <owners>philha</owners>
   <licenseUrl>http://LICENSE_URL_HERE_OR_DELETE_THIS_LINE</licenseUrl>
   <projectUrl>http://PROJECT_URL_HERE_OR_DELETE_THIS_LINE</projectUrl>
   <iconUrl>http://ICON_URL_HERE_OR_DELETE_THIS_LINE</iconUrl>
   <requireLicenseAcceptance>false</requireLicenseAcceptance>
   <description>Package description</description>
   <tags>Tag1 Tag2</tags>
   <dependencies>
   <dependency id="SampleDependency" version="1.0" />
   </dependencies>
   </metadata>
 </package>
Edit this file to fill in the values appropriate for your package. Then create the folders needed by your package and copy the correct content in each folder.
$ mkdir lib
   $ mkdir tools
   $ mkdir content
   $ mkdir content\controllers
   $ copy ..\src\SomeController.cs content
   $ copy ..\src\MyLibrary lib
 $ copy ..\src\SomePowershellScript.ps1 tool
With the working directory in place with content, run the following command:
nuget pack YourPackage.nuspec
Mehtod 3 – Using Visual Studio Projects
For simple packages, creating a package from a csproj or vbproj file is a convenient way to create packages. For example, other packages that have been installed into your project will be referenced as dependencies when you create a package this way.
In the folder where the csproj file is, run:
$ nuget spec
This creates a special nuspec file with tokens meant to be replaced at pack time based on the project metadata. For example, $version$ gets replaced by the version specified in the AssemblyVersionAttribute (or AssemblyInformationalVersionAttribute if present) applied to your assembly (typically within the AssemblyInfo.cs file).
These tokens will only be replaced when you execute the pack command with the project file, and not with the nuspec file. The contents of the nuspec file will be located and honored, with the appropriate token replacements executed.
The following is a list of the supported replacement tokens.
Token Source
$id$ The Assembly name
$version$ The assembly version as specified in the assembly’s
AssemblyVersionAttribute (or AssemblyInformationalVersionAttribute if present).
$author$ The company as specified in the AssemblyCompanyAttribute.
$description$ The description as specified in the AssemblyDescriptionAttribute.
You can then edit this nuspec file if you need to customize it. e.g. if you don’t want token replacement for some fields, you hard code them in the nuspec instead.
Also, if you want to pull additional files into the package, you can use a node in the nuspec. e.g. suppose you want to add all the files from some arbitrary other folder into the package, you’d have:
<files>
   <file src="..\..\SomeRoot\**\*.*" target="" />
 </files>
You need to run ‘nuget pack’ on the project file, not the nuspec itself. But the nuspec will in fact get picked up. Once your nuspec is ready, you can run:
$ nuget pack MyProject.csproj
If the project references other projects, you can add the referenced projects as part of the package, or as dependencies with -IncludeReferencedProjects option. This is done recursively. For example, suppose you have project A.csproj, which references B.csproj and C.csproj, while B.csproj references D.csproj & E.csproj, C.csproj references F.csproj & G.csproj. Then, when you run
nuget pack A.csproj -IncludeReferencedProjects
the generated package will contain files from projects B, C, D, E, F & G, in addition to files from project A.
If a referenced project has a corresponding nuspec file with the same name, then that referenced project is added as a dependency instead. Using the same example, suppose now there is file C.nuspec in the same directory as project file C.csproj. When you run
$ nuget pack A.csproj -IncludeReferencedProjects
the generated package will contain files from projects B, D, E, in addition to files from project A, and the package has dependency on C.
By default, NuGet will use the default build configuration set in the project file (typically Debug). To pack files from a different build configuration (e.g., Release), you can run:
$ nuget pack MyProject.csproj -Prop Configuration=Release
Reference
https://docs.nuget.org/create/creating-and-publishing-a-package
https://docs.nuget.org/consume/command-line-reference
1. Create a new SRCSAFE.INI file and place it in the desired location.
2. If you want include the default SRCSAFE.INI in the unique copy, add the following line:
#INCLUDE <SS path>\SRCSAFE.INI
3. Create the following environment variable:
SET SSDIR=<path to VSS directory>
(such as SET SSDIR = \\MyServer\MyVSSdir)
While it is possible to do this with Visual SourceSafe 5.0, in is not necessary. Simply open the database using file->open.
1 Introduction
Perforce introduced the first server-side trigger in release 99.1 with the pre-submit trigger. This trigger satisfied a long-standing desire in the user community, but demand continued for more hooks. In release 2004.2, Perforce squarely hit the need with the addition of five new trigger types. Release 2005.1 adds yet one more trigger type to this list rounding out one of the categories of triggers to completeness. This paper discusses triggers, techniques for implementing them and purposes for using them. It presumes a general knowledge of scripting. The examples follow in several programming languages. They should be easy to follow with knowledge of general programming, and any more arcane constructs will be explained. The paper also presumes a reasonable knowledge of Perforce scripting alternatives, such as that presented in [Bowles2005]. Although this paper will address the scripting of triggers comprehensively, it will refer to other Perforce scripting contexts and to Perforce commands with an assumption of familiarity.
1.1 What is a trigger?
Triggers are programs that run on the server immediately in response to some welldefined event in Perforce. Therefore, the context for a trigger is running on the server
using the trigger mechanism to start. Triggers are typically written in a shell script such as Perl, Python or Ruby due to the flexibility and facilities they provide. However, triggers can be written in any programming language that can interface with Perforce, including UNIX shell (sh, ksh, csh and work-alikes) and compiled languages like C/C++.
1.2 Types of triggers
Triggers fall into two categories. Pre-submit triggers enable actions in response to the submission of changelists. Form triggers allow actions in response to various stages of the life cycle of a form, regardless of the form type. This section provides a brief overview of the trigger types in preparation for the more detailed discussion.
1.2.1 Pre-submit triggers
There are three types of pre-submit triggers corresponding to different points in the life cycle of a submission.
• “Submit” triggers execute after the changelist has been created but before the files have been transferred, allowing inspection of the changelist details but disallowing file inspection.
• “Content” triggers execute after file transfer but before commit, allowing for inspection of the files.
• “Commit” triggers execute after the commit, allowing inspection of the changelist and file contents, but disallowing canceling of the submission.
1.2.2 Form triggers
Form triggers come in four types depending on the point in the form’s life cycle in which they are invoked.
• “Out” triggers execute when the form is generated and can modify the form before it is presented to the user.
• “In” triggers execute when the form is sent back to Perforce but before it is parsed, also allowing modification of the form on its way in.
• “Save” triggers execute after the form has been parsed but before it is saved, allowing reaction to the form but not modification.
• “Delete” triggers execute before a form is deleted, allowing failure of the deletion.
1.3 Why use a trigger?
Knowing why to use a trigger is partially a matter of knowing what are the competing alternatives. The alternatives naturally come from other contexts, since triggers define a context of their own. This section details the salient operational characteristics of triggers and contrasts them with Perforce alternatives. The three primary alternatives to triggers are wrapper scripts, such as p4wrapper, 1 review daemons, and journal tailers. A variation on the wrapper script would be a script available from the Tools menu in P4Win.
1.3.1 Synchronous execution
Triggers execute synchronously in response to their associated event. This provides an immediacy of response that is sometimes required or at least highly desirable. One option that provides synchronous execution could be an action invoked from a wrapper script such as p4wrapper. Another option would be to forego synchronous execution and rely on frequently running review daemons. Journal tailers would also perform asynchronously, although with very rapid and event-driven response.
1.3.2 Immediate user feedback on error
Triggers can provide messages back to the user, but only on error. Messages are not delivered on successful execution. A wrapper script can deliver messages to the user regardless of whether an error occurs or not. Review daemons and journal tailers can only provide feedback through indirect mechanisms.
1.3.3 Enforceability
Enforceability refers to the ability of an administrator to ensure that the script will run regardless of the client program used to initiate the operation. Because triggers are
installed on and executed by the server in response to server events, they will execute regardless of the client program. Wrapper scripts will only be invoked when the wrapper is used, whereas direct use of p4 or use of a different client program will circumvent the desired action. Review daemons and journal tailers are also enforceable due to their context on the server.
1.3.4 Modify a form
Form triggers can modify a form as it is delivered to the user or as it is sent back to Perforce. Wrapper scripts share this characteristic. Review daemons and journal tailers can not modify forms except to the extent that any user or administrator can after the operation has finished.
1.3.5 Customize any action
Form triggers have a limited ability to customize actions that involve forms, but they do not have the ability to react to any arbitrary command. Similarly, pre-submit triggers can only react to submits. Review daemons can only react to commands whose side effects can be reliably observed, something that is not readily available from the command line in many cases or from review mechanisms. Journal tailers have the ability to react to any action that affects database entries, which includes almost all.
1.3.6 Optimization for bulk processing
The review mechanism gives the ability to process a large number of actions in an orderly and efficient manner as long as those changes impact a counter. This optimization is not readily if at all available to triggers, wrappers or journal tailers due to their association with individual commands or journal entries.
1.3.7 Deterministic execution
Triggers and wrappers provide an exact and deterministic understanding of when they will execute relative to the command that initiates them. Review daemons are generally driven in a time-based manner and therefore do not execute deterministically relative to the Perforce command. Journal tailers are closer to deterministic than review daemons, but can conceivably execute prior to completion of a command.
1.3.8 Summary
The following table summarizes the characteristics of the scripting contexts that compete with triggers for Perforce scripting.