Next go to dashboard.blade.php and paste below code
<h1>this is dashboard pages</h1>
Now create blog.blade.php file and paste below lines.
<h1>this is blog pages</h1>
Next go to Route/web.php and add below line
Go to Route/web.php
<?php

/*
|--------------------------------------------------------------------------
| Web Routes
|--------------------------------------------------------------------------
|
| Here is where you can register web routes for your application. These
| routes are loaded by the RouteServiceProvider within a group which
| contains the "web" middleware group. Now create something great!
|
*/

Route::get('/', function () {
    return view('welcome');
});

Route::get('/dashboard', function (){
    return view('dashboard');
});

Route::get('/create', function (){
    return view('create');
});

Route::get('/blog', function (){
    return view('blog');
});
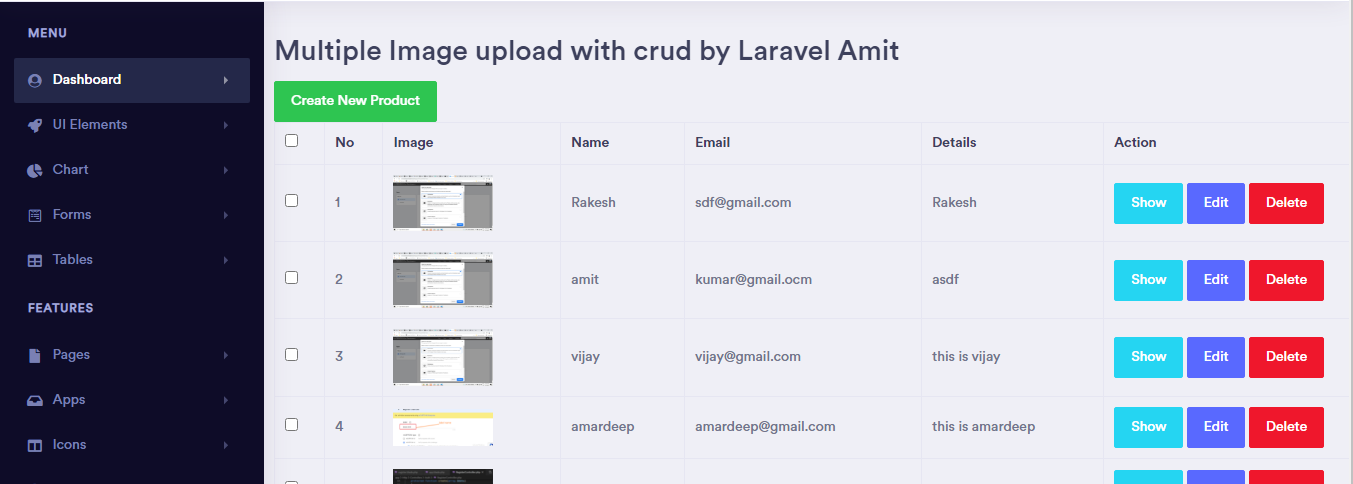
In this tutorial i’m going to describe how to upload multiple image with crud operation edit, update delete in laravel. Image upload is necessary of every project. In this project i’m going to learn how to upload with validation like images, mimes, max file upload and etc, with image preview when uploading image and adding features checklist delete.
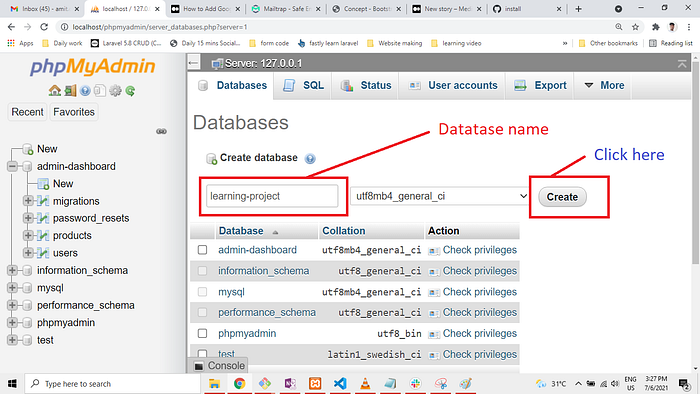
After Installation setup database So go to the .env file and add the database credentials. lets go to .env folder and put database name and connect to database.
Next step: Add Resource Route Go to your route and paste below code 👇👇
use App\Http\Controllers\ProductController;
Route::resource('products', ProductController::class);
Now lets go to create controller, model and migration file go to your terminal and paste below code
php artisan make:model ProductController -mcr
Lets go to your migration file productstable and paste below code. 👇
<?phpuse Illuminate\Support\Facades\Schema;
use Illuminate\Database\Schema\Blueprint;
use Illuminate\Database\Migrations\Migration;class CreateProductsTable extends Migration
{
    /**
     * Run the migrations.
     *
     * @return void
     */
    public function up()
    {
        Schema::create('products', function (Blueprint $table) {
            $table->bigIncrements('id');
            $table->string('name');
            $table->string('detail');
            $table->string('image');
            $table->timestamps();
        });
    }    /**
     * Reverse the migrations.
     *
     * @return void
     */
    public function down()
    {
        Schema::dropIfExists('products');
    }
}
Now migrate the table 👇👇
php artisan migrate
Next go to Your ProductController file and paste below code 👇👇
<?php
namespace App\Http\Controllers;
use App\Product; use Illuminate\Http\Request;
class ProductController extends Controller { /** * Display a listing of the resource. * * @return \Illuminate\Http\Response */ public function index() { $products = Product::latest()->paginate(5);
return redirect()->route('products.index') ->with('success','Product created successfully.'); }
/** * Display the specified resource. * * @param \App\Product $product * @return \Illuminate\Http\Response */ public function show(Product $product) { return view('products.show',compact('product')); }
/** * Show the form for editing the specified resource. * * @param \App\Product $product * @return \Illuminate\Http\Response */ public function edit(Product $product) { return view('products.edit',compact('product')); }
/** * Update the specified resource in storage. * * @param \Illuminate\Http\Request $request * @param \App\Product $product * @return \Illuminate\Http\Response */ public function update(Request $request, Product $product) { $request->validate([ 'name' => 'required', 'detail' => 'required' ]);
@if ($errors->any()) <div class="alert alert-danger"> <strong>Whoops!</strong> There were some problems with your input.<br><br> <ul> @foreach ($errors->all() as $error) <li>{{ $error }}</li> @endforeach </ul> </div> @endif
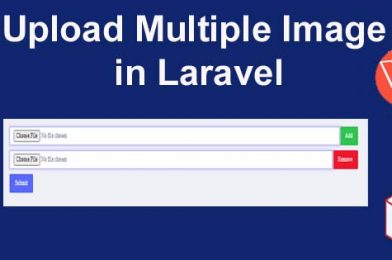
In this turoial im going to learn how to upload multiple image in laravel and store in database. Image upload is necessary of every project. In this project i’m going to learn how to upload with validation like images, mimes, max file upload and etc.
So let’s go to download project and configure with database. so copy below code and paste in your terminal.
After Installation setup database So go to the .env file and add the database credentials. lets go to .env folder and put database name and connect to database.
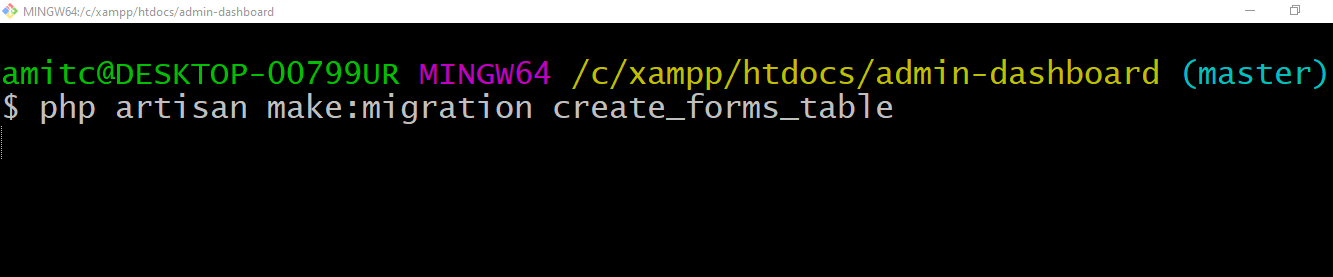
Lets go to create migration file to store the image name go to your terminal and paste below code.
php artisan make:migration create_forms_table
Let’ go to migration table and add file name.
<?php

use Illuminate\Support\Facades\Schema;
use Illuminate\Database\Schema\Blueprint;
use Illuminate\Database\Migrations\Migration;

class CreateFormsTable extends Migration
{
    /**
     * Run the migrations.
     *
     * @return void
     */
    public function up()
    {
        Schema::create('forms', function (Blueprint $table) {
            $table->bigIncrements('id');
            $table->string('filename');
            $table->timestamps();
        });
    }

    /**
     * Reverse the migrations.
     *
     * @return void
     */
    public function down()
    {
        Schema::dropIfExists('forms');
    }
}
The next step will be to migrate this schema and make a table in the database.
php artisan migrate
Next go to create the controller and model file for this project copy below code and paste in your command. 👇👇
php artisan make:model Form

php artisan make:controller FormController
lets got to setup the model and controller file for our project.
Step 2: Define routes in the web.php file.
copy below code and paste in your route/web.php file 👇
<?php
/* |-------------------------------------------------------------------------- | Web Routes |-------------------------------------------------------------------------- | | Here is where you can register web routes for your application. These | routes are loaded by the RouteServiceProvider within a group which | contains the "web" middleware group. Now create something great! | */
Route::get('/', function () { return view('welcome'); });
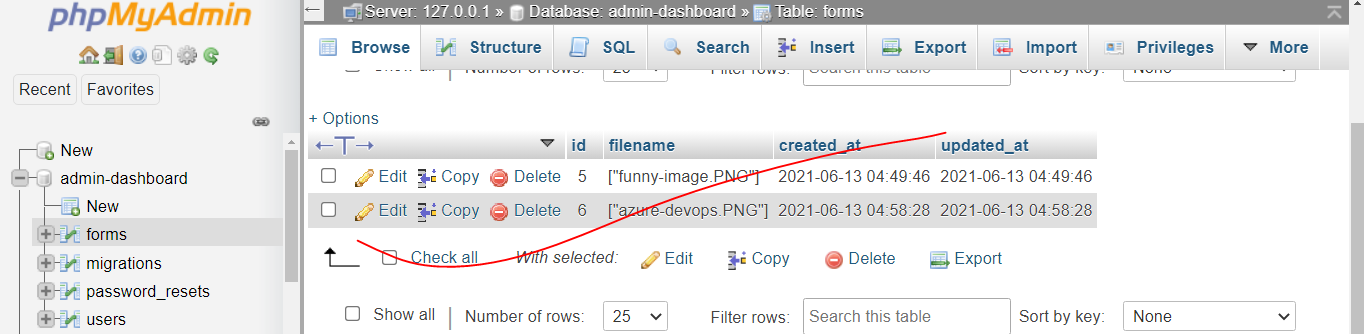
$form= new Form(); $form->filename=json_encode($data);
$form->save();
return back()->with('success', 'image has been successfully updated'); }
}
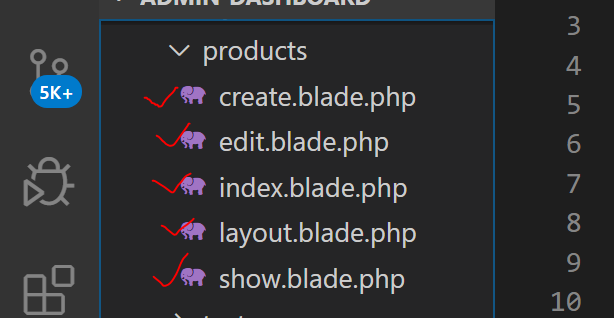
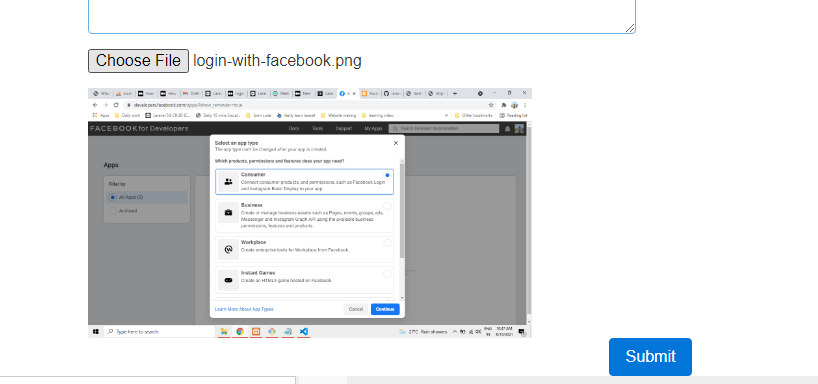
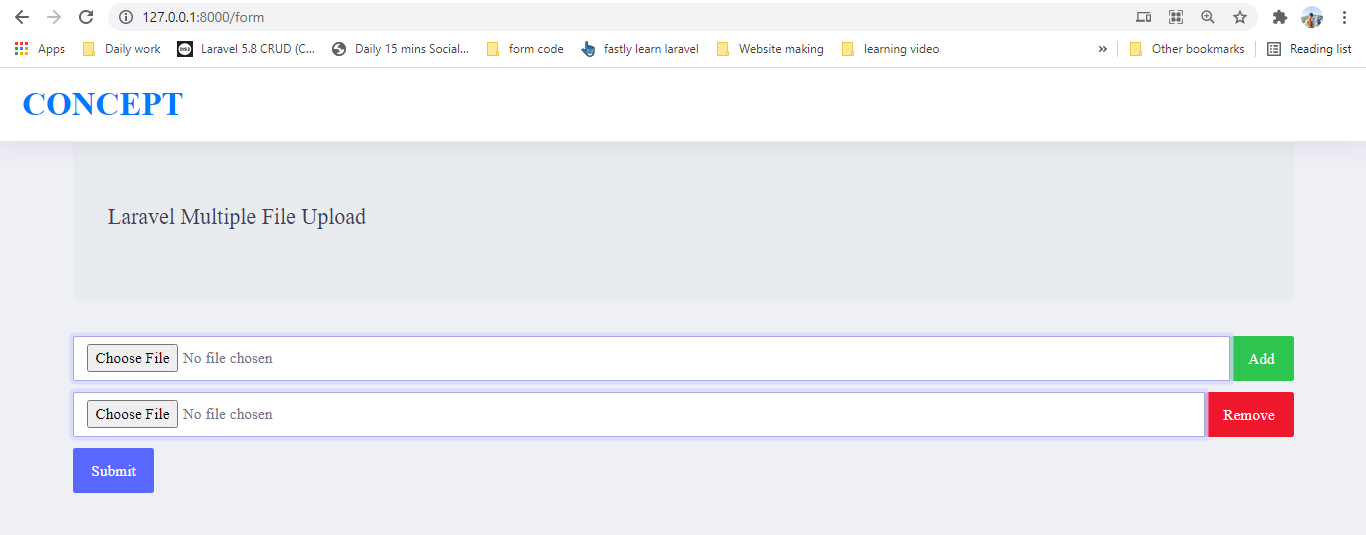
Now, let us make a create.blade.php file inside the Resources/views folder.
@extends('layouts.app') @section('content')
<div class="container"> @if (count($errors) > 0) <div class="alert alert-danger"> <strong>Whoops!</strong> There were some problems with your input.<br><br> <ul> @foreach ($errors->all() as $error) <li>{{ $error }}</li> @endforeach </ul> </div> @endif
Next go to post migration table and paste below code
<?php

use Illuminate\Database\Migrations\Migration;
use Illuminate\Database\Schema\Blueprint;
use Illuminate\Support\Facades\Schema;

class CreatePostsTable extends Migration
{
    /**
     * Run the migrations.
     *
     * @return void
     */
    public function up()
    {
        Schema::create('posts', function (Blueprint $table) {
            $table->id();
            $table->string('title');
            $table->string('description');
            $table->timestamps();
        });
    }

    /**
     * Reverse the migrations.
     *
     * @return void
     */
    public function down()
    {
        Schema::dropIfExists('posts');
    }
}
Next go to Post model and paste below code
<?php

namespace App;

use Illuminate\Database\Eloquent\Model;

class Post extends Model
{
    protected $fillable=[
        'title',
        'description'
    ];
}
Now migrate the table run below command
php artisan migrate
Step 4 — Create Routes
<?php
use Illuminate\Support\Facades\Route;
/* |-------------------------------------------------------------------------- | Web Routes |-------------------------------------------------------------------------- | | Here is where you can register web routes for your application. These | routes are loaded by the RouteServiceProvider within a group which | contains the "web" middleware group. Now create something great! | */
Route::get('/', function () { return view('welcome'); });
Go to your Post controller file and paste below code
<?php
namespace App\Http\Controllers;
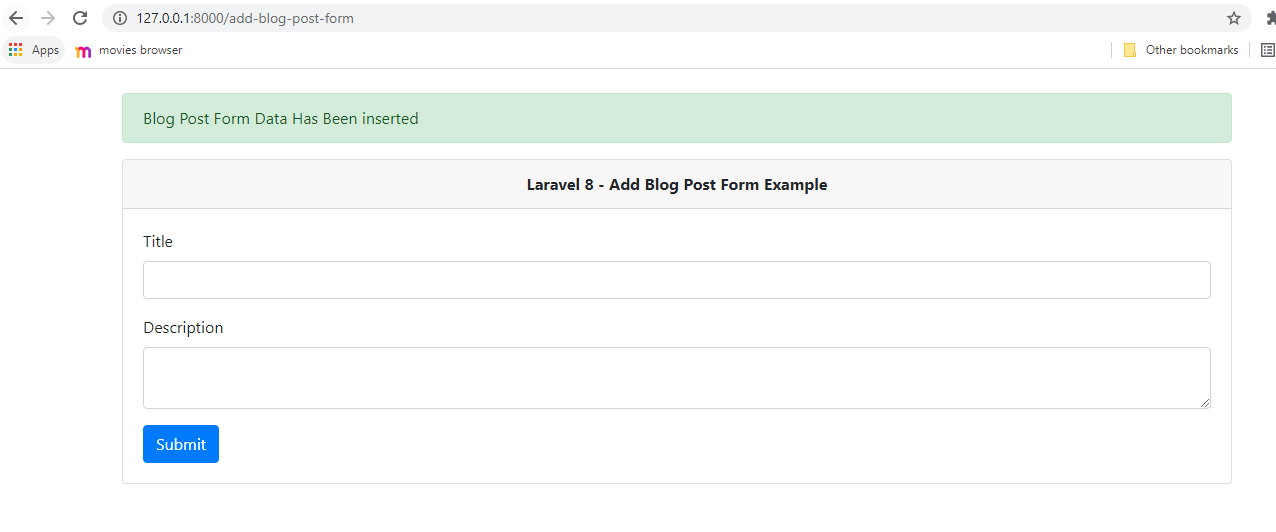
use Illuminate\Http\Request;use App\Post;class PostController extends Controller { /** * Display a listing of the resource. * * @return \Illuminate\Http\Response */ public function index() { return view('add-blog-post-form'); }
/** * Show the form for creating a new resource. * * @return \Illuminate\Http\Response */ public function create() { // }
/** * Store a newly created resource in storage. * * @param \Illuminate\Http\Request $request * @return \Illuminate\Http\Response */ public function store(Request $request) { $post = new Post;
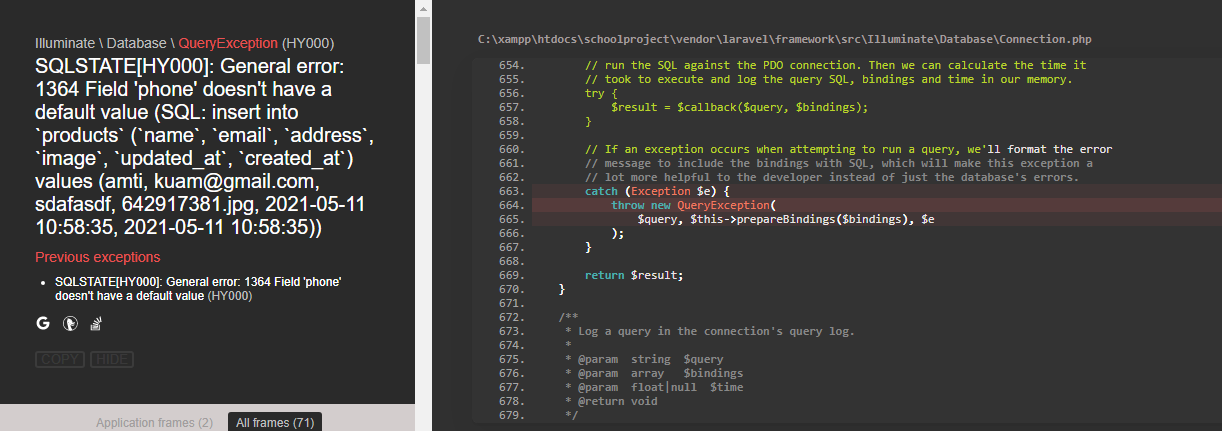
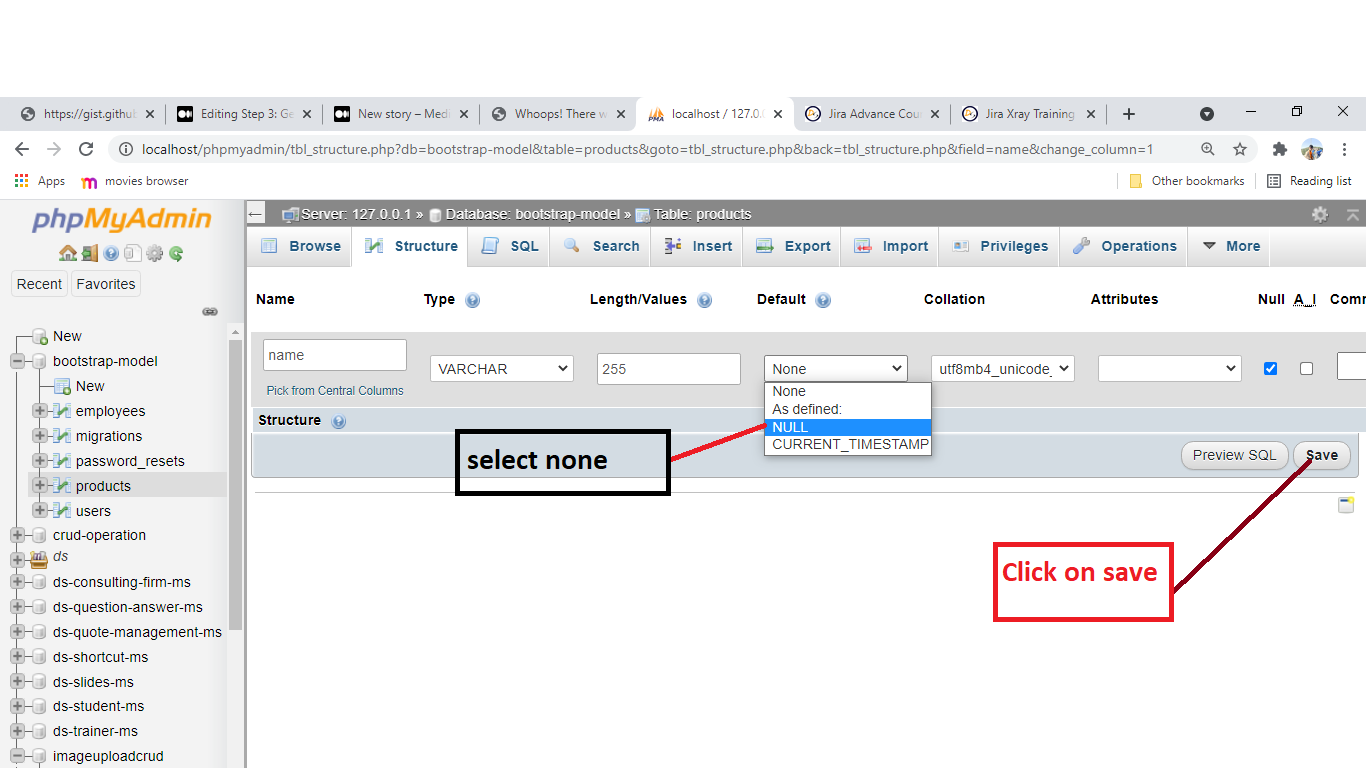
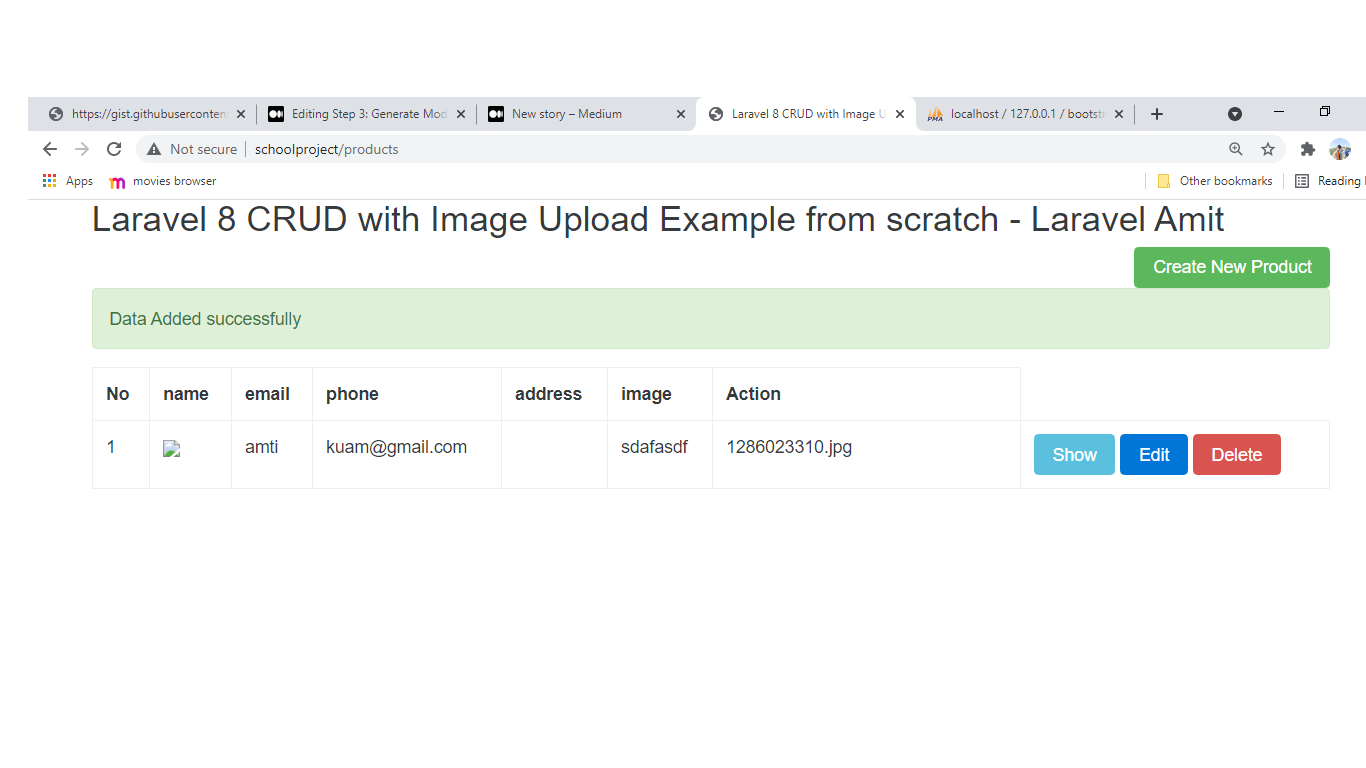
SQLSTATE[HY000]: General error: 1364 Field ‘phone’ doesn’t have a default value (SQL: insert into `products` (`name`, `email`, `address`, `image`, `updated_at`, `created_at`) values (amti, kuam@gmail.com, sdafasdf, 642917381.jpg, 2021–05–11 10:58:35, 2021–05–11 10:58:35))
When I’m submit form then got General error field doesn’t have default value. let’s go to solve this.
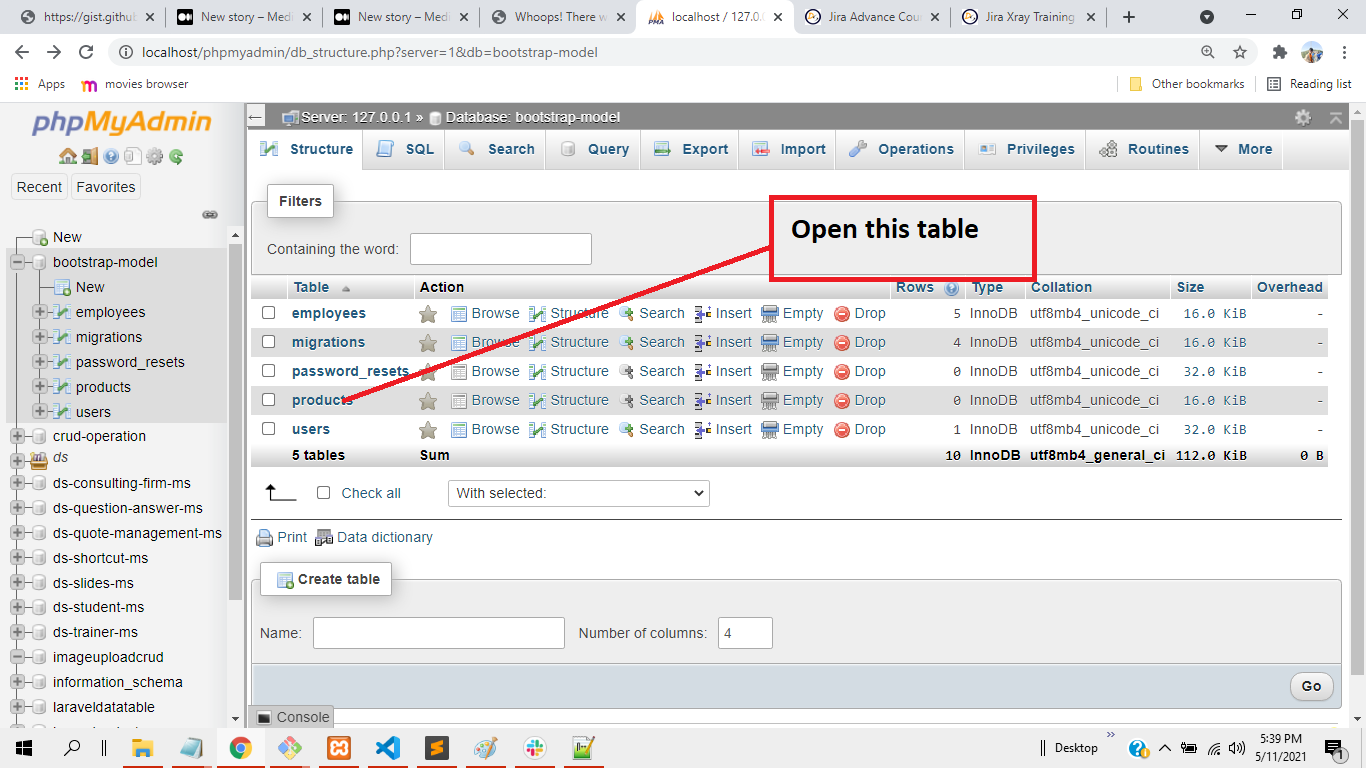
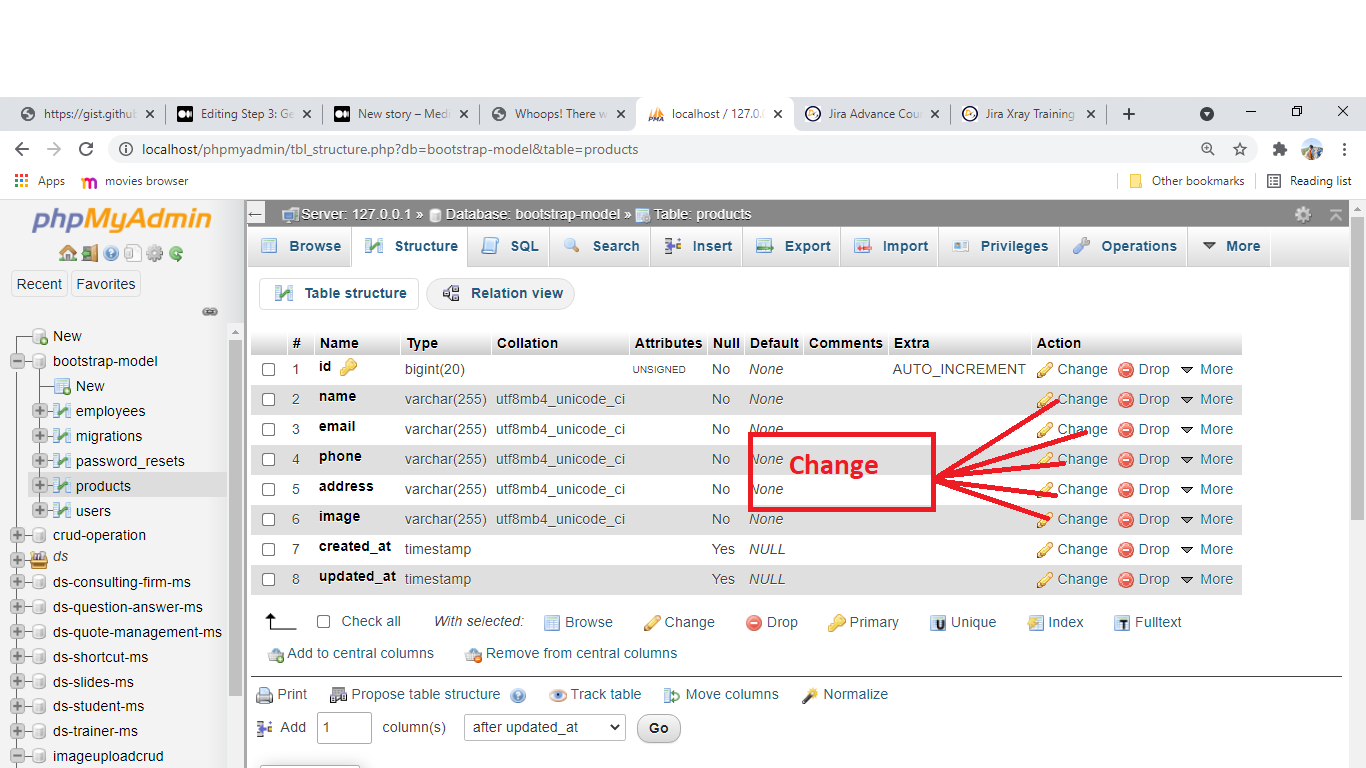
👉 1 step go to your database and put change none>to Null and save.
Before performing CRUD operations we need to do some of the basic tasks. These includes:- 1. Installing Laravel 2. Creating Laravel Project 3. Making Model 4. Migrating After that we are good to go for the operation.
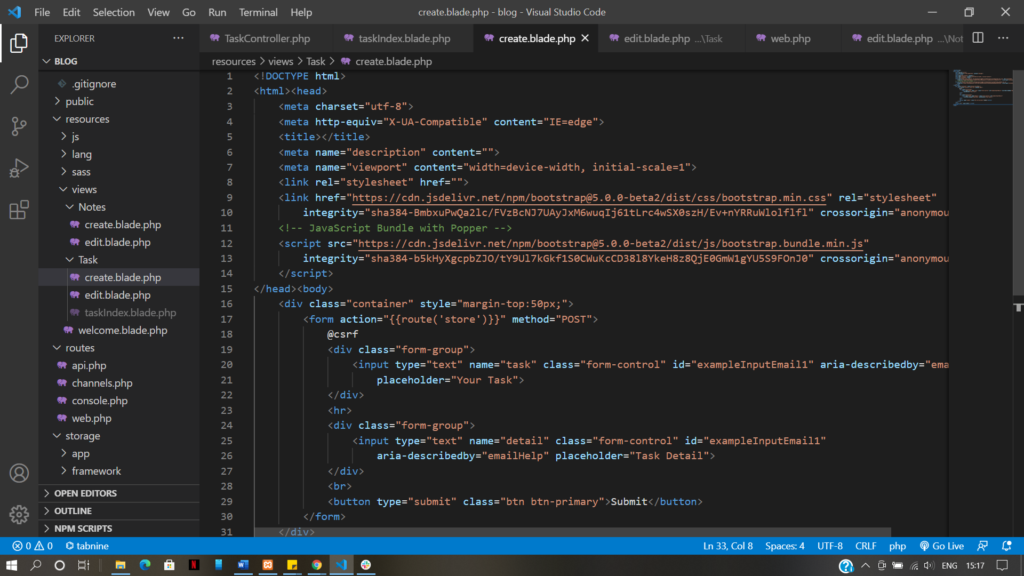
Create a folder Under resource=>view=> Task =>File_name (say create.blade.php) and code the Html part in it.
We will now move to route(web.php) and create a route for the view . We will use Route::get(‘create’,’TaskController@index’)->name(‘create’);
We will now move to route(web.php) and create a route for the view to display. name(‘task‘) is given in the URL as http://127.0.0.1:8000/task. Control flow:- As the URL is hit the control will go the route(web.php), there we will write Route::get(‘create‘,’TaskController@create’)->name(‘create‘); Here, there will be a name match from the URL and if there is a match then there will be a function call named create and route will redirect to TaskController.php where it will find the function create and operate according to the instructions given in it. }
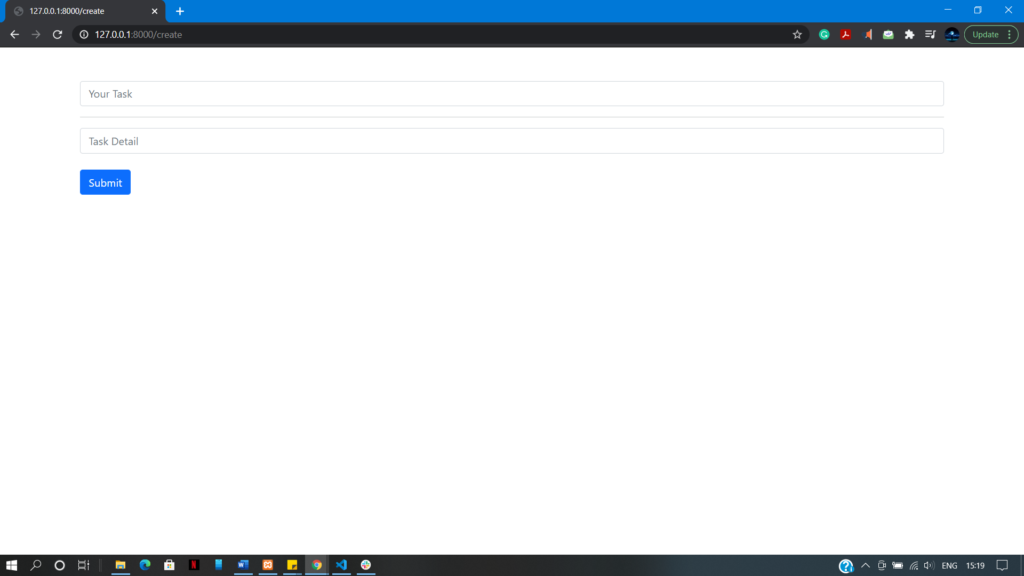
The TaskController.php will get to the create function definition Here this function will return a view create.blade.php, which has html codes, Output displayed on the browser.
After the create operation we need to store the data in the database for this we used <form action=”{{route(‘store’)}}” method=”POST”> which will call store function. for that, we need to call the store function when the user clicks submit after entering the data on the above page. The store function be like
In the store function we create object $var of Task make variables as $var->task which is assigned $request->task; (gets value from 1st field) & $var->detail which is assigned $request->detail; (gets value from 2nd field) and $var->save(); function will save it to the database.
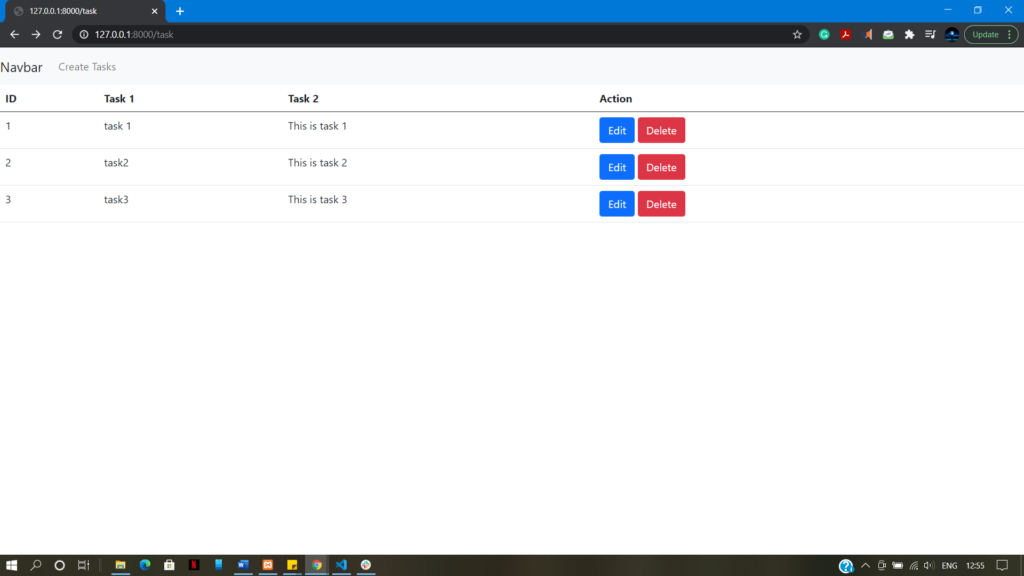
Soon after the data is created and stored in the database, we can view it by performing Read operation.
6. Read operation
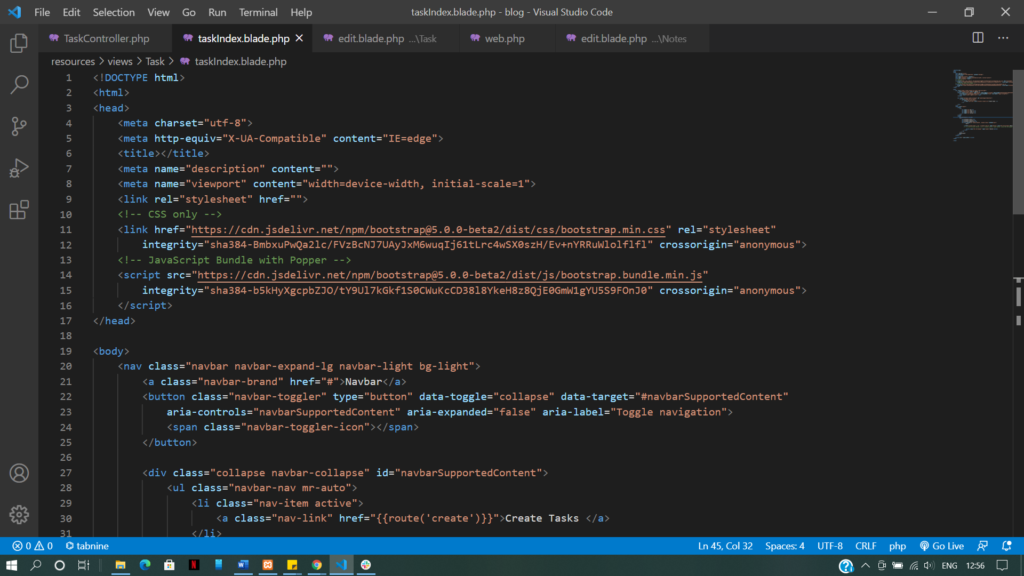
Create a file in resource=>view=> Task(say, task.blade.php). and code the Html part in it.
We will now move to route(web.php) and create a route for the view to display. We will write the name(‘task‘) is given in the URL as http://127.0.0.1:8000/task. Control flow:- As the URL is hit the control will go the route(web.php), there it will write Route::get(‘task’,’TaskController@index’)->name(‘task’); Here, there will be a name match from the URL and if there is a match then there will be a function call named index and route will redirect to TaskController.php where it will find the function index and operate according to the instructions given in it. }
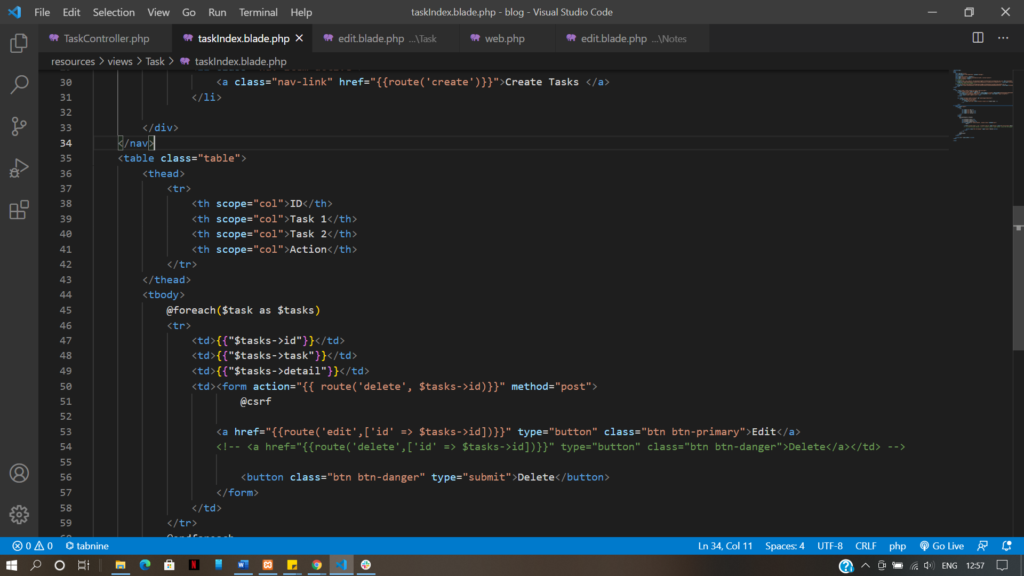
Here this function will return a view taskIndex.blade.php, which has HTML codes, which is to display on the browser with all the things compact.
7. Update operation
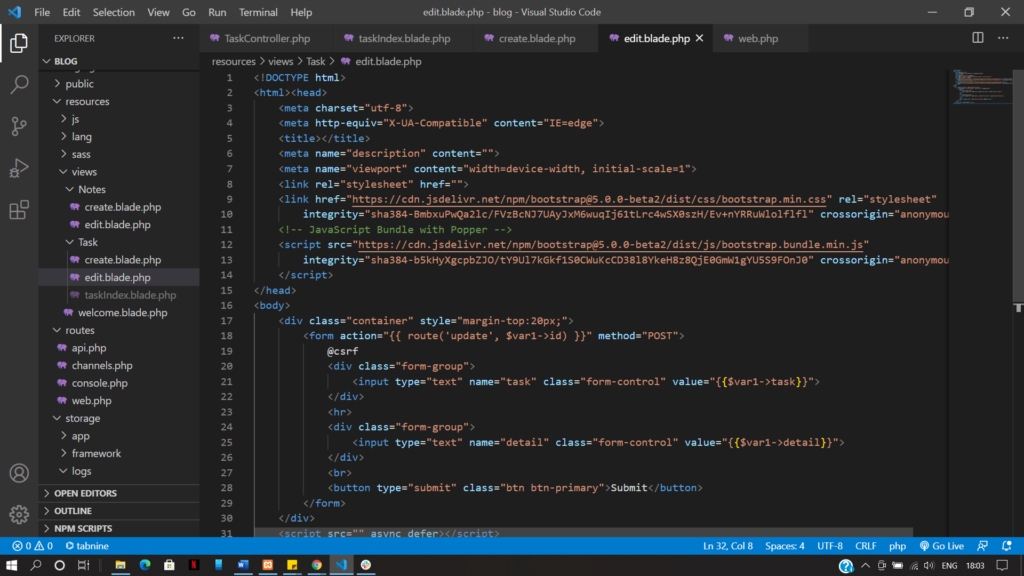
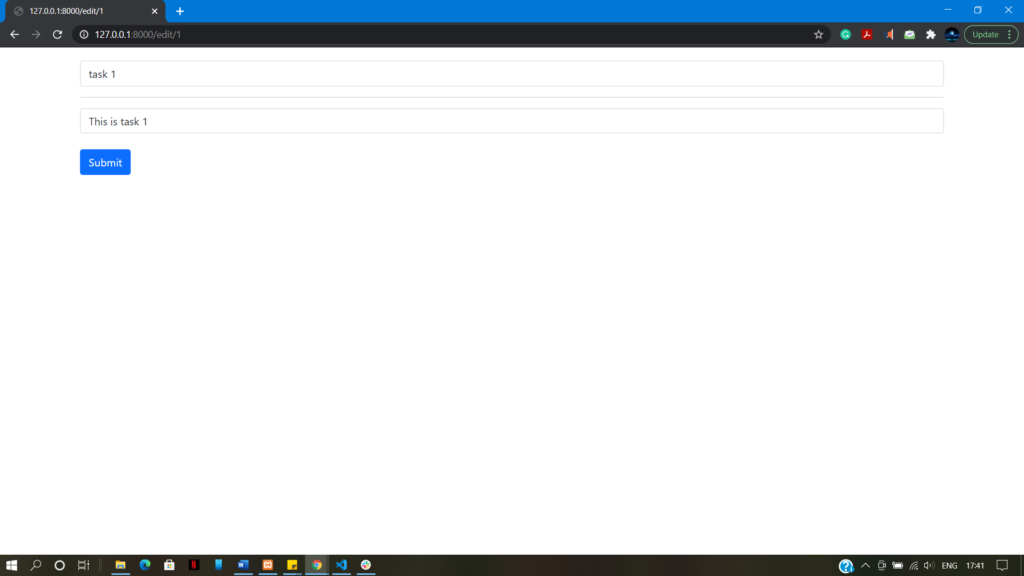
Create a file in resource=>view=> Task=> File_name (say, edit.blade.php). and code the Html part in it.
For update we need to give an edit button which calls the update function when clicked. for this we used <a href=”{{route(‘notes.edit’,[‘id’ => $note->id])}}” type=”button” class=”btn btn-primary”>Edit</a> This will redirect to route (web.php) where we will write Route::get(‘edit’,’TaskController@edit’)->name(‘edit’); Here, there will be a name match from the URL and if there is match then there will be a function call named edit and route will redirect to TaskController.php where it will find the function edit and operate according to the instructions given in it. This will call edit function
This will find the corresponding id and return the edit page view with the details prefilled in it.
On click of submitting after changing the details which were prefilled, This will redirect to route (web.php) where we will write Route::post(‘update/{id}’,’TaskController@update’)->name(‘update’); Here, there will be a name match from the URL and if there is a match then there will be a function call named update and route will redirect to TaskController.php where it will find the function update and operate according to the instructions given in it. The update function will run.
In the Update function we create object $var1 of Task which finds and matches id and make variables as $var1->task which is assigned $request->task; (gets value from 1st field) & $var1->detail which is assigned $request->detail; (gets value from 2nd field) and $var1->save(); function will save it to the database. and return redirect() will redirect the route to task.
7. Delete Operation
Implementing delete operation is easy and we need to Just provide a delete button in the html view which will help call the destroy function.
On click of Delete button This will redirect to route (web.php) where we will write Route::post(‘delete/{id}’,’TaskController@delete’)->name(‘delete’); Here, there will be a name match from the URL and if there is a match then there will be a function call named delete and route will redirect to TaskController.php where it will find the function delete and operate according to the instructions given in it. The update function will run.
In the Update function we create object $var2 of Task which finds and matches id and $var1->delete(); function will delete it from the database. and return redirect() will redirect the route to task.