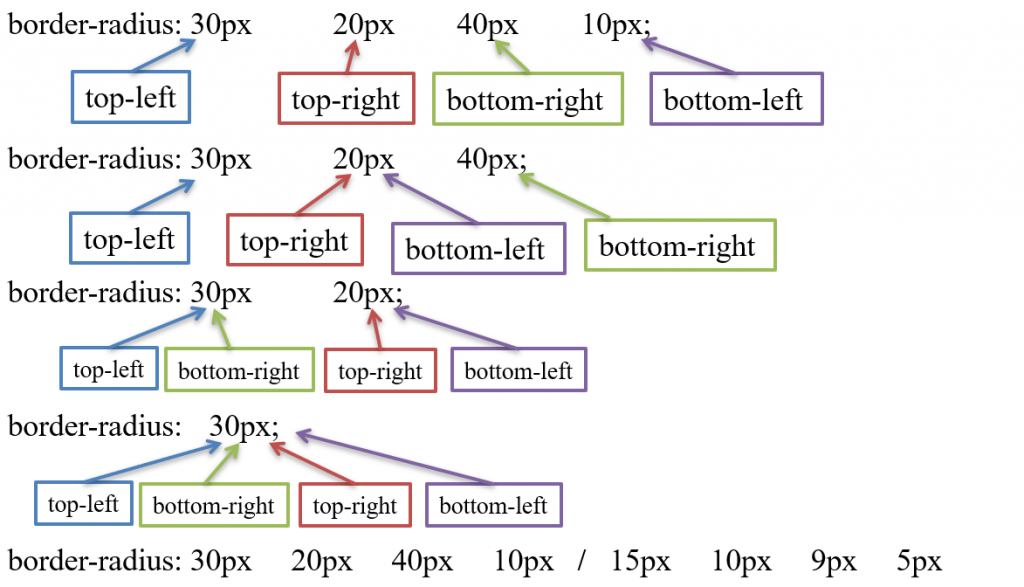
Border Radius Property usually uses in Card, Images, etc… . Some below property mention –
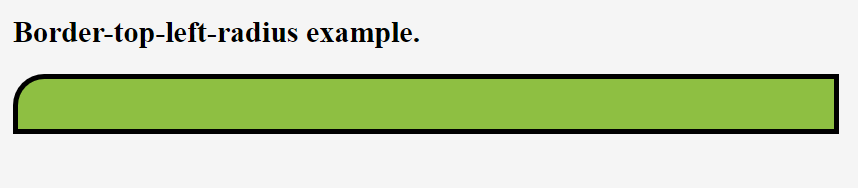
- border-top-left-radius
- border-top-right-radius
- border-bottom-left-radius
- border-bottom-right-radius
- border-radius

Border Radius Property usually uses in Card, Images, etc… . Some below property mention –
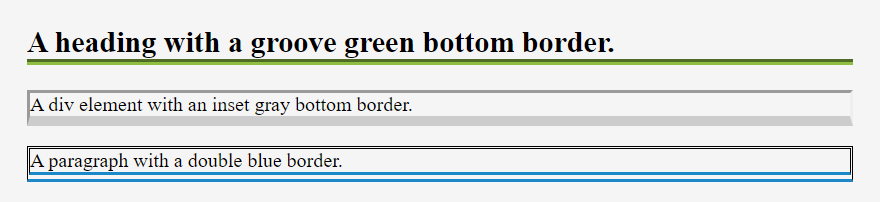
Some Border-bottom property in below which is usually uses in CSS-

<!DOCTYPE html>
<html>
  <head>
    <style>
      h2 {
        border-bottom-style: solid;
        border-bottom-color: #1c87c9;
        border-bottom-width: 10px;
      }
    </style>
  </head>
  <body>
    <h2> A heading with a solid blue bottom border</h2>
  </body>
</html>
Syntax:-
selector{ border-bottom: border-bottom-width border-bottom-style border-bottom-color;}
Ex:-
h2{ border-bottom: 10px solid #1c87c9;}
<!DOCTYPE html>
<html>
  <head>
    <style>
      h2 {
        border-bottom: 8px groove #1c87c9;
      }
    </style>
  </head>
  <body>
    <h2>A heading with a groove blue bottom border.</h2>
  </body>
</html>
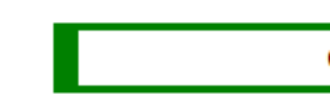
Some Border-top property in below which is usually uses in css-
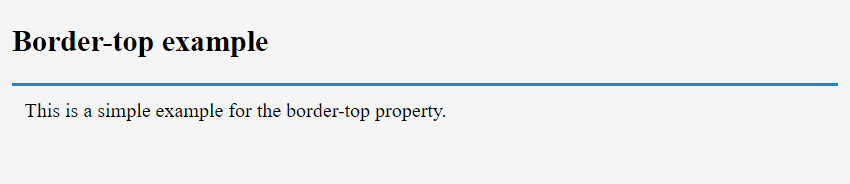

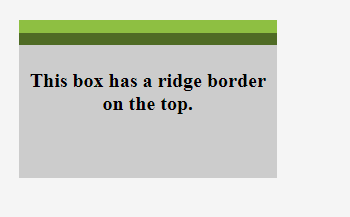
Syntax:-
selector{ border-top: border-top-width border-top-style border-top-color;}
Ex:-
p{ border-top: 10px solid red;}
The border is a Property in CSS which is used in Element with the help of CSS. So below border-right property is usually uses –
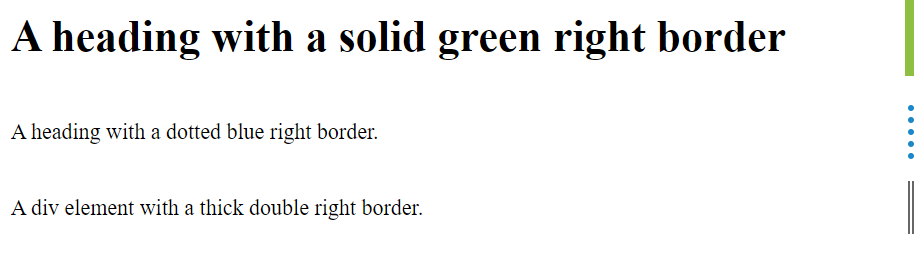
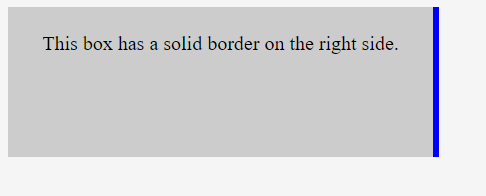
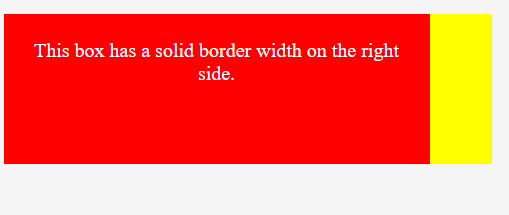
Syntax:-
selector{ border-right: border-right-width border-right-style border-right-color;}
Ex:-
p{ border-right: 10px solid blue;}
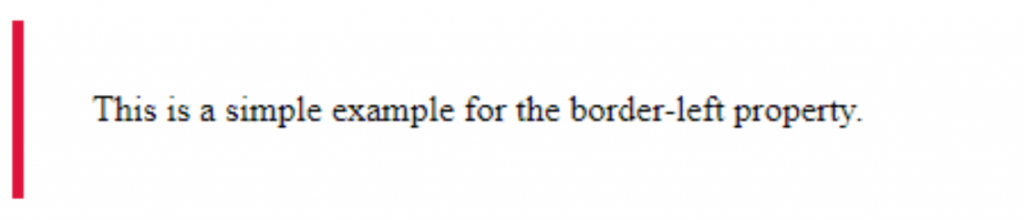
The border is a Property in CSS which is used in Element with the help of css. So below border-left property –
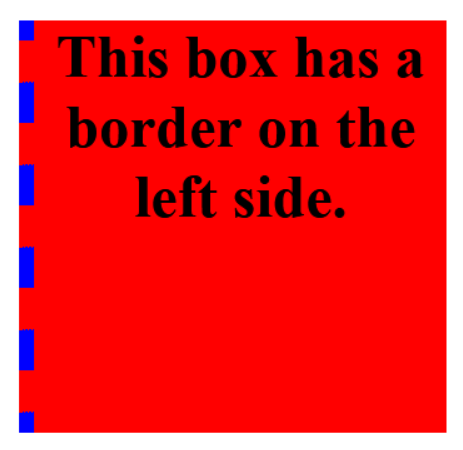
Syntax:-
selector{ border-left: border-left-width border-left-style border-left-color;}
Ex:-
p{ border-left: 10px solid red;}
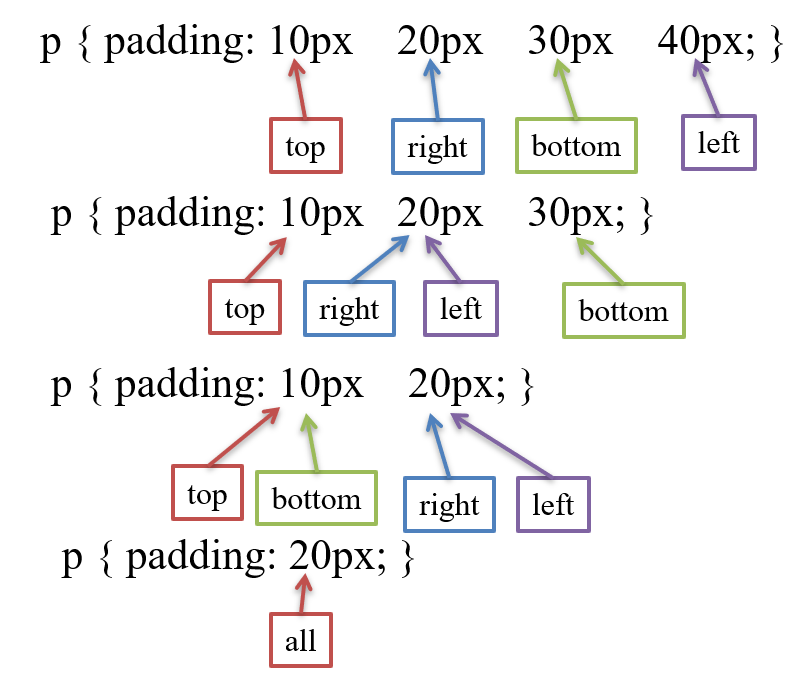
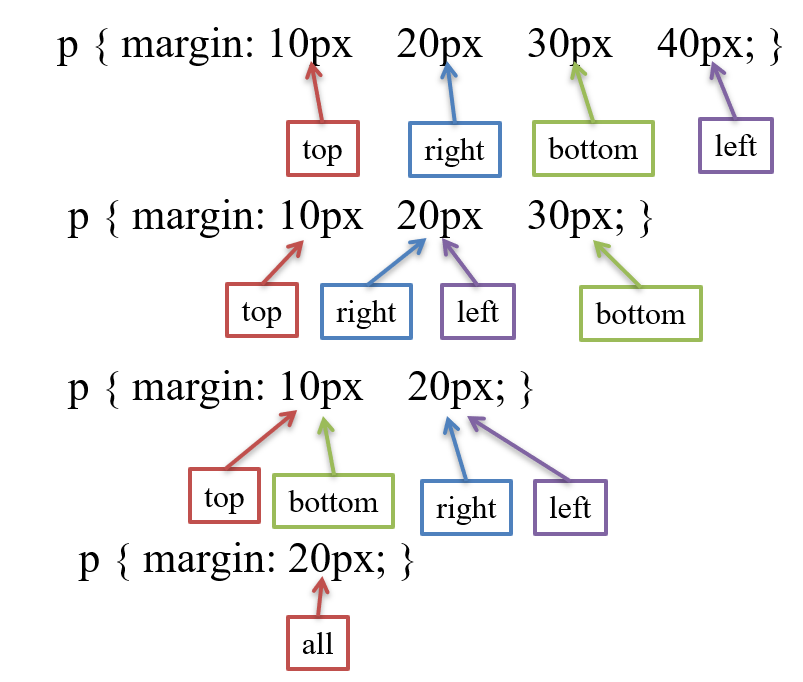
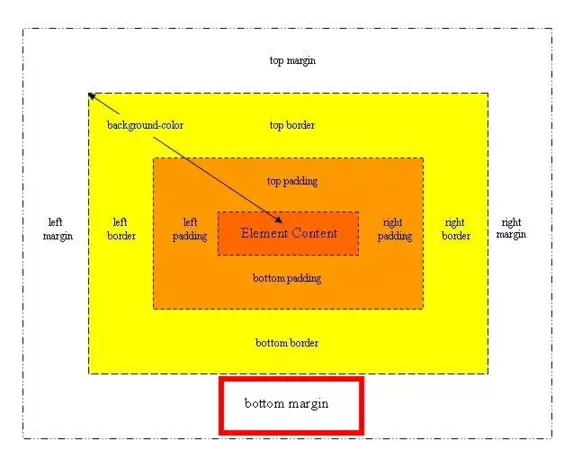
Its shorthand padding property It declares all padding properties in one single line. We can set this property to length in the form of %, cm, px etc.
This property is used to set the padding of specified element.
Ex: –
img { padding: 10px 20px 30px 40px;}
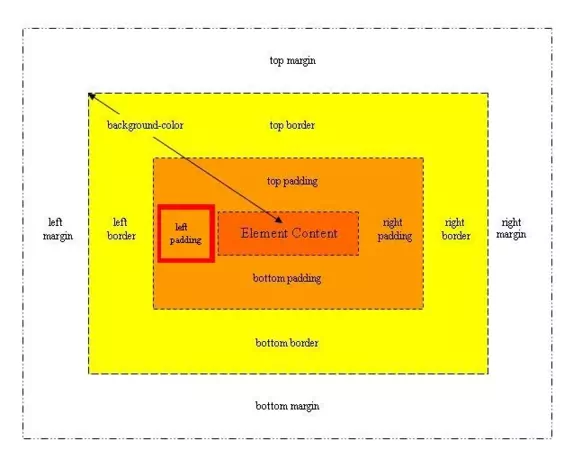
This property is used to set left padding of element. We can set this property to length in the form of %, cm, px etc.
Ex: –
img { padding-left: 20%; }
h1 { padding-left: 40px; }
This property is used to set right padding of element. We can set this property to length in the form of %, cm, px etc.
Ex: –
img { padding-right: 20%; }
h1 { padding-right: 40px; }

This property is used to set top padding of element. We can set this property to length in the form of %, cm, px etc.
Ex: –
img { padding-top: 20%; }
h1 { padding-top: 40px; }
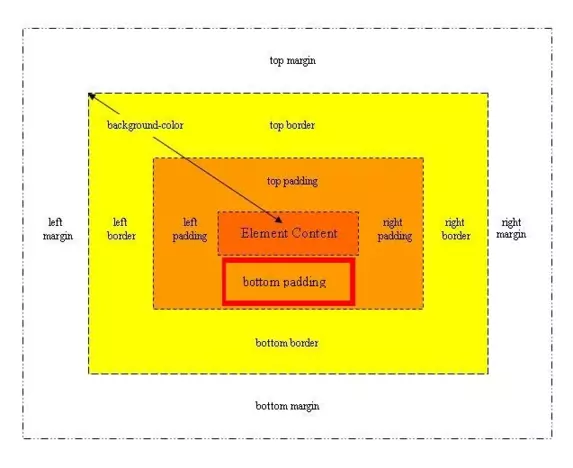
This property is used to set bottom padding of element. We can set this property to length in the form of %, cm, px etc.
Ex: –
img { padding-bottom: 20%; }
h1 { padding-bottom: 40px; }
Its shorthand margin property It declares all margin properties in one single line. We can set this property to auto or length in the form of %, cm, px etc. It is by default set 0px.
When we set auto value browser decide the margin.
Ex: –
img { margin: 10px 20px 30px 40px;}
This property is used to set the margin of specified element.
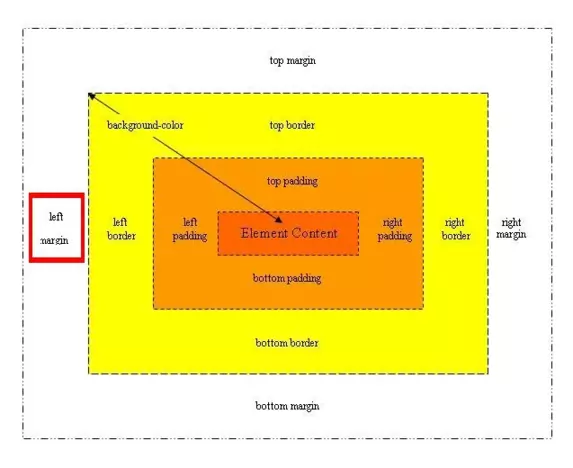
This property is used to set left margin of element. We can set this property to auto or length in the form of %, cm, px etc. It is by default set 0px.
When we set auto value browser decide the margin.
Ex: –
img { margin-left: 20%; }
h1 { margin-left: 40px; }
p { margin-left: auto; }
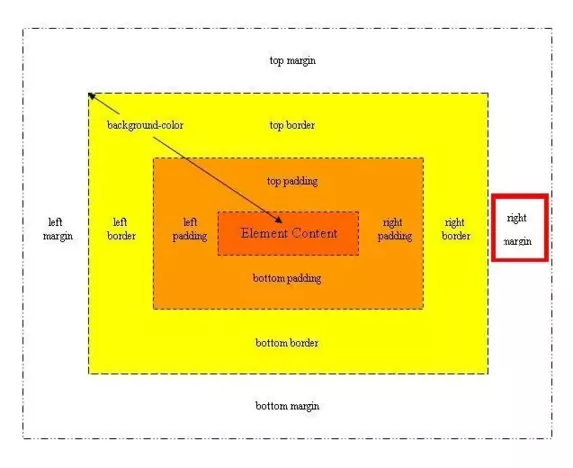
This property is used to set right margin of element. We can set this property to auto or length in the form of %, cm, px etc. It is by default set 0px.
When we set auto value browser decide the margin.
Ex: –
img { margin-right: 20%; }
h1 { margin-right: 40px; }
p { margin-right: auto; }
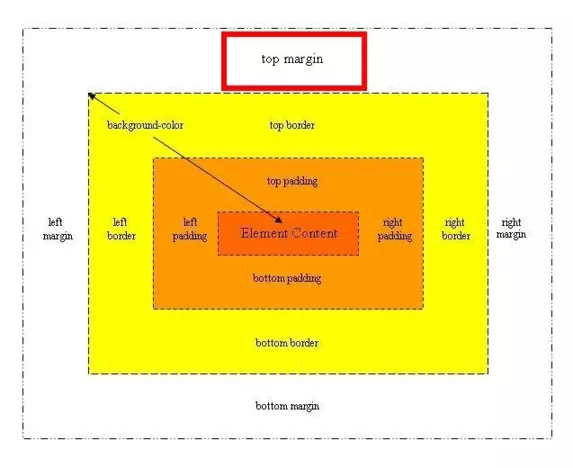
This property is used to set top margin of element. We can set this property to auto or length in the form of %, cm, px etc. It is by default set 0px.
When we set auto value browser decide the margin.
Ex: –
img { margin-top: 20%; }
h1 { margin-top: 40px; }
p { margin-top: auto; }
This property is used to set bottom margin of element. We can set this property to auto or length in the form of %, cm, px etc. It is by default set 0px.
When we set auto value browser decide the margin.
Ex: –
img { margin-bottom: 20%; }
h1 { margin-bottom: 40px; }
p { margin-bottom: auto; }
In This tutorial, I am going to explain that how to How to use the position property in CSS to align elements? Below Property to uses in align elements-
Length (cm, px, %)
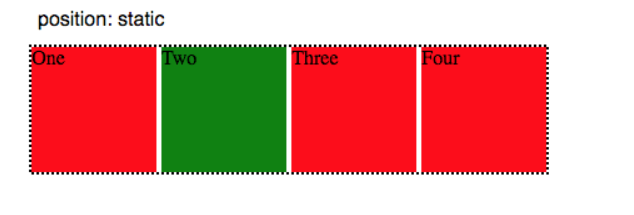
When we set static position for an element then it is not positioned in any special way, it is always positioned according to the normal flow of the page. left, right, top and bottom property won’t work with static position.
Ex: –
h1 {
position: static;
border: 5px solid red;
}
h1 {
position: static;
border: 5px solid red;
left: 50px;
}
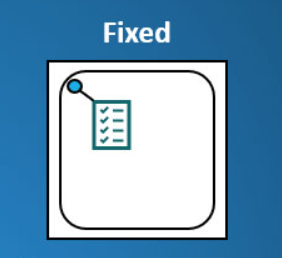
When we set fixed position for an element it always stays in the same place even if the page is scrolled. The top, right, bottom, and left properties are used to position the element.
img {
position: fixed;
right: 0;
top: 50%;
border: 3px solid red;
}
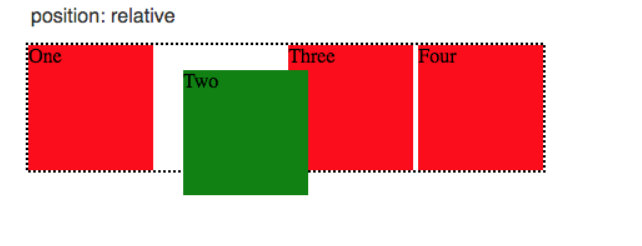
When we set relative position for an element, elements positioned to its normal flow.
h1 {
position: relative;
left: 50px;
border: 3px solid red;
}
When we set absolute position for an element, element is positioned to the nearest positioned ancestor. If there is no positioned ancestor then it follow the normal position according to browser.
div {
position: absolute;
top: 80px;
right: 0;
width: 200px;
height: 100px;
border: 3px solid red;
}

These properties are used to position an element.
We can not use any of these properties without setting up position property.
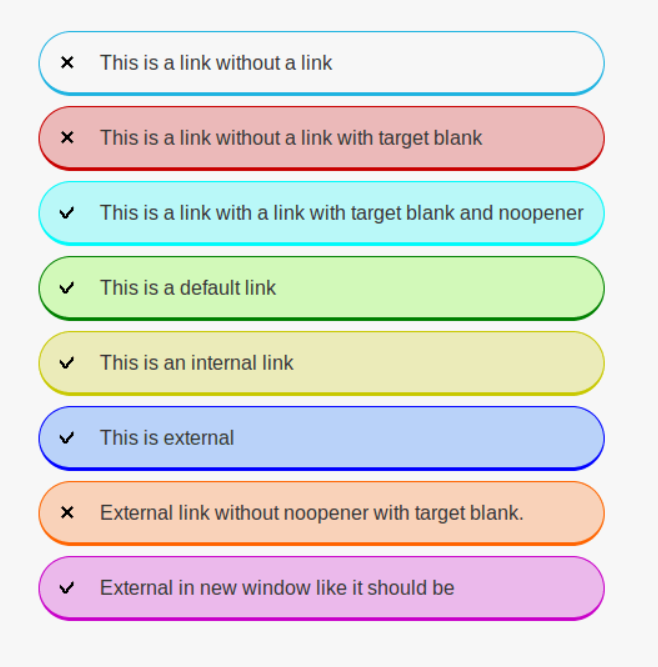
When you use the “<a>” tag on your HTML page then show text color automatic blue & underline. If you want to implement in your tag using CSS then implement the below property-
Ex:-
a:link {
color: red;
}
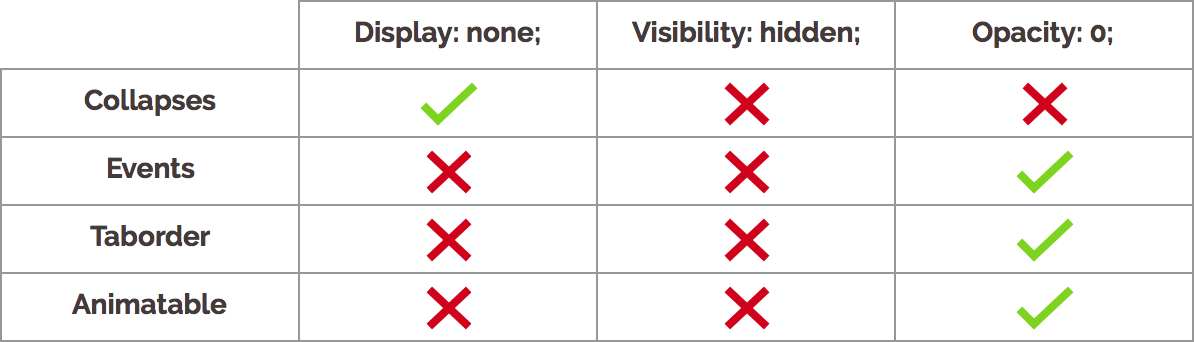
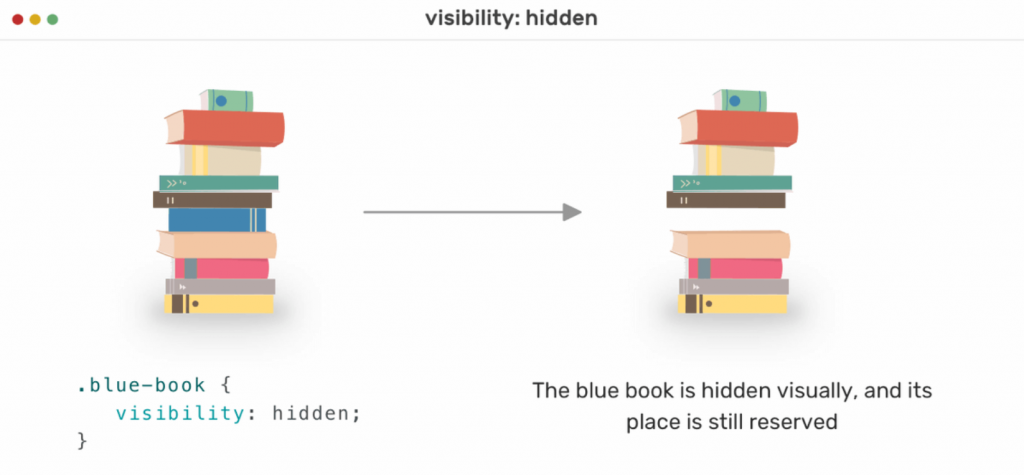
This property is used to specify whether or not an element is visible. We can set this property to visible (default), hidden or collapse.
The element is invisible not removed.
This value is only used for table elements. collapse removes a row or column, but it does not affect the table layout. The space taken up by the row or column will be available for other content. If collapse is used on other elements, it will be treated as “hidden”.
Ex:-
p { visibility: hidden;}